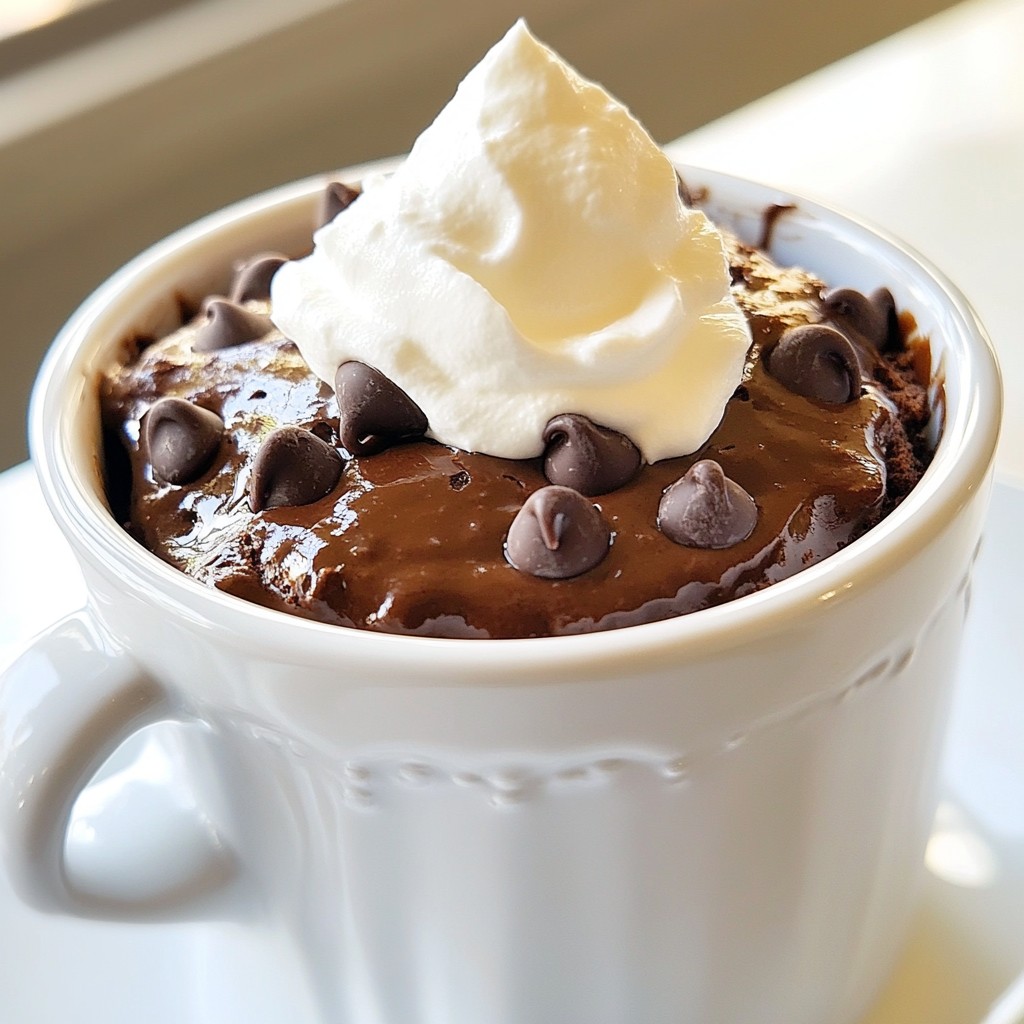
Are you craving a quick and yummy dessert? You’re in the right place! This Triple Chocolate Mug Cake is the perfect solution for your sweet tooth. With just a few ingredients and a microwave, you can whip up this tasty treat in minutes. Let’s dive into the simple steps that make this chocolate delight so easy and rewarding! Your taste buds will thank you.
Why I Love This Recipe
- Quick and Easy: This mug cake can be prepared in just 5 minutes, making it a perfect last-minute dessert option.
- Decadent Flavors: With three types of chocolate, this cake is a chocolate lover's dream come true.
- Customizable: You can easily swap ingredients or add toppings like whipped cream or ice cream to make it your own.
- Single Serving: This recipe is designed for one, so you can indulge without leftovers tempting you later.
Ingredients
Complete Ingredient List
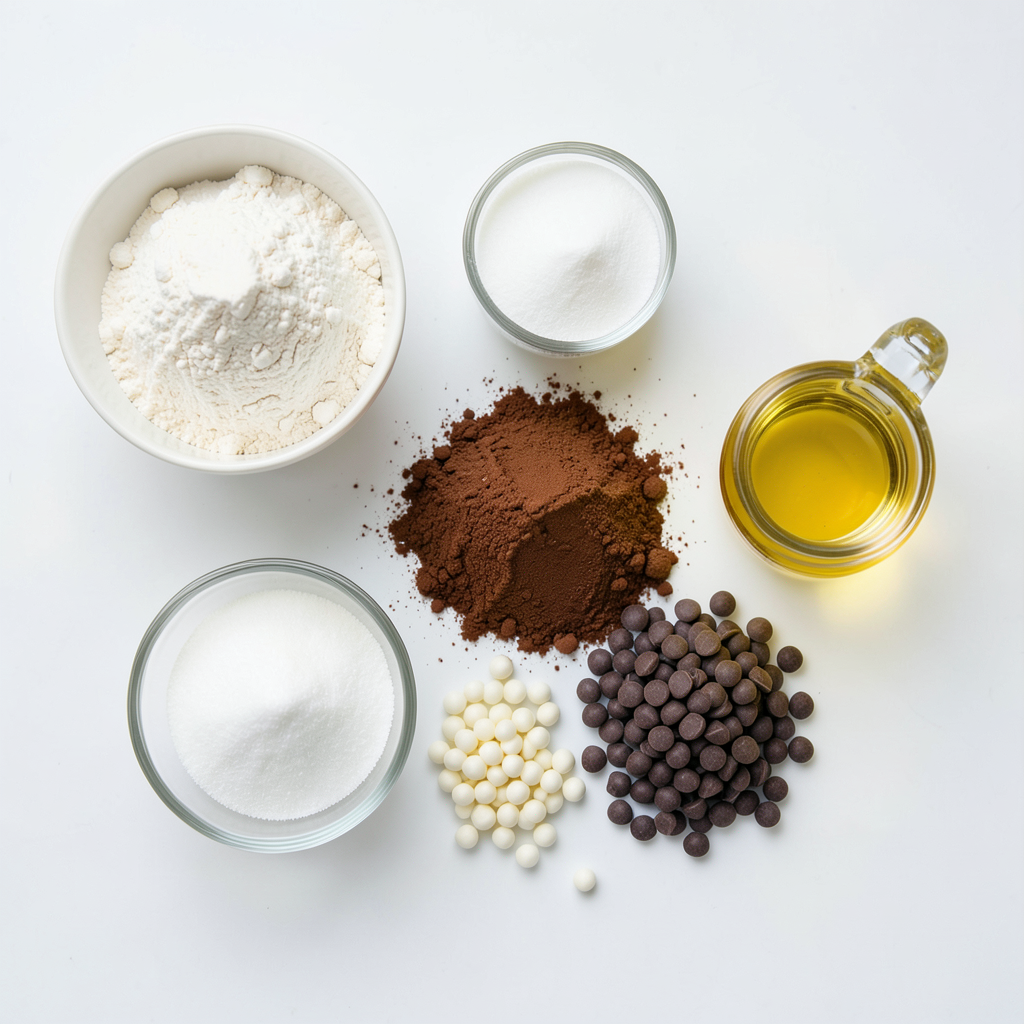
To make the perfect triple chocolate mug cake, you will need the following:
- 4 tablespoons all-purpose flour
- 4 tablespoons granulated sugar
- 2 tablespoons unsweetened cocoa powder
- 1/8 teaspoon baking powder
- 1/8 teaspoon salt
- 3 tablespoons milk (dairy or non-dairy)
- 2 tablespoons vegetable oil
- 1/4 teaspoon vanilla extract
- 2 tablespoons chocolate chips (semi-sweet, dark, or milk chocolate)
- 1 tablespoon white chocolate chips
- Optional: whipped cream or ice cream for topping
Measurements for Each Ingredient
Each ingredient plays a key role in flavor and texture. Here’s how much you need:
- All-purpose flour: 4 tablespoons create the cake's base.
- Granulated sugar: 4 tablespoons add sweetness.
- Unsweetened cocoa powder: 2 tablespoons give it that rich chocolate taste.
- Baking powder: Just 1/8 teaspoon helps the cake rise.
- Salt: A pinch (1/8 teaspoon) enhances all flavors.
- Milk: 3 tablespoons provide moisture.
- Vegetable oil: 2 tablespoons keep it tender.
- Vanilla extract: 1/4 teaspoon adds a lovely aroma.
- Chocolate chips: 2 tablespoons for gooey bites.
- White chocolate chips: 1 tablespoon for a sweet twist.
- Optional toppings: Whipped cream or ice cream for extra indulgence.
Suggested Substitute Ingredients
If you’re missing an ingredient, don’t worry! Here are some easy swaps:
- All-purpose flour: Use almond flour for a gluten-free option.
- Granulated sugar: Replace with brown sugar for a deeper flavor.
- Unsweetened cocoa powder: Use carob powder for a different taste.
- Milk: Substitute with almond or oat milk for dairy-free.
- Vegetable oil: Melted coconut oil works well too.
- Chocolate chips: Use peanut butter chips for a fun twist.
- White chocolate chips: Omit for a darker flavor profile.
These simple swaps keep the spirit of the cake while allowing you to customize it.
Step-by-Step Instructions
Preparing the Mug
Start by picking a microwave-safe mug. I like to use a mug that holds at least 12 ounces. This size helps the cake rise without spilling. Next, grab a whisk. In the mug, mix together the dry ingredients. Add 4 tablespoons of flour, 4 tablespoons of sugar, 2 tablespoons of cocoa powder, 1/8 teaspoon of baking powder, and 1/8 teaspoon of salt. Whisk until everything blends well. This step is key. A good mix means no lumps in your cake.
Mixing the Ingredients
Now it’s time to add the wet ingredients. Pour in 3 tablespoons of milk, 2 tablespoons of vegetable oil, and 1/4 teaspoon of vanilla extract. Stir these together with the dry mix. I find that a fork works great for this. Mix until the batter is smooth. You want no lumps at all. Then, gently fold in the chocolate chips. Use 2 tablespoons of semi-sweet or dark chocolate chips and 1 tablespoon of white chocolate chips. Make sure they spread evenly in the batter. This gives every bite a rich chocolate flavor.
Microwave Cooking Time
Place the mug in your microwave. Set it for 1 minute and 30 seconds on high. If your microwave runs a bit cool, add an extra 10-15 seconds. Watch the cake rise as it cooks. It should look set but still slightly moist in the center. After cooking, be careful when taking it out. The mug will be hot! Let it cool for about a minute before you dig in. If you want to make it extra special, top it with whipped cream or a scoop of ice cream. Enjoy your delicious treat!
Tips & Tricks
Ensuring a Perfect Mug Cake Texture
To get the best mug cake, make sure you mix the dry ingredients well. This helps blend the flour, sugar, cocoa, baking powder, and salt. When you add wet ingredients, stir until smooth. Do not overmix; lumps are okay. The key is to watch the cooking time. For most microwaves, 1 minute and 30 seconds works great. If it's not set, add 10-15 seconds. A slightly moist center gives the cake a soft texture.
Common Mistakes to Avoid
One common mistake is using the wrong mug. Choose a large, microwave-safe mug. If it’s too small, the batter might spill over. Another mistake is not measuring ingredients correctly. Too much flour makes the cake dry. Too little liquid will lead to a hard texture. Lastly, don’t rush the cooling time. Letting it sit for a minute allows it to firm up and makes it easier to eat.
Serving Suggestions
You can enjoy your mug cake plain, but toppings make it even better! Whipped cream adds a light touch. Ice cream brings a creamy contrast to the warm cake. Try adding fresh berries for a fruity twist. Drizzling chocolate sauce can enhance the flavor too. Feel free to get creative with your toppings!
Pro Tips
- Use High-Quality Chocolate: Opt for premium chocolate chips to enhance the flavor of your mug cake. The better the chocolate, the richer the taste!
- Don’t Overcook: Microwave times can vary, so keep an eye on your cake. It should be slightly moist in the center; overcooking can lead to a dry texture.
- Add a Pinch of Espresso: For a deeper chocolate flavor, consider adding a pinch of instant espresso powder to the dry ingredients. It intensifies the chocolate taste without adding coffee flavor.
- Experiment with Toppings: Feel free to get creative with toppings! Try caramel sauce, nuts, or a drizzle of peanut butter for an added twist.
Variations
Different Types of Chocolate
You can switch up the chocolate types in this mug cake. Want a rich flavor? Use dark chocolate chips. Prefer something sweeter? Stick with milk chocolate. You can even mix them! Each type adds its own taste. This way, you can make it just how you like.
Incorporating Nuts or Fruit
Adding nuts or fruit can make your mug cake even better. Chopped walnuts or pecans give a nice crunch. You can also add fruits like raspberries or bananas for a fresh twist. Just fold them in with the chocolate chips. This makes each bite extra fun, and you get more flavors!
Gluten-Free Adjustments
If you need a gluten-free option, it’s easy to adjust. Swap regular flour for a gluten-free blend. Make sure to check that all your other ingredients are gluten-free too. This way, you can enjoy the same yummy taste without the gluten. Everyone can enjoy this treat!
Storage Info
Best Way to Store Leftover Mug Cake
If you have leftover mug cake, store it in a sealed container. This keeps it fresh and moist. You can leave it at room temp for one day. If you want to keep it longer, place it in the fridge. It will last for about three days in the fridge.
Reheating Instructions
To reheat your mug cake, place it in the microwave. Heat it on low power for about 15-20 seconds. Check if it is warm enough. If not, heat it a few more seconds. Be careful not to overheat it, or it can get dry.
Freezing Options
You can freeze your mug cake for later. First, let it cool completely. Then, wrap it tightly in plastic wrap. Place it in a freezer-safe bag or container. It can stay in the freezer for about a month. When you are ready to eat it, just thaw it in the fridge overnight. Reheat as needed.
FAQs
Can I use another type of mug?
Yes, you can use any microwave-safe mug. Just make sure it's big enough. The mug should hold at least 8 ounces. This size helps the cake rise without spilling. Avoid using metal mugs. They can cause sparks in the microwave.
How do I know when the mug cake is done?
Check the cake after 1 minute and 30 seconds. The cake should rise well. It should look set but still moist in the center. If it appears too wet, microwave for an extra 10-15 seconds. Each microwave is different. You might need to adjust the time a bit.
Can I double the recipe for two servings?
You can double the recipe, but do not use one big mug. Instead, use two mugs. This helps the cakes cook evenly. Microwave each mug separately. Keep the cooking time the same for each mug. Enjoying with a friend makes it even better!
In this blog post, we covered how to make a delicious mug cake from start to finish. You learned about the key ingredients and their measurements, along with step-by-step instructions. We shared tips for perfect texture and common mistakes to avoid. Plus, we explored fun variations and smart storage tips.
Remember, the joy of mug cakes comes from making them your own. Use these ideas to create a treat just for you! Enjoy every sweet bite.