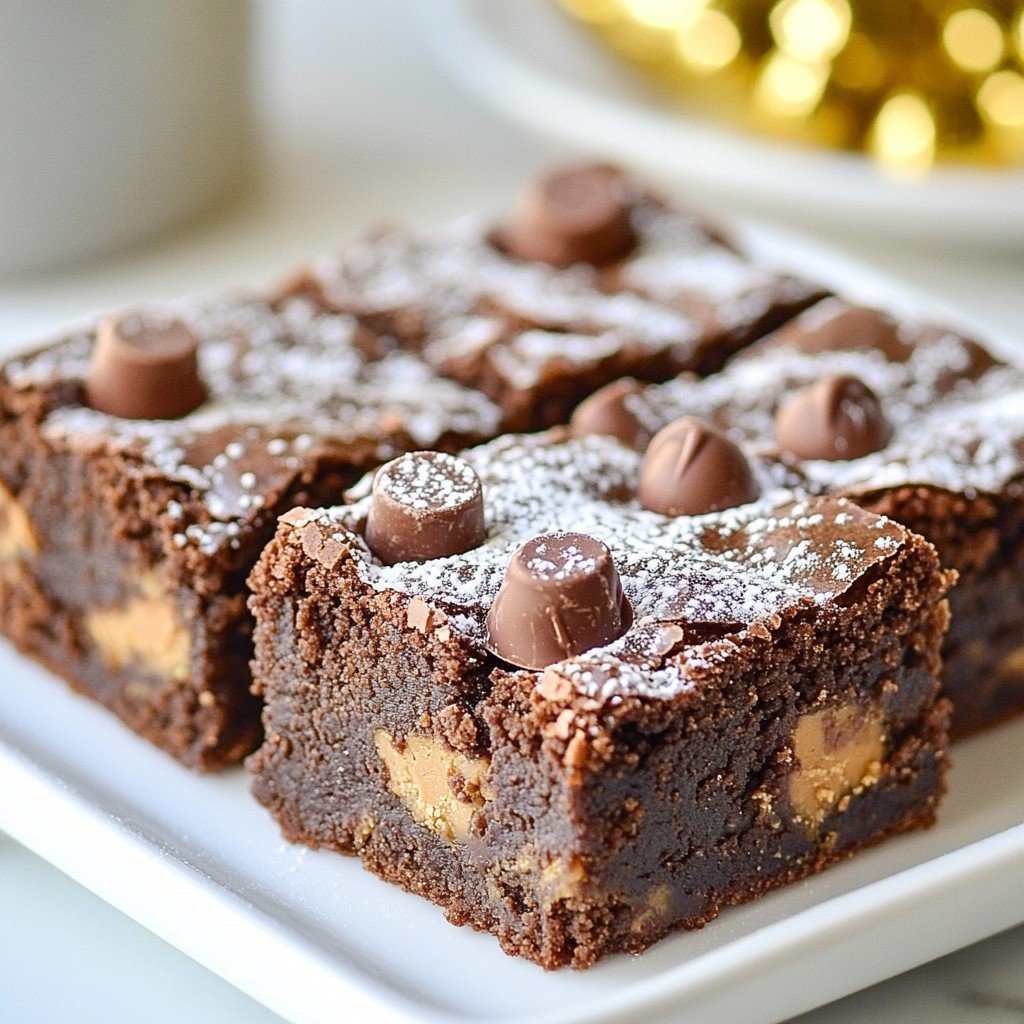
Get ready to indulge in a sweet treat that combines the richness of chocolate with the creaminess of peanut butter! In this post, I’ll guide you through making Peanut Butter Cup Brownies—an easy dessert that will wow your friends and family. Whether you're a baking pro or a novice, you'll find simple steps, helpful tips, and tasty variations to make it your own. Let's dive in and create this rich and decadent delight together!
Why I Love This Recipe
- Decadent Flavor: The rich combination of chocolate and peanut butter creates a heavenly taste that satisfies any sweet tooth.
- Easy Preparation: This recipe comes together quickly, making it perfect for a last-minute dessert or a fun baking project with kids.
- Versatile Treat: These brownies are great on their own but also pair wonderfully with ice cream, whipped cream, or a dusting of powdered sugar.
- Perfect for Sharing: With generous servings, these brownies are ideal for gatherings, parties, or simply sharing with friends and family.
Ingredients
List of Ingredients
- 1 cup unsweetened cocoa powder
- 1 cup granulated sugar
- 1 cup brown sugar, packed
- 1 cup all-purpose flour
- 1/2 cup unsalted butter, melted
- 1/2 cup creamy peanut butter
- 4 large eggs
- 1 teaspoon vanilla extract
- 1/2 teaspoon baking powder
- 1/4 teaspoon salt
- 1 cup mini peanut butter cups, chopped (plus extra for topping)
- 1/2 cup semi-sweet chocolate chips
Ingredient Notes and Suggestions
Using high-quality cocoa powder makes a big difference. It adds a rich flavor to the brownies. I prefer using natural cocoa powder for its deep taste.
The butter must be unsalted to control the saltiness in the recipe. You can use any creamy peanut butter you enjoy. Crunchy peanut butter can also work, but it changes the texture.
When you choose sugars, the combo of granulated and brown sugars gives the brownies a nice balance of sweetness and chewiness.
Make sure to use fresh eggs for the best results. They help create a light texture in your brownies.
For the chocolate chips, semi-sweet chocolate works well. You can also try dark chocolate for a richer taste.
Common Substitutions
If you are out of unsweetened cocoa powder, try Dutch-processed cocoa. It is less acidic and gives a smoother taste.
You can swap granulated sugar with coconut sugar for a lower glycemic index. It will change the color slightly, but the taste remains sweet.
In case you need a gluten-free option, substitute all-purpose flour with a gluten-free blend. Make sure it contains xanthan gum for the right texture.
For a dairy-free version, use coconut oil instead of butter. Also, find a dairy-free chocolate chip brand.
Lastly, if you cannot find mini peanut butter cups, chop regular-sized ones. You can also use chocolate-covered peanut butter candies as a fun alternative.
Step-by-Step Instructions
Preparation Steps
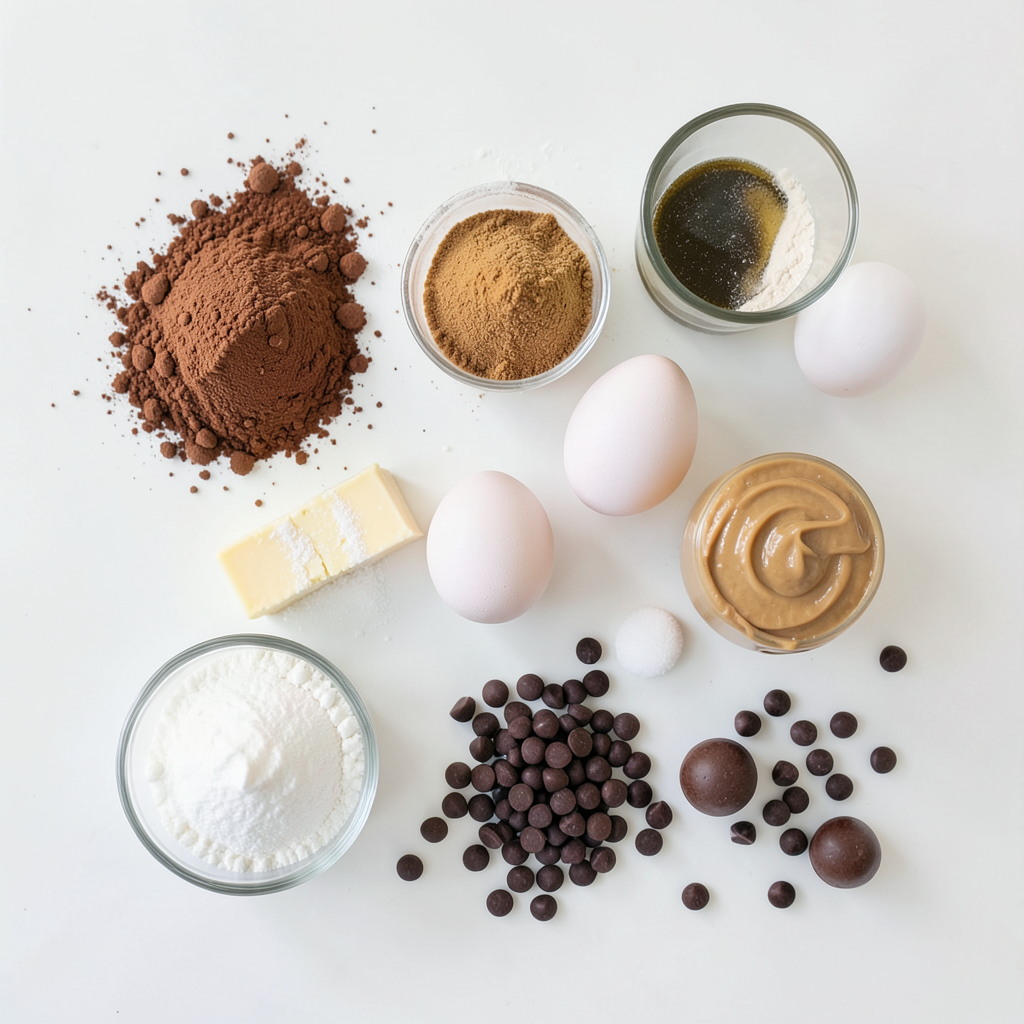
First, gather all your ingredients. You will need cocoa powder, sugars, flour, butter, peanut butter, eggs, vanilla, baking powder, salt, and mini peanut butter cups. Preheat your oven to 350°F (175°C). Grease a 9x13 inch baking pan or line it with parchment paper for easy removal. In a large bowl, whisk the cocoa powder, granulated sugar, brown sugar, flour, baking powder, and salt. Mix until everything is well combined.
In another bowl, combine the melted butter and creamy peanut butter. Stir them until they blend smoothly. Next, add the eggs and vanilla extract. Whisk until this mixture is creamy and well mixed. Pour the wet ingredients into the dry mixture. Stir until just combined. Be careful not to overmix, as this can affect the texture of your brownies.
Now, fold in the chopped mini peanut butter cups and semi-sweet chocolate chips. Save some for the top. This will make the brownies even more delicious.
Baking Instructions
Spread the brownie batter evenly in the prepared baking pan. Tap the pan gently on the counter to release any air bubbles that may be trapped. Sprinkle the reserved mini peanut butter cups on top. Bake your brownies in the preheated oven for 25-30 minutes. Check for doneness by inserting a toothpick into the center. It should come out with a few moist crumbs but not wet batter.
Cooling and Serving Guidelines
After baking, take the brownies out of the oven. Let them cool in the pan for at least 15 minutes. This helps them set and makes cutting easier. Once cooled, transfer the brownies to a wire rack to cool completely. When they are cool, cut them into squares. For a fun twist, plate them on a decorative platter and dust with powdered sugar. You might also enjoy them with a scoop of vanilla ice cream for a sweet treat!
Tips & Tricks
How to Perfect Your Brownies
To get rich and fudgy brownies, use quality cocoa powder. I love unsweetened cocoa for a deep chocolate taste. Make sure your butter is melted but not hot. This keeps the eggs from cooking when you mix them in. Mix your dry and wet ingredients separately first. This helps avoid lumps and keeps the batter smooth. When you combine them, stir until just mixed. Overmixing can make brownies tough.
Avoiding Common Mistakes
One common mistake is baking too long. Check your brownies at 25 minutes. A toothpick should come out with a few moist crumbs, not wet batter. If you bake too long, they will dry out. Another mistake is not cooling them before cutting. Let them cool for at least 15 minutes. This helps them set and makes cutting easier.
Enhancing Flavor Profiles
To boost flavor, try adding a pinch of espresso powder. This will enhance the chocolate taste. You can also use dark chocolate chips for a richer flavor. For a twist, mix in some chopped nuts or a swirl of caramel. If you like a salty-sweet combo, sprinkle a little sea salt on top before baking. These small tweaks can take your brownies to the next level!
Pro Tips
- Use Quality Chocolate: Opt for high-quality semi-sweet chocolate chips for a richer flavor in your brownies.
- Don’t Overmix: When combining wet and dry ingredients, mix until just combined to ensure fudgy brownies.
- Check for Doneness: Insert a toothpick in the center; it should come out with a few moist crumbs for perfectly baked brownies.
- Let Them Cool: Allow brownies to cool completely before cutting for cleaner, neater squares.
Variations
Alternative Add-ins (nuts, chocolate, etc.)
You can make your Peanut Butter Cup Brownies even better with fun add-ins. Try adding chopped nuts, like walnuts or pecans, for a crunchy bite. You can also mix in other types of chocolate. Dark chocolate chips or white chocolate chunks add a nice twist. If you love caramel, drizzle it on top or mix it in. These changes bring new flavors and textures to your brownies.
Different Serving Ideas
Serving your brownies differently can make them more exciting. Try cutting them into fun shapes with cookie cutters. This makes them fun for parties or kids. You can also serve them warm with a scoop of vanilla ice cream. A drizzle of chocolate sauce on top makes them extra special. For a fancy touch, dust them with powdered sugar before serving. Pairing brownies with coffee or milk enhances the taste.
Special Diet Adaptations (gluten-free, vegan)
If you need gluten-free brownies, swap out regular flour for almond or coconut flour. This keeps the flavor rich while making them safe for gluten-free diets. To make them vegan, replace eggs with flax eggs or applesauce. Use vegan chocolate chips and peanut butter to keep it plant-based. These tweaks let everyone enjoy this tasty treat, regardless of dietary needs.
Storage Info
Best Storage Practices
To keep your Peanut Butter Cup Brownies fresh, store them in an airtight container. This method helps prevent them from drying out and losing their rich taste. Place a layer of parchment paper between the brownies and the lid. This step keeps them from sticking together. You can store them at room temperature for up to four days. If you want them to last longer, refrigeration is a great option.
Freezing Instructions
Freezing your brownies is easy and effective. First, let them cool completely. Then, cut the brownies into squares. Wrap each square tightly in plastic wrap. After that, place the wrapped brownies in a freezer-safe bag or container. You can freeze them for up to three months. When you are ready to enjoy, just thaw them in the fridge overnight.
Reheating Tips
If you want to warm up your brownies, use the microwave. Place a square on a microwave-safe plate. Heat it in short bursts, about 10 to 15 seconds. This method keeps the brownie soft and gooey. You can also reheat them in the oven. Preheat your oven to 350°F (175°C). Place the brownies on a baking sheet and warm them for about 5 to 10 minutes. Enjoy them warm for a comforting treat!
FAQs
How long do Peanut Butter Cup Brownies last?
Peanut Butter Cup Brownies can last for up to one week. Store them in an airtight container. This keeps them fresh and moist. If you want them to last longer, you can freeze them. Just make sure to wrap them well in plastic wrap.
Can I make these brownies ahead of time?
Yes, you can make these brownies ahead of time. They taste great after a day or two. This makes them perfect for parties or gatherings. Just remember to let them cool completely before storing them. This helps keep their texture nice.
What can I serve with Peanut Butter Cup Brownies?
You can serve these brownies with many delicious sides. A scoop of vanilla ice cream pairs perfectly. You can also serve them with whipped cream or fresh berries for a fruity touch. Drizzling some chocolate or caramel sauce on top adds extra flair. Enjoy your brownies with a warm cup of coffee or milk for a delightful treat!
This blog post covered how to create amazing peanut butter cup brownies. We detailed the key ingredients and offered smart substitutions. You learned step-by-step instructions for baking and cooling. I shared tips to perfect your brownies and avoid common errors. We also explored fun variations and best storage methods.
In this journey, baking these brownies can bring joy to you and those around you. Enjoy creating delicious treats that fit your taste!