

LATEST RECIPES

LET'S GET COOKING!
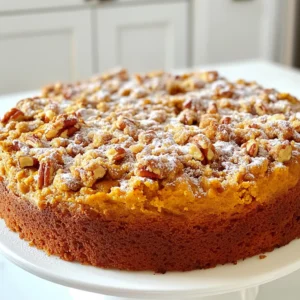
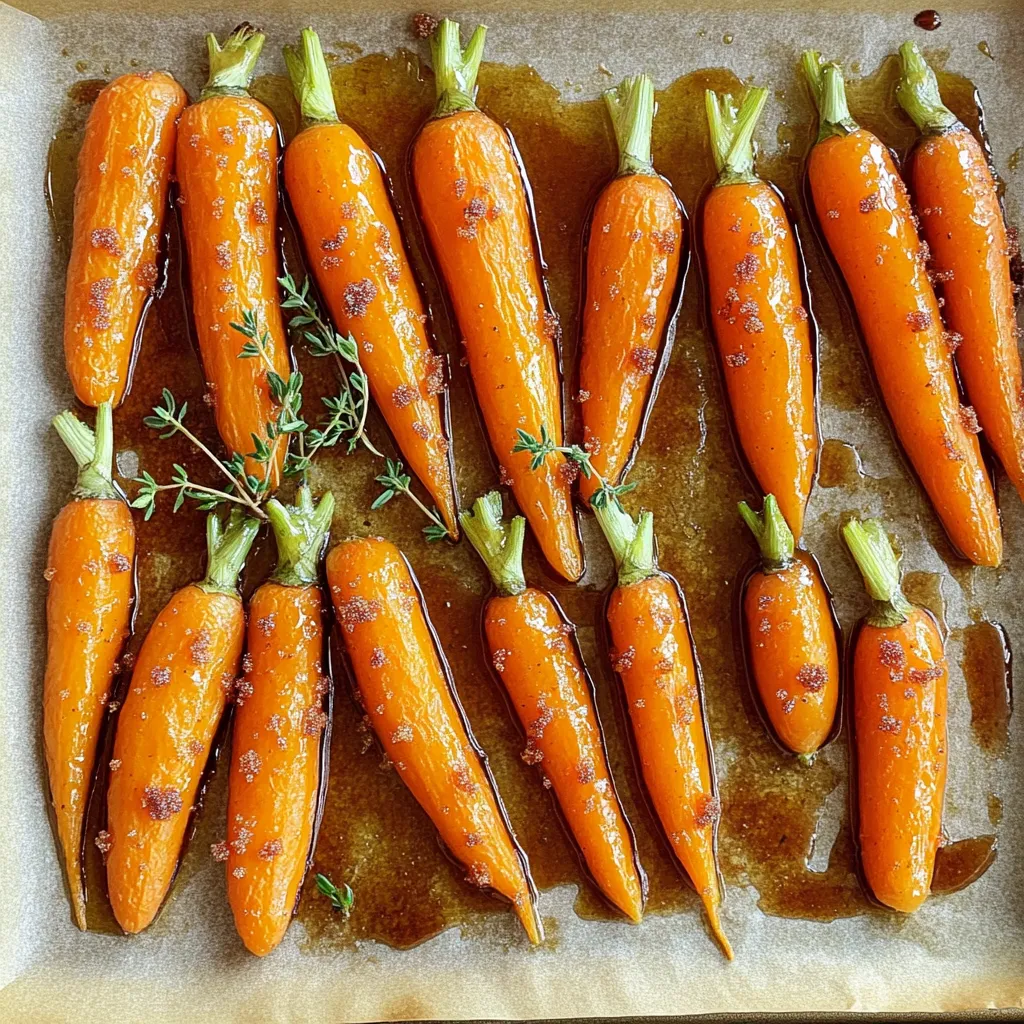
Maple Brown Sugar Roasted Carrots Flavorful Side Dish
Looking for a side dish that delights your taste buds? Try Maple Brown Sugar Roasted Carrots! This recipe transforms simple carrots into a sweet, savory...
Read Full Recipe →