

LATEST RECIPES


LET'S GET COOKING!
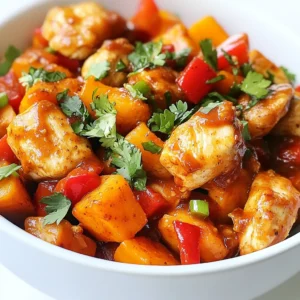
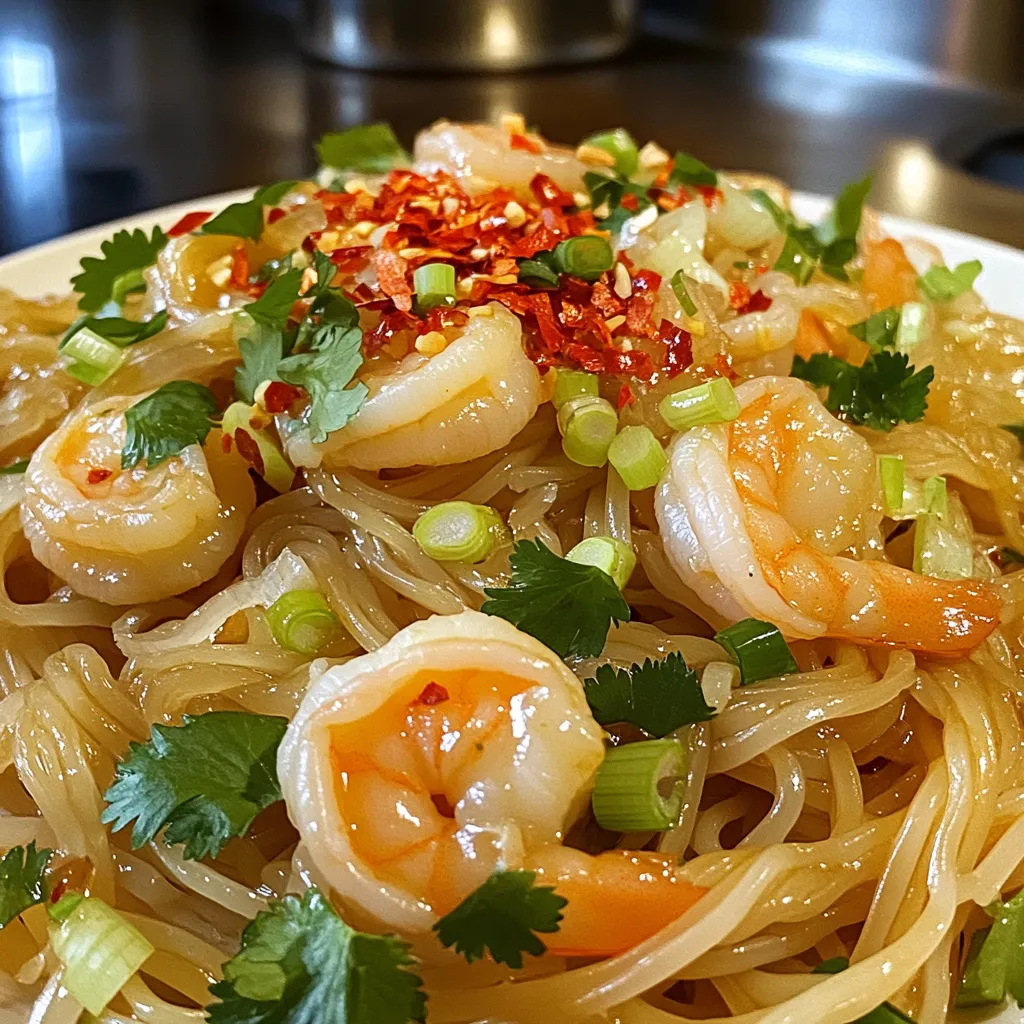
Minute Spicy Chili Garlic Shrimp Noodles Delight
Craving a quick and tasty meal? Look no further than Minute Spicy Chili Garlic Shrimp Noodles! This dish is packed with flavor and comes together...
Read Full Recipe →