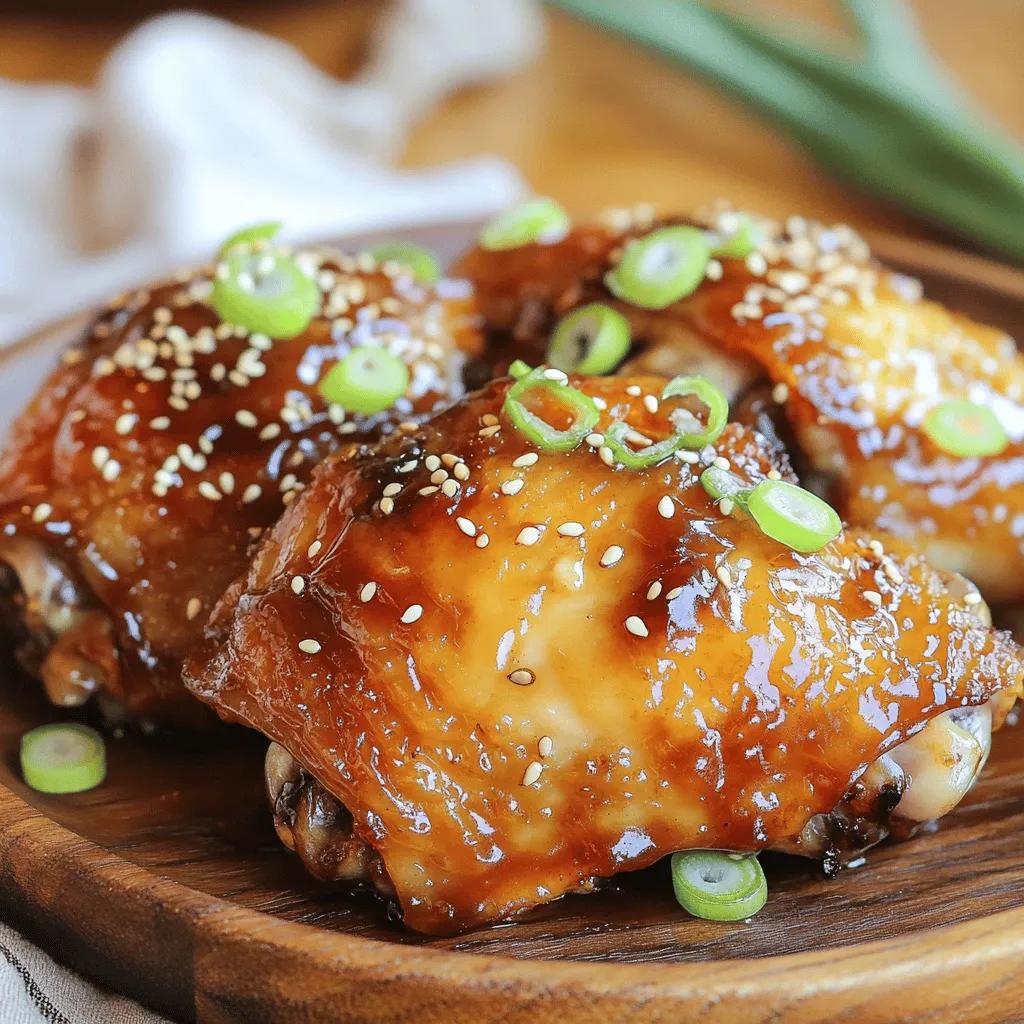
Are you ready to elevate your dinner game? Honey Soy Glazed Chicken Thighs are a simple yet delicious way to impress your family and friends. In this blog post, I’ll guide you through each step, from choosing the right ingredients to cooking techniques that guarantee juicy, flavorful chicken. Let’s dive into this tasty recipe that will become a weeknight favorite in no time!
Ingredients
List of Ingredients
– 4 chicken thighs, skin-on and bone-in
– 1/4 cup soy sauce
– 1/4 cup honey
– 2 tablespoons rice vinegar
– 2 cloves garlic, minced
– 1 teaspoon fresh ginger, grated
– 1 tablespoon sesame oil
– 1 tablespoon cornstarch (optional, for thickening)
– Salt and pepper to taste
– Sliced green onions and sesame seeds for garnish
Essential Ingredients for Honey Soy Glazed Chicken
The key to great honey soy glazed chicken lies in the balance of flavors.
– Chicken Thighs: I love using skin-on, bone-in thighs. They stay juicy and tender.
– Soy Sauce: This adds saltiness and umami. It’s a must-have ingredient.
– Honey: The sweetness of honey balances the salt from the soy sauce.
– Garlic and Ginger: These add depth and warmth to the dish.
– Rice Vinegar: It brings a nice tang to the marinade.
Optional Ingredients for Added Flavor
You can take your chicken to the next level with a few extras.
– Cornstarch: If you want a thicker glaze, use cornstarch. It’s simple and effective.
– Sesame Oil: This gives a nutty flavor and enhances the overall taste.
– Garnishes: Sliced green onions and sesame seeds add brightness and crunch.
With these ingredients, you’ll create a dish that bursts with flavor. I can’t wait for you to try this recipe!
Step-by-Step Instructions
Preparing the Marinade
First, gather your ingredients. You need:
– 1/4 cup soy sauce
– 1/4 cup honey
– 2 tablespoons rice vinegar
– 2 cloves garlic, minced
– 1 teaspoon fresh ginger, grated
– 1 tablespoon sesame oil
In a medium bowl, whisk together the soy sauce, honey, rice vinegar, minced garlic, grated ginger, and sesame oil. Mix well until you see a smooth blend. This marinade gives the chicken a sweet and salty kick.
Marinating the Chicken Thighs
Next, take 4 chicken thighs. Make sure they have skin and bone for the best flavor. Place them in a large resealable bag or a shallow dish. Pour the marinade over the chicken thighs. Seal the bag or cover the dish. Let it sit in the fridge for at least 30 minutes. If you have time, let it marinate for 2 hours. The longer, the better for flavor.
Cooking the Chicken: Searing and Baking
Now, preheat your oven to 400°F (200°C). Take the chicken out of the marinade, but save the marinade for later. Pat the thighs dry with paper towels. Season both sides with salt and pepper.
Heat a little oil in a large oven-safe skillet over medium-high heat. Once the oil is hot, place the chicken thighs skin-side down in the skillet. Sear them for about 5-7 minutes. You want the skin to turn golden brown and crispy.
After searing, flip the thighs over. Pour the reserved marinade on top. If you like a thicker glaze, mix 1 tablespoon of cornstarch with a little water and add it to the marinade now.
Transfer the skillet to your preheated oven. Bake for 25-30 minutes. Check that the chicken reaches an internal temperature of 165°F (75°C). Once done, take it out and let it rest for 5 minutes.
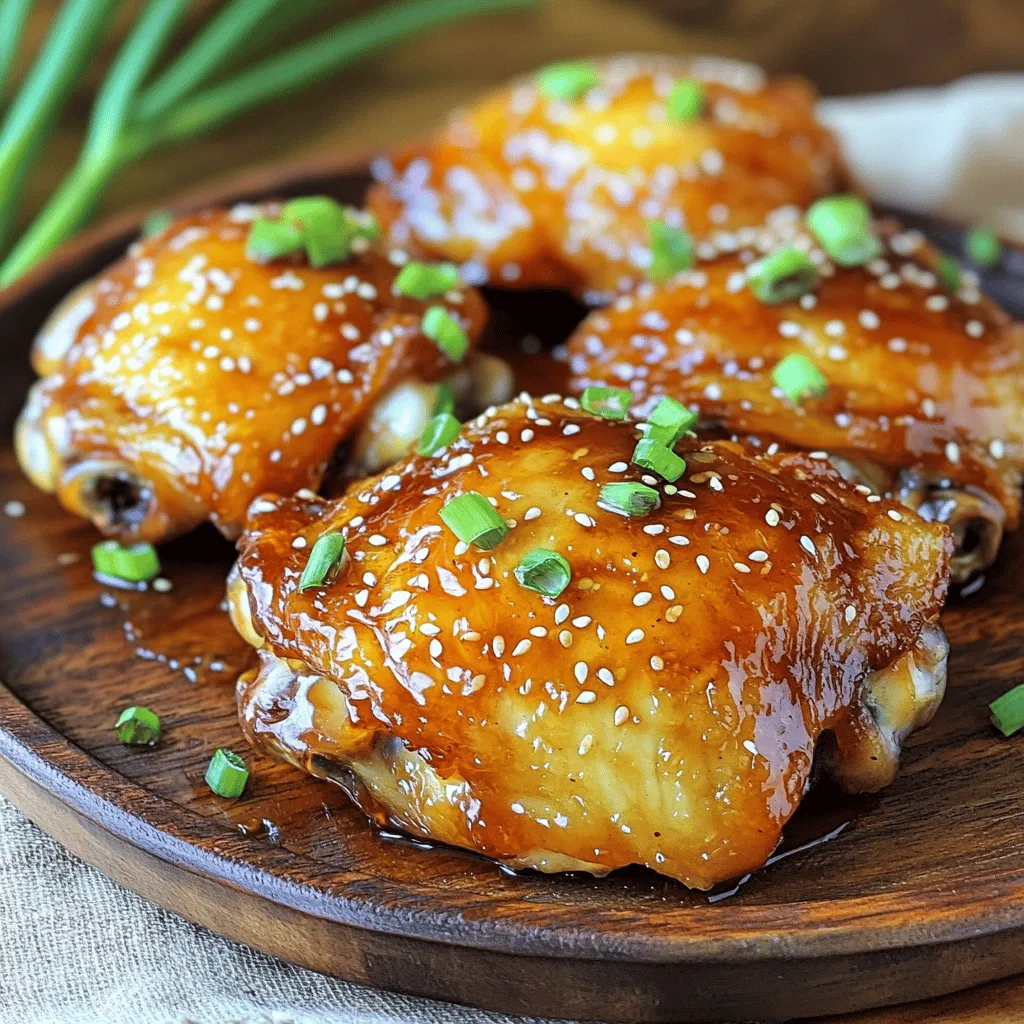
Serve the chicken thighs drizzled with the thickened glaze. Garnish with sliced green onions and sesame seeds for a nice touch. Enjoy your dinner!
Tips & Tricks
Best Practices for Marinating Chicken
To get the best flavor, marinate the chicken thighs well. Use a mix of soy sauce, honey, rice vinegar, garlic, ginger, and sesame oil. You can marinate for at least 30 minutes. For more flavor, try to marinate for up to 2 hours. Always keep the chicken in the fridge while it marinates. This keeps it safe and fresh.
How to Achieve Crispy Skin
For crispy skin, start by patting the chicken dry with paper towels. This step removes excess moisture. Next, heat oil in an oven-safe skillet over medium-high heat. Sear the chicken skin-side down for 5-7 minutes. You want the skin to turn golden brown. Avoid moving the chicken too much during this time. This helps develop that crispy texture you crave.
Common Mistakes to Avoid When Cooking Chicken Thighs
One common mistake is skipping the drying step. Wet skin won’t crisp up. Another mistake is overcooking the chicken. Always check for an internal temperature of 165°F (75°C). Lastly, don’t forget to let the chicken rest after cooking. This keeps it juicy. Following these tips will help you make perfectly glazed chicken thighs every time.
Variations
Alternative Proteins: Using Chicken Breasts or Drumsticks
You can switch chicken thighs for chicken breasts or drumsticks. Chicken breasts are leaner and cook faster. Check their internal temperature reaches 165°F to ensure doneness. Drumsticks will have more flavor due to the bone. Adjust your cooking time accordingly, as they may take longer than thighs.
Vegetarian Option: Tofu or Tempeh Substitute
For a plant-based meal, use tofu or tempeh. Cut firm tofu into thick slices or cubes. Tempeh offers a nutty flavor and great texture. Marinate them just like you would chicken. Cook on medium heat until golden brown. This way, you enjoy the same sweet and savory glaze.
Flavor Variations: Adding Spices or Citrus
You can enhance the glaze by adding spices or citrus. Try a pinch of red pepper flakes for heat. A splash of lime or orange juice adds brightness. Fresh herbs like cilantro or basil can bring a new taste. Get creative and find your favorite mix!
Storage Info
How to Store Leftovers
To keep your honey soy glazed chicken thighs fresh, store them in an airtight container. Let the chicken cool down to room temperature first. Place it in the fridge and use it within three to four days for the best taste. If you have extra sauce, keep that in a separate container. This helps the chicken stay juicy and flavorful.
Reheating Honey Soy Glazed Chicken Thighs
When you are ready to eat leftovers, reheating is key. You can use the oven or the microwave. For the oven, preheat it to 350°F (175°C). Place the chicken in a baking dish and cover it with foil. Heat for about 15-20 minutes. This helps keep the skin crispy. If using the microwave, place the chicken on a plate and cover it with a damp paper towel. Heat it for 1-2 minutes, checking often.
Freezing Tips for Meal Prep
If you want to save the chicken for later, freezing is a great option. First, let the chicken cool completely. Wrap each piece tightly in plastic wrap, then place them in a freezer bag. Remove as much air as possible before sealing. You can freeze the chicken for up to three months. When you are ready to eat, thaw it in the fridge overnight before reheating.
FAQs
Can I use boneless chicken thighs for this recipe?
Yes, you can use boneless chicken thighs. They cook faster than bone-in thighs. Adjust the cooking time to about 20-25 minutes in the oven. This will help keep them juicy. Boneless thighs soak up the honey-soy glaze well. They will be very tasty!
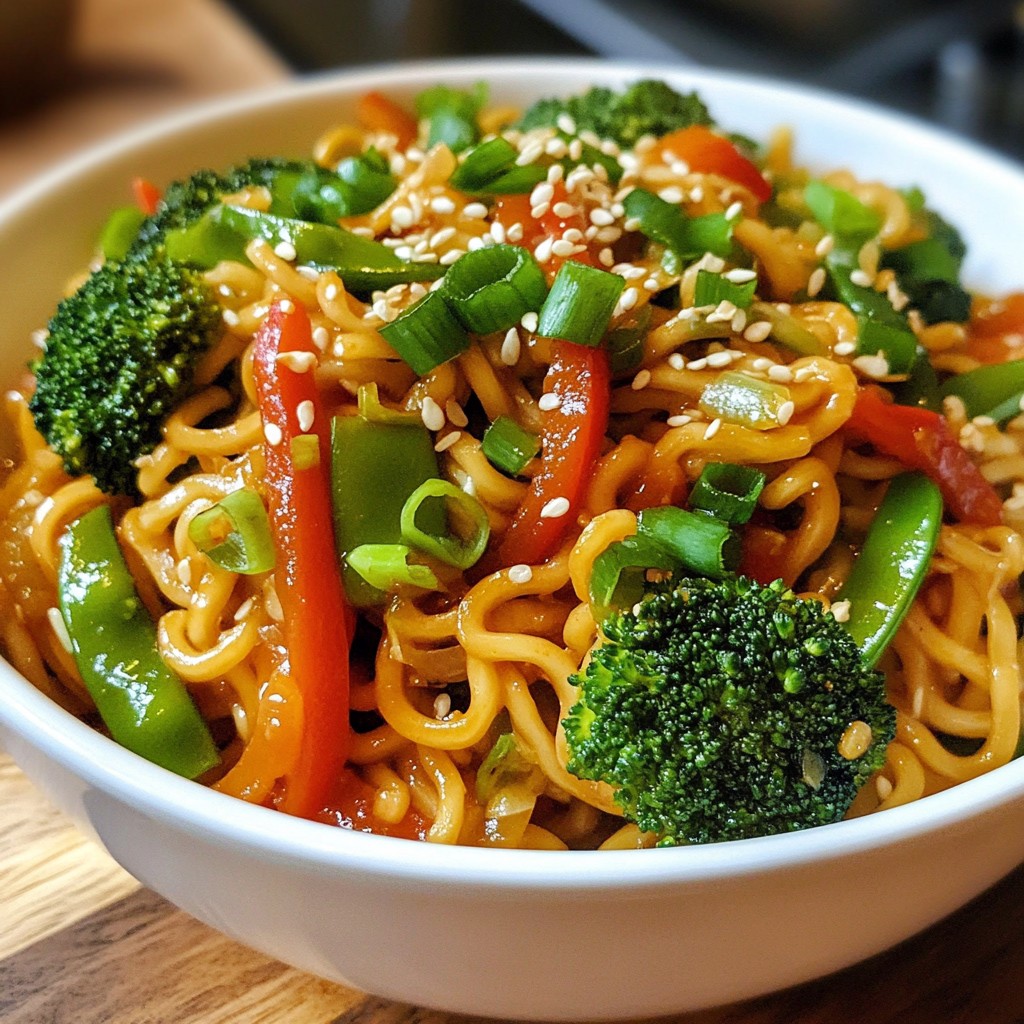
What can I serve with honey soy glazed chicken thighs?
Honey soy glazed chicken thighs pair well with many sides. Here are some great options:
– Steamed rice or jasmine rice
– Stir-fried vegetables like broccoli or snap peas
– Roasted sweet potatoes or regular potatoes
– A fresh salad with sesame dressing
– Noodles tossed in soy sauce
These sides balance the rich flavor of the chicken. You can mix and match to fit your taste!
How do I know when the chicken is cooked through?
To check if the chicken is done, use a meat thermometer. The internal temperature should reach 165°F (75°C). If you don’t have a thermometer, cut into the chicken. The meat should be white and juices should run clear. No pink should remain. Let the chicken rest for 5 minutes after cooking. It helps keep it juicy and tender!
Honey soy glazed chicken is simple and tasty. We covered the key ingredients, starting with essentials and optional flavors to boost taste. Following that, I shared step-by-step instructions, from making the marinade to cooking techniques. We also discussed tips to ensure juicy chicken with crispy skin, along with common mistakes to avoid.
Finally, I highlighted variations for different proteins and shared storage tips to keep leftovers fresh. With these easy methods, you can enjoy great meals every time. Try it out to make your cooking fun and delicious!