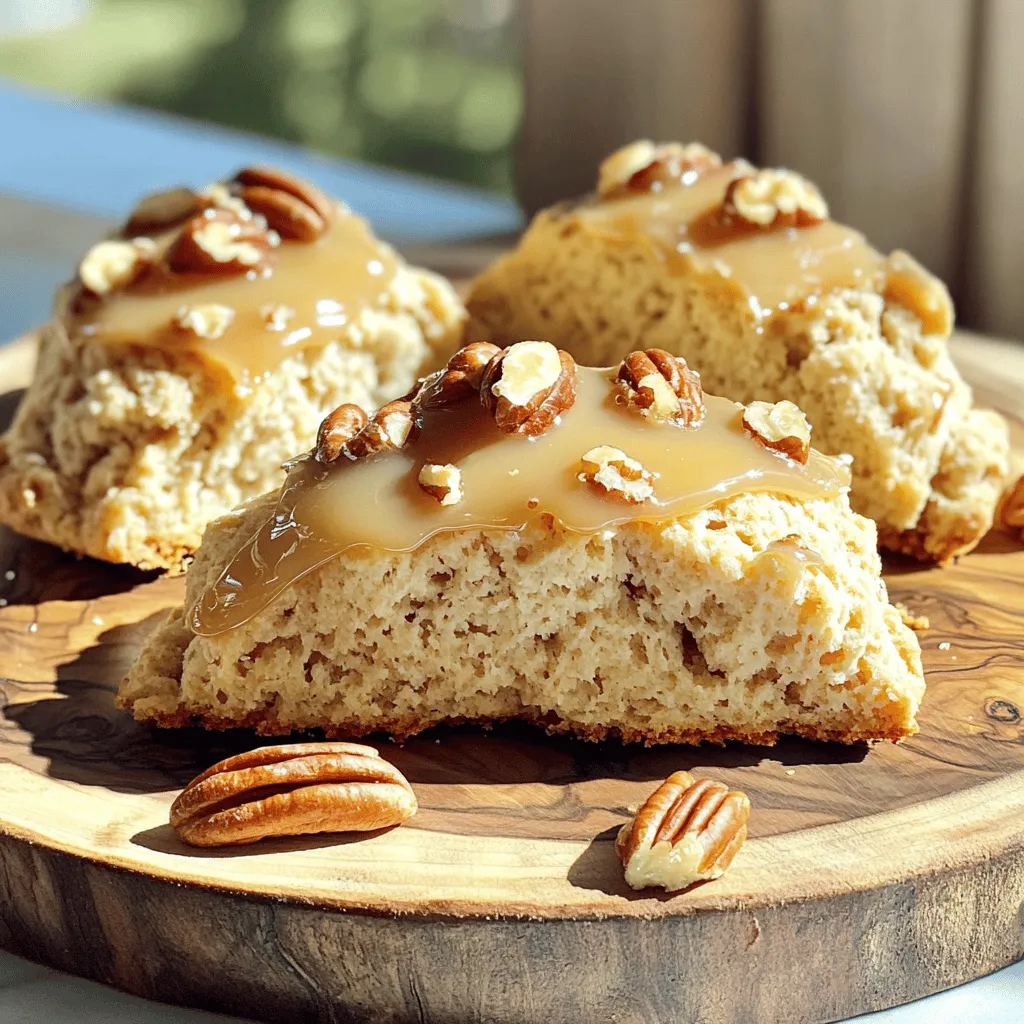
Craving a treat that balances rich flavor with a touch of sweetness? Look no further! In this post, we’ll explore how to make Brown Butter Maple Glazed Scones that will wow your taste buds. With simple ingredients and easy steps, you’ll create delightful scones that melt in your mouth. Let’s dive into the world of baking and discover the joy of these tasty treats together!
Ingredients
Essential Ingredients for Brown Butter Maple Glazed Scones
To make these scones, gather these key ingredients:
– 2 cups all-purpose flour
– 1/2 cup granulated sugar
– 1 tablespoon baking powder
– 1/2 teaspoon salt
– 1/2 cup unsalted butter (1 stick), browned
– 1/2 cup heavy cream
– 1/4 cup pure maple syrup
– 1 large egg
– 1 teaspoon vanilla extract
These ingredients create a rich base for your scones. The browned butter adds a deep, nutty flavor. The maple syrup brings sweetness and pairs well with the other tastes.
Optional Add-ins for Extra Flavor
To make your scones even better, consider adding:
– 1/2 cup chopped pecans
– 1/2 cup dried cranberries
– 1/2 cup chocolate chips
These add-ins can enhance texture and flavor. Pecans give a nice crunch, while cranberries add tartness. Chocolate chips bring a sweet touch that many love.
Ingredients for the Maple Glaze
For the glaze, you will need:
– 1 cup powdered sugar
– 2-3 tablespoons maple syrup
– 1 tablespoon browned butter
This glaze is the finishing touch. It adds sweetness and a beautiful shine. Adjust the maple syrup to get the right consistency for drizzling.
Step-by-Step Instructions
Preheat the Oven and Prepare Baking Sheet
First, set your oven to 400°F (200°C). This step is key for baking scones. While the oven heats, line a baking sheet with parchment paper. This keeps the scones from sticking and makes cleanup easier.
How to Brown Butter Perfectly
To brown the butter, place the 1/2 cup of unsalted butter in a small saucepan. Cook it over medium heat. Keep swirling the pan as it melts. Watch for a golden color and nutty scent. This takes about 5-7 minutes. Once it’s ready, remove it from the heat and let it cool slightly. This rich flavor is what makes your scones special.
Mixing the Dry Ingredients and Wet Ingredients
In a large bowl, whisk together these dry ingredients:
– 2 cups all-purpose flour
– 1/2 cup granulated sugar
– 1 tablespoon baking powder
– 1/2 teaspoon salt
In another bowl, mix the wet ingredients:
– 1/2 cup browned butter
– 1/2 cup heavy cream
– 1/4 cup pure maple syrup
– 1 large egg
– 1 teaspoon vanilla extract
Whisk these together until well mixed. This step builds flavor and texture.
Combining the Mixtures and Shaping the Dough
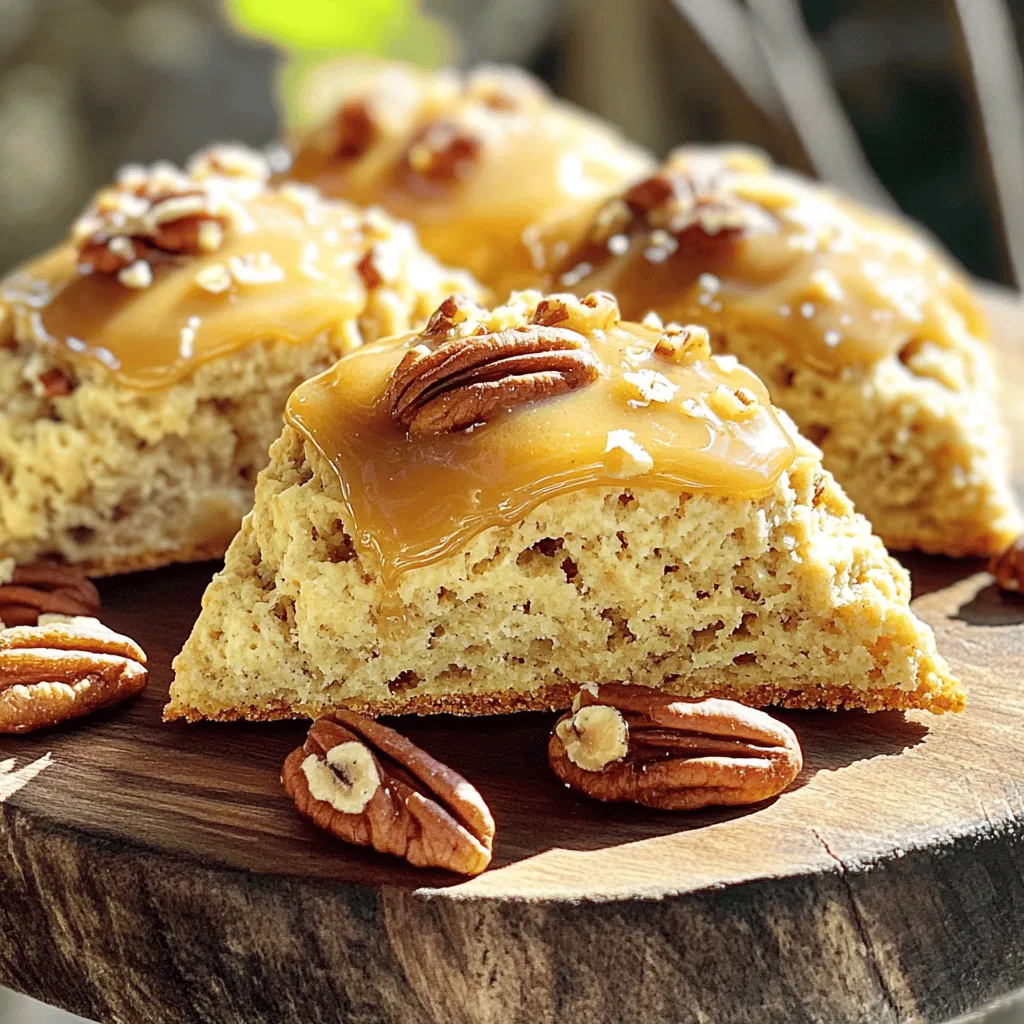
Now, pour the wet mixture into the dry bowl. Gently fold it with a spatula. Stop mixing when you see some lumps; that’s okay. If you want to add a crunch, fold in 1/2 cup of chopped pecans. Once combined, turn the dough onto a floured surface. Shape it into a round disk about 1 inch thick. Cut this disk into 8 wedges, like slicing a pizza, and place them on your prepared baking sheet.
Baking Instructions for Perfect Scones
Bake your scones in the preheated oven for 15-18 minutes. They should look lightly golden brown when done. Let them cool on the baking sheet for a few minutes. This cooling time helps them set.
Creating and Drizzling the Maple Glaze
While the scones cool, prepare the maple glaze. In a small bowl, mix together:
– 1 cup powdered sugar
– 2-3 tablespoons maple syrup
– 1 tablespoon browned butter
Stir until smooth. If it’s too thick, add more syrup. Once your scones are warm, drizzle this glaze generously over each one. This glaze adds a sweet finish that ties everything together.
Tips & Tricks
Best Practices for Scone Texture
To get the best scone texture, use cold butter. Cold butter creates steam and makes your scones flaky. You can even freeze the butter for a bit before using it. When mixing, stop as soon as the dough comes together. Some lumps are okay. Overmixing can lead to tough scones.
How to Ensure Even Baking
To bake evenly, space your scones apart on the baking sheet. Leave at least two inches between each wedge. This allows hot air to flow freely around them. Rotate the baking sheet halfway through baking. This helps the scones brown evenly on all sides.
Tips for Drizzling Maple Glaze
When making the glaze, mix the powdered sugar, maple syrup, and browned butter until smooth. If it’s too thick, add more maple syrup a little at a time. Use a spoon or a whisk to drizzle the glaze over the warm scones. Start from the center and work your way out for an even coating.
Variations
Adding Different Nuts or Fruits
You can change up the flavor of your scones by adding different nuts or fruits. Pecans are great, but walnuts or almonds also work well. If you like fruit, try adding dried cranberries or blueberries. Just chop the nuts or fruit and fold them into the dough. This adds texture and a burst of flavor to every bite.
Making Chocolate Chip Brown Butter Scones
If you love chocolate, try making chocolate chip scones. Use the same base recipe and add about 1 cup of chocolate chips instead of nuts. The sweet, creamy chocolate pairs well with brown butter. This twist makes the scones extra special. Enjoy them warm with a cup of coffee or tea.
Gluten-Free Alternatives for Scone Base
You can easily make gluten-free scones. Substitute the all-purpose flour with a gluten-free flour blend. Look for blends that include xanthan gum, as it helps with texture. You may need to adjust the liquid slightly since gluten-free flours can absorb more moisture. Follow the same steps in the recipe, and you’ll have tasty gluten-free scones!
Storage Info
How to Store Leftover Scones
To keep your scones fresh, store them in an airtight container. This helps maintain their soft texture. You can keep them at room temperature for up to 2 days. If you want to keep them longer, consider refrigeration. Just remember, the cold can change the texture slightly.
Freezing Scones for Later Use
Freezing is a great option if you have extra scones. Wrap each scone in plastic wrap. Then place them in a freezer bag. They can last up to 3 months in the freezer. When you’re ready to enjoy them, simply thaw them at room temperature.
Reheating Instructions for Freshness
To enjoy your scones warm, reheat them in the oven. Set your oven to 350°F (175°C). Place the scones on a baking sheet for about 5 to 10 minutes. This helps restore their fresh-baked taste. You can also use the microwave for quick reheating. Heat them for about 15 to 20 seconds, but be careful not to dry them out.
FAQs
What is the best way to achieve flaky scones?
To make flaky scones, use cold ingredients. Cold butter helps create layers. Cut the butter into small pieces and mix it quickly with the dry ingredients. Do not overmix the dough. This keeps the air pockets for that perfect flaky texture.
Can I use margarine instead of butter?
Yes, you can use margarine. However, it may not give the same rich flavor as browned butter. Butter adds a nice nutty taste that margarine lacks. If you want the best flavor, stick with butter.
How can I make scones without an egg?
You can use a flaxseed meal or applesauce instead of an egg. Mix 1 tablespoon of flaxseed meal with 2.5 tablespoons of water. Let it sit for a few minutes until it thickens. Use this mixture in place of the egg in the recipe.
What can I substitute for heavy cream?
You can use whole milk or half-and-half instead of heavy cream. If you want a thicker texture, mix milk with a little butter. This will mimic the richness of heavy cream in your scone recipe.
How long do the scones last?
The scones will last for about 2-3 days at room temperature. Keep them in an airtight container. If you want to keep them longer, freeze them. They last up to 3 months in the freezer. Thaw them overnight in the fridge when ready to eat.
You learned how to make tasty brown butter maple glazed scones. We covered essential ingredients, mixing steps, and baking tips. You also found great add-ins for flavor and how to store leftovers. Remember, practice makes perfect. Use these steps to impress friends and family with your baking skills. Enjoy every bite of your fresh scones and have fun experimenting with flavors. Happy baking!