FREE DINNER EBOOK!
Get your copy!
Cookie Policy
GDPR Policy
Disclaimer
Terms Of Use
Visit my other site:
Fun Cookie Recipes
Home
Dinner
Desserts
Drinks
Appetizers
Contact
About
Privacy Policy
Home
Dinner
Desserts
Drinks
Appetizers
Contact
About
Privacy Policy
Cookie Policy
GDPR Policy
Disclaimer
Terms Of Use
Visit my other site:
Fun Cookie Recipes
HOME / CATEGORIES /
Latest
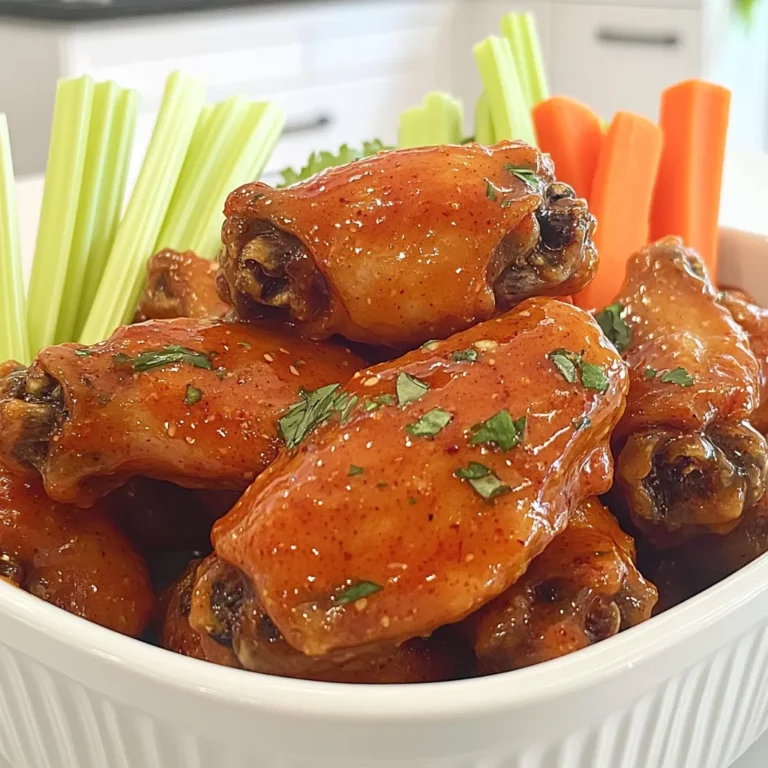
Buffalo Wings Air Fryer Crispy Flavor Explosion
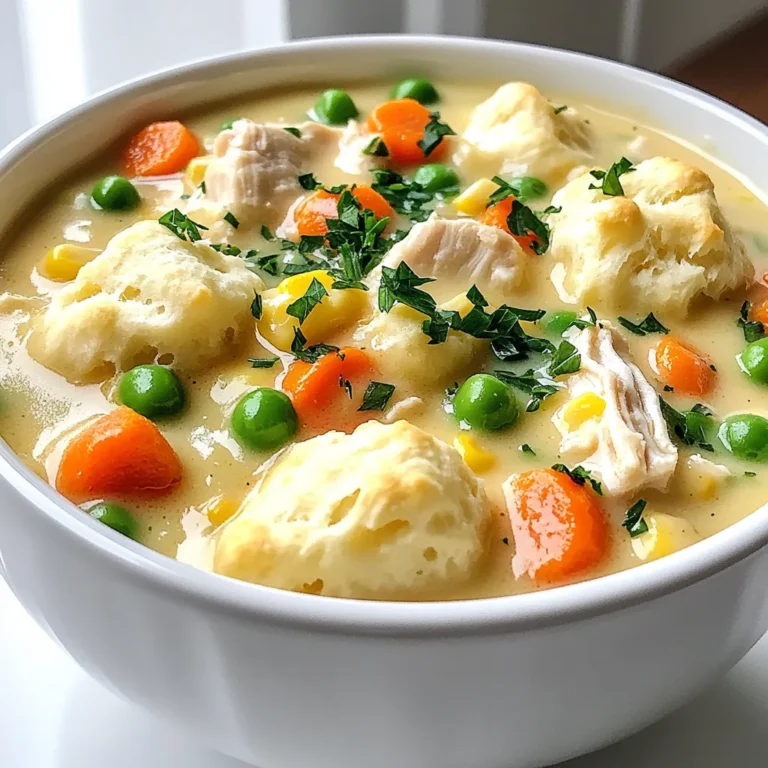
Creamy Chicken Pot Pie Soup Slow Cooker Delight
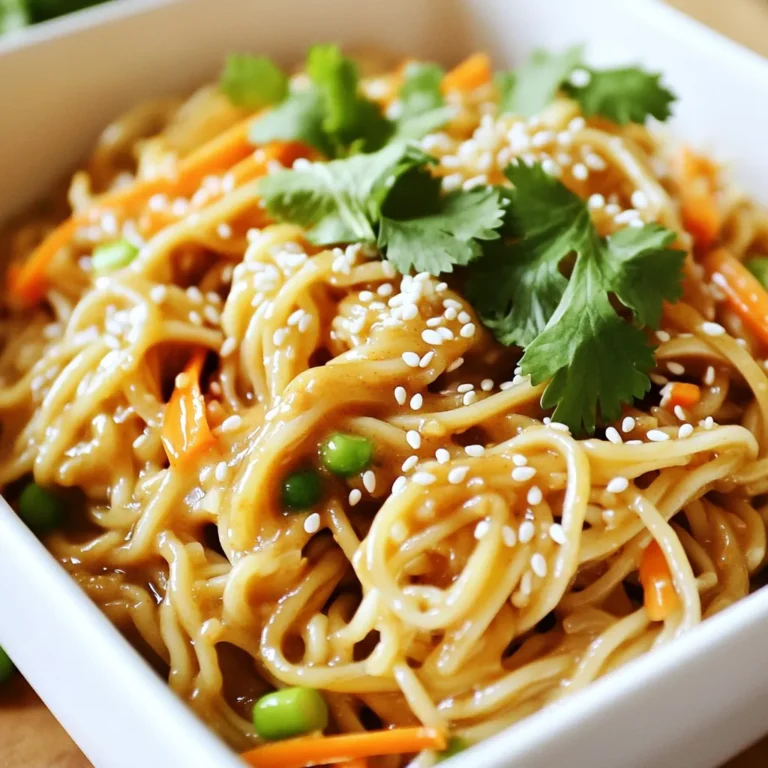
Sesame Noodles Better Than Takeout Easy and Delicious
Lemon Garlic Chicken Thighs Sheet Pan Delight Recipe
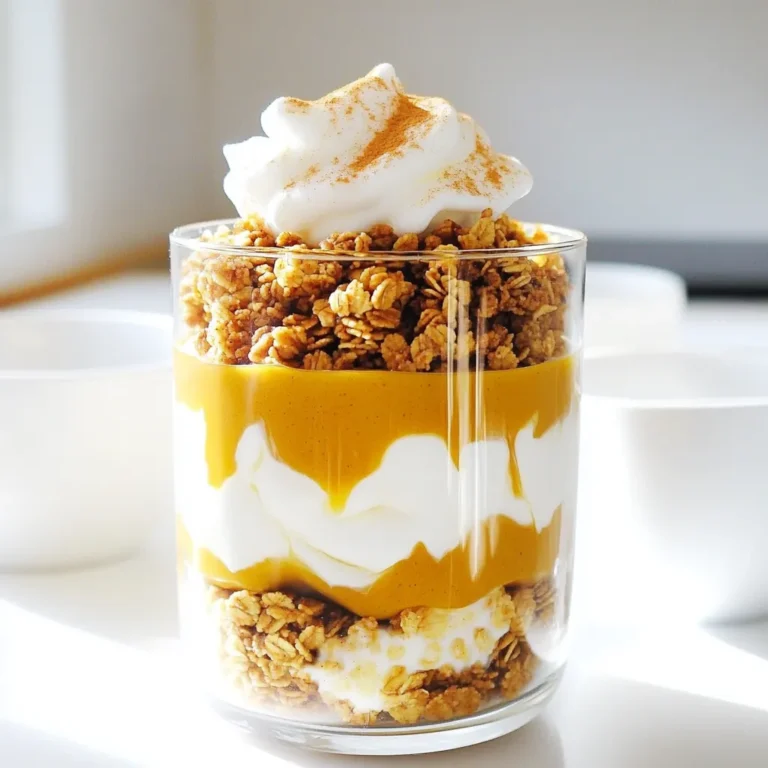
Pumpkin Spice Latte Parfait Tasty Fall Delight
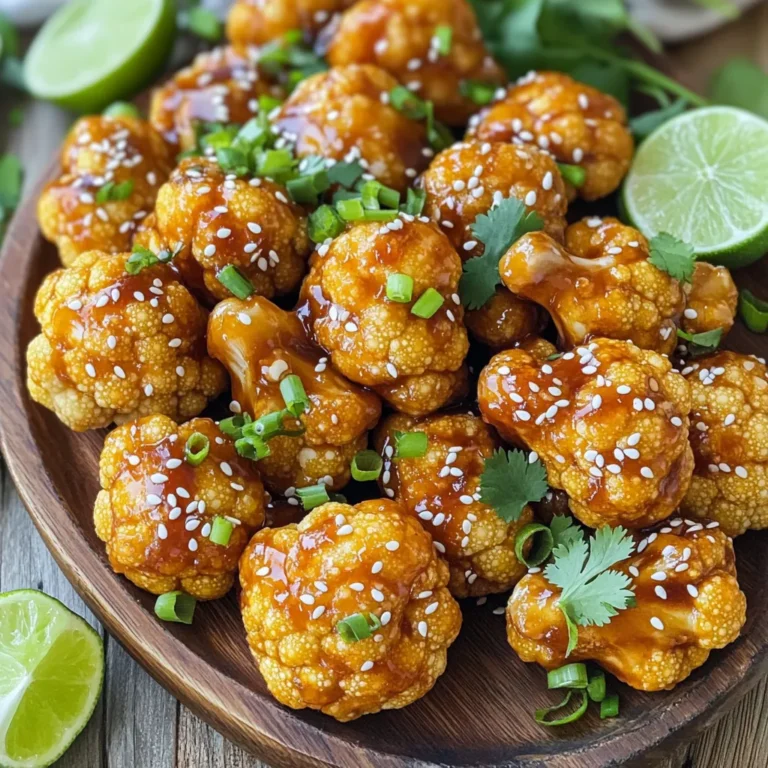
Air Fryer Crispy Teriyaki Cauliflower Wings Delight
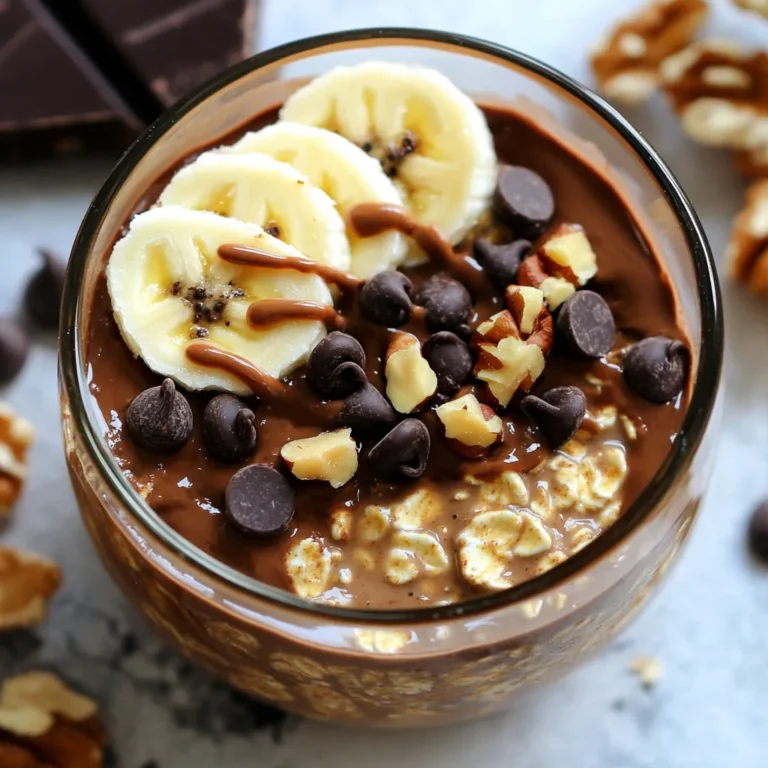
High-Protein Brownie Batter Overnight Oats Recipe
Cozy Gingerbread Hot Chocolate Festive and Warm Treat
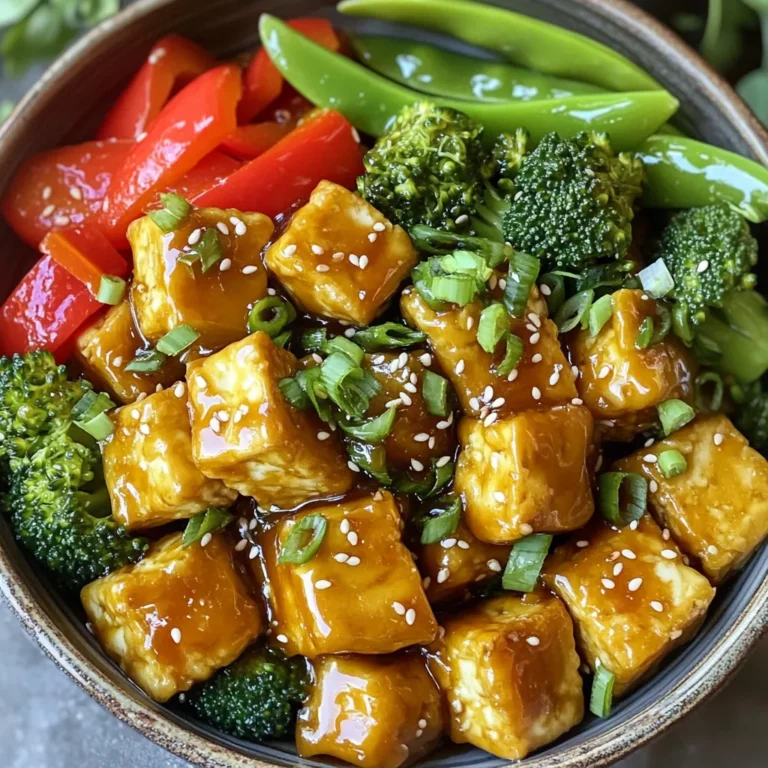
Minute Honey Garlic Tofu Stir-Fry Quick and Tasty Meal
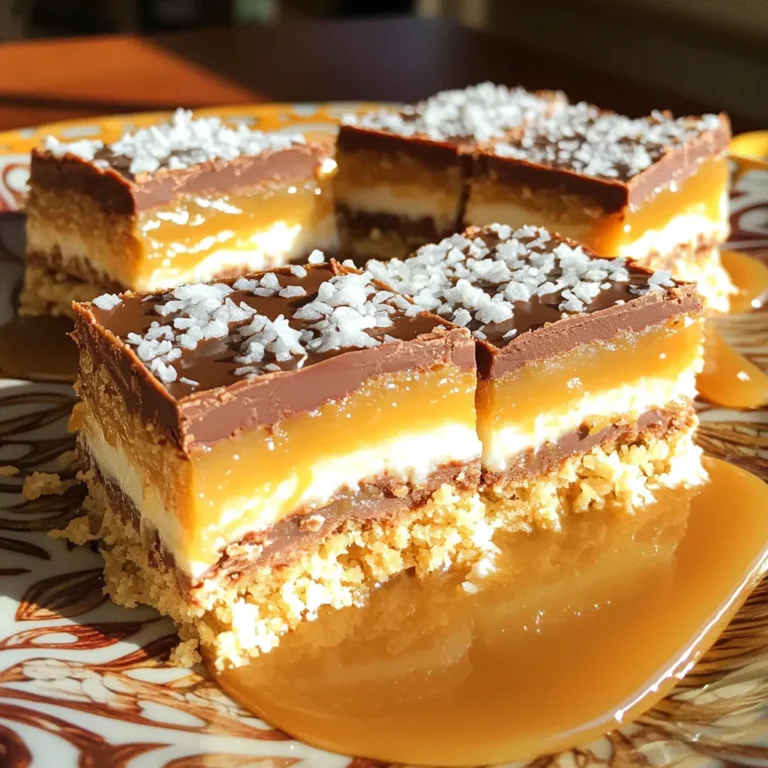
No-Bake Samoa Cookie Bars Delightful and Easy Recipe
PREV
1
…
8
9
10
…
57
NEXT