FREE DINNER EBOOK!
Get your copy!
Cookie Policy
GDPR Policy
Disclaimer
Terms Of Use
Visit my other site:
Fun Cookie Recipes
Home
Dinner
Desserts
Drinks
Appetizers
Contact
About
Privacy Policy
Home
Dinner
Desserts
Drinks
Appetizers
Contact
About
Privacy Policy
Cookie Policy
GDPR Policy
Disclaimer
Terms Of Use
Visit my other site:
Fun Cookie Recipes
HOME / CATEGORIES /
Latest
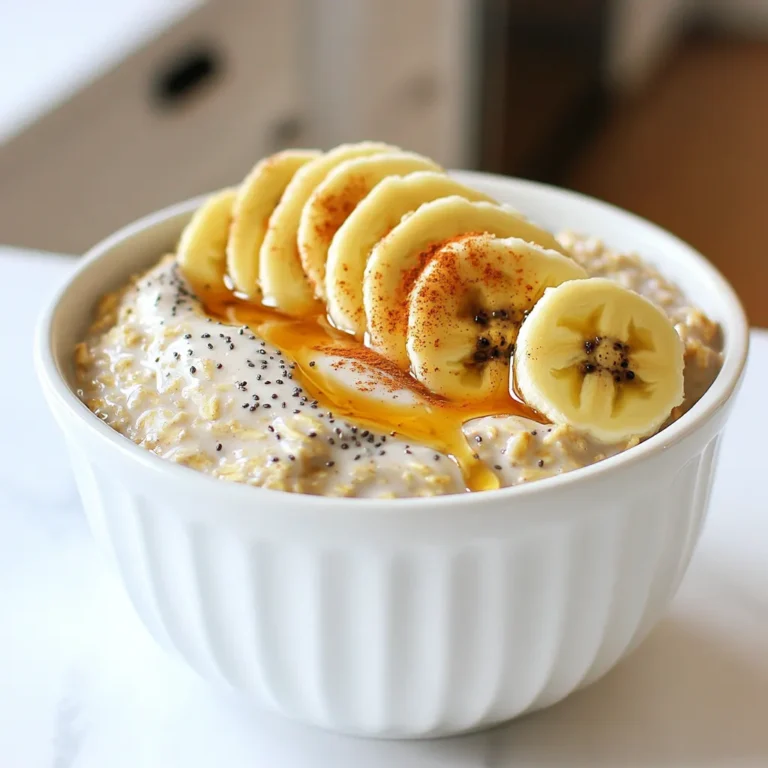
Cinnamon Roll Overnight Oats Protein Power Meal
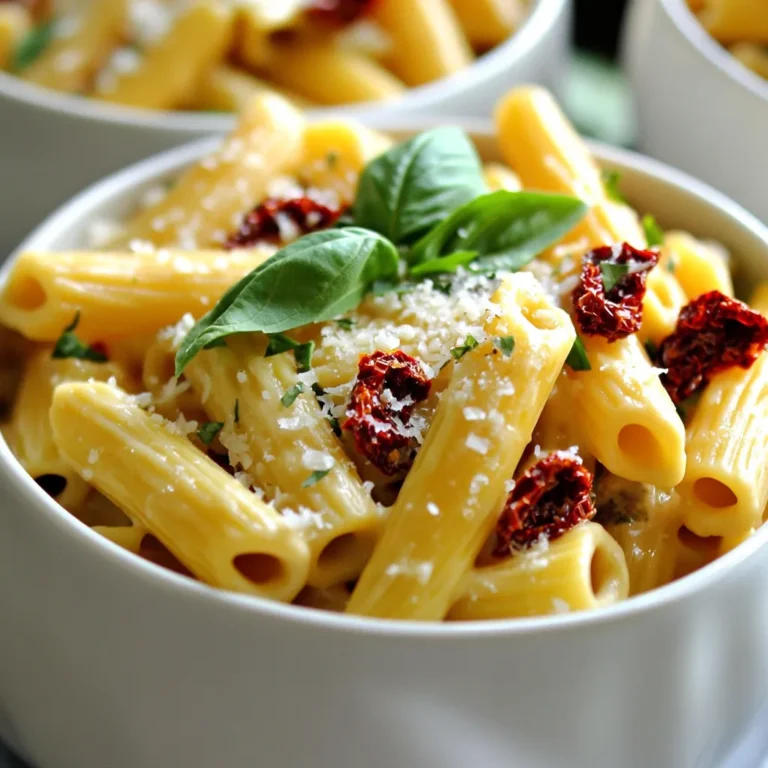
Creamy Sun-Dried Tomato Pasta One Pot Delight
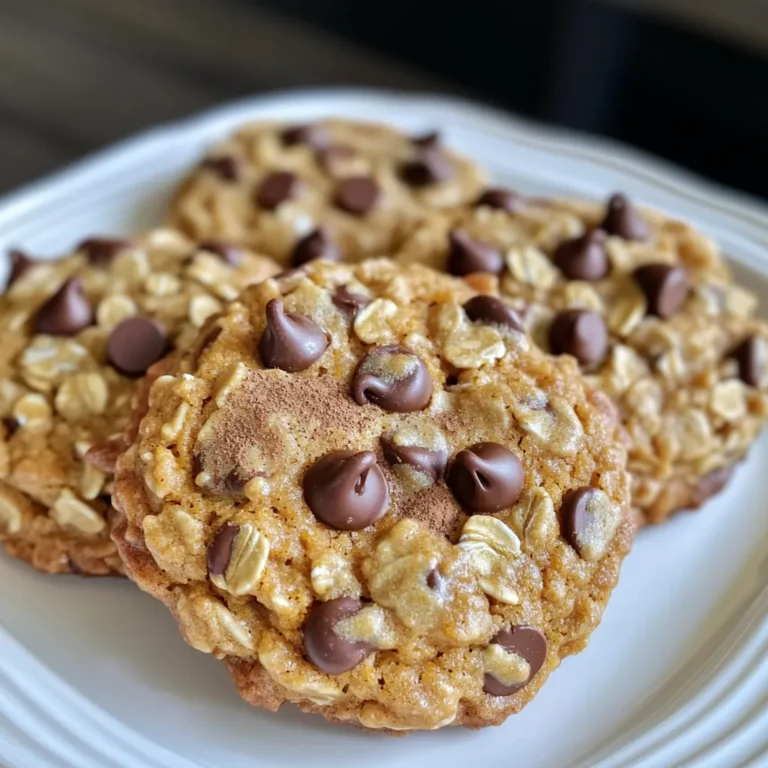
Bakery-Style Pumpkin Oatmeal Chocolate Chip Cookies Delight
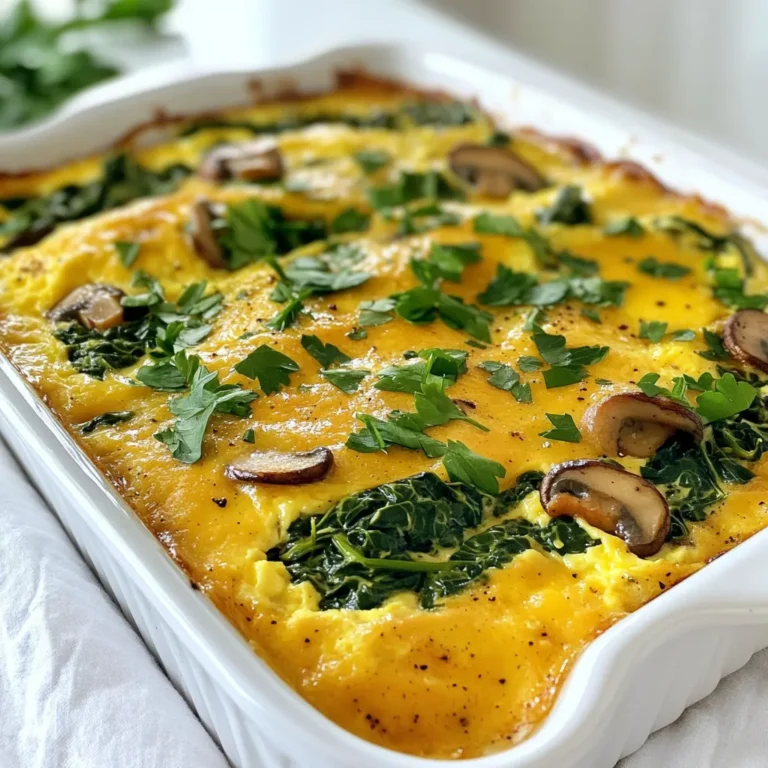
Savory Spinach Mushroom Egg Bake Simple and Tasty Dish
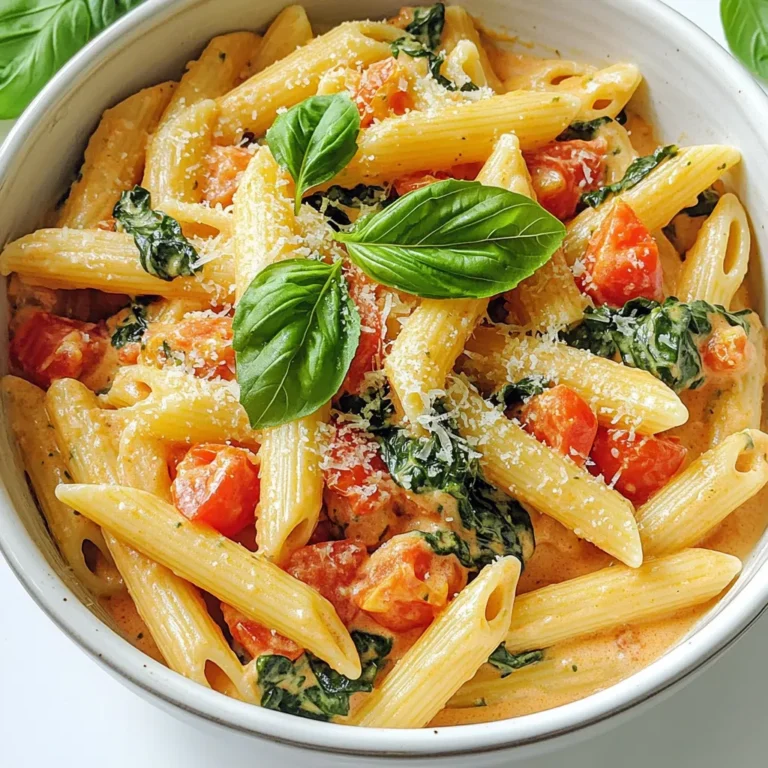
One-Pot Creamy Tuscan Tomato Basil Pasta Delight
Warm Maple Cinnamon Chai Tea Latte Cozy Delight
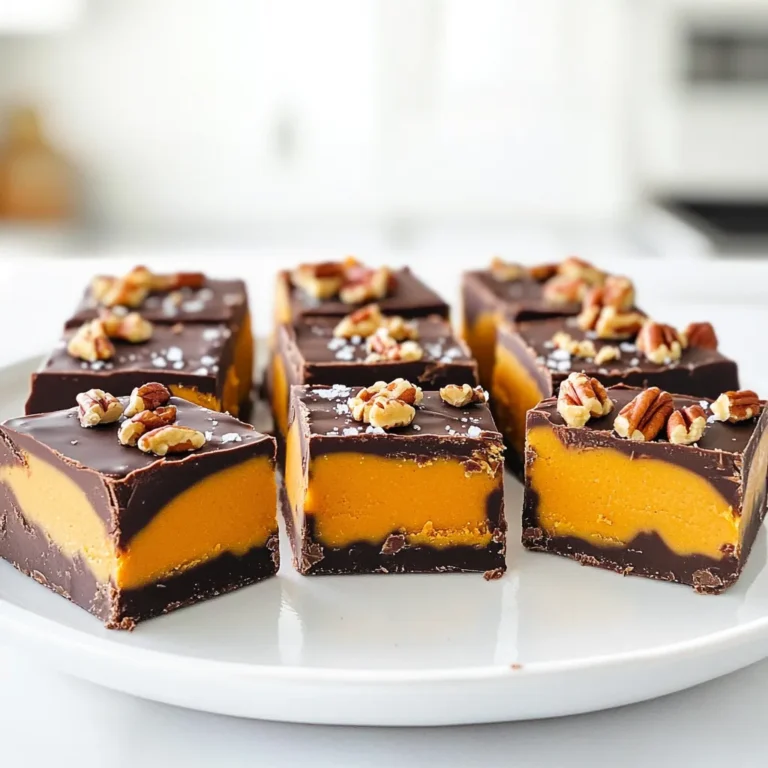
No-Bake Chocolate Peanut Butter Pumpkin Fudge Delight
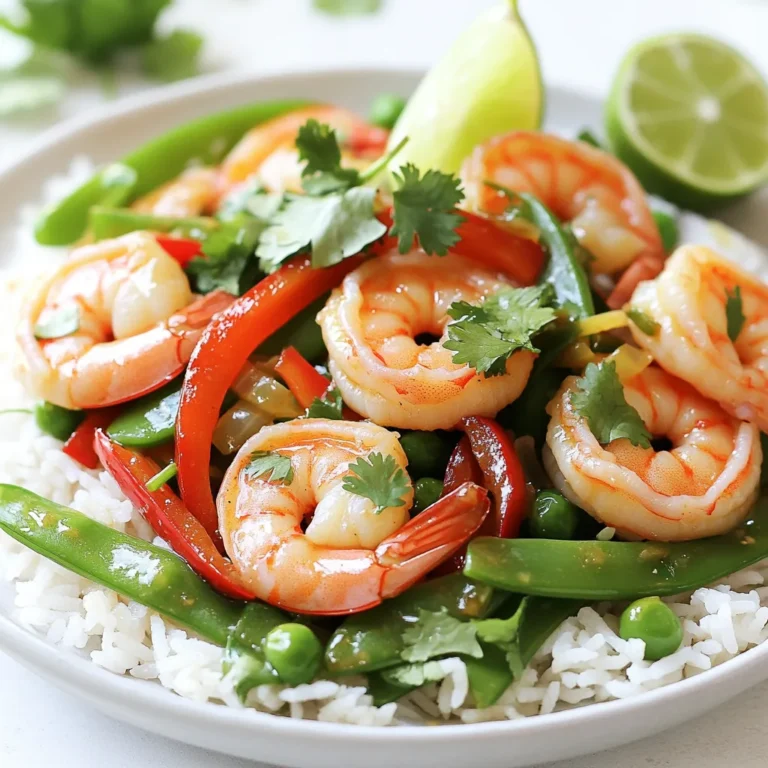
Minute Spicy Garlic Shrimp Stir Fry Quick and Tasty Meal
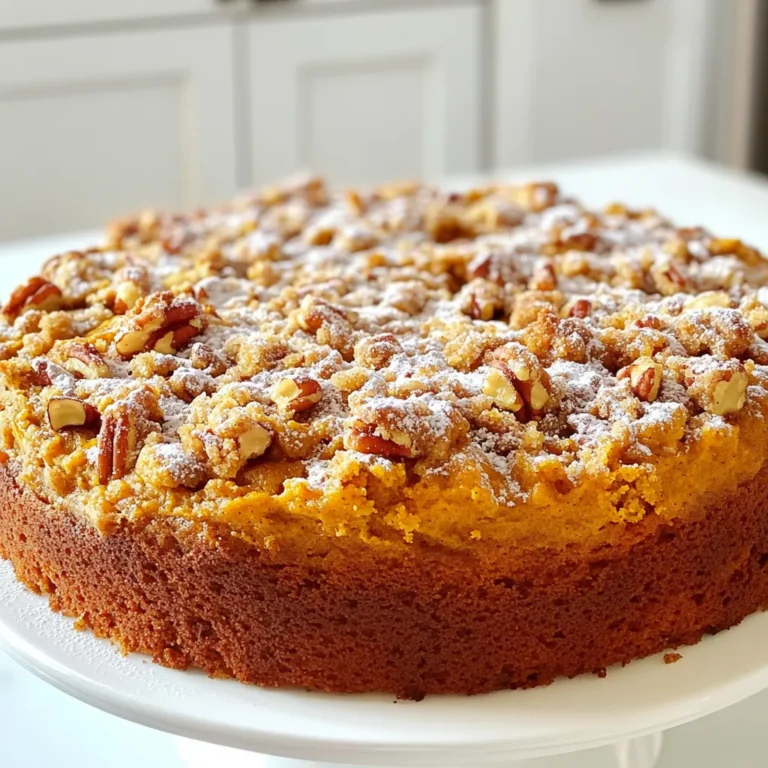
Pumpkin Streusel Coffee Cake Bakery Style Delight
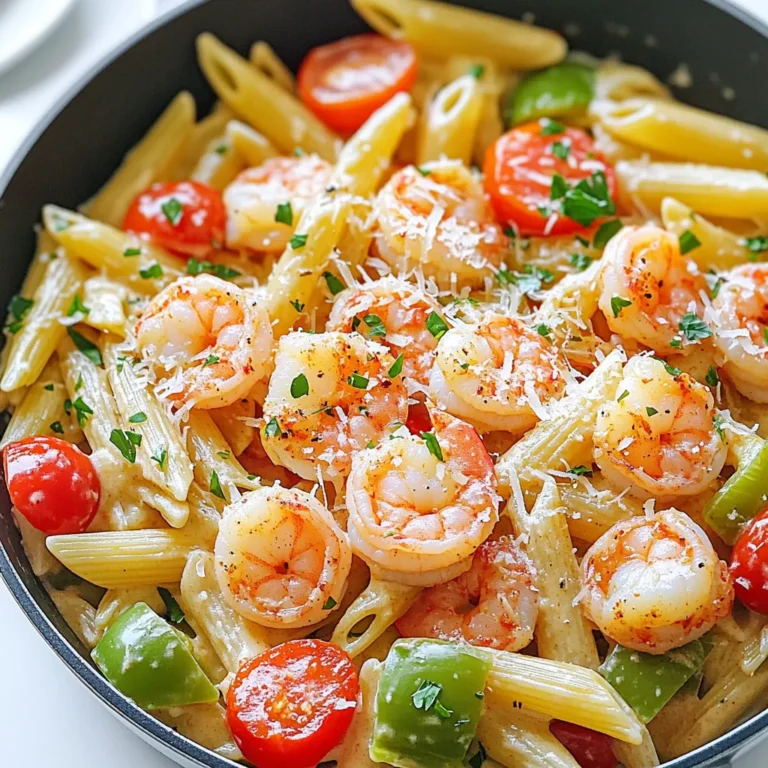
Creamy Cajun Shrimp Pasta Skillet Delightful Dish
PREV
1
…
7
8
9
…
57
NEXT