FREE DINNER EBOOK!
Get your copy!
Cookie Policy
GDPR Policy
Disclaimer
Terms Of Use
Visit my other site:
Fun Cookie Recipes
Home
Dinner
Desserts
Drinks
Appetizers
Contact
About
Privacy Policy
Home
Dinner
Desserts
Drinks
Appetizers
Contact
About
Privacy Policy
Cookie Policy
GDPR Policy
Disclaimer
Terms Of Use
Visit my other site:
Fun Cookie Recipes
HOME / CATEGORIES /
Latest
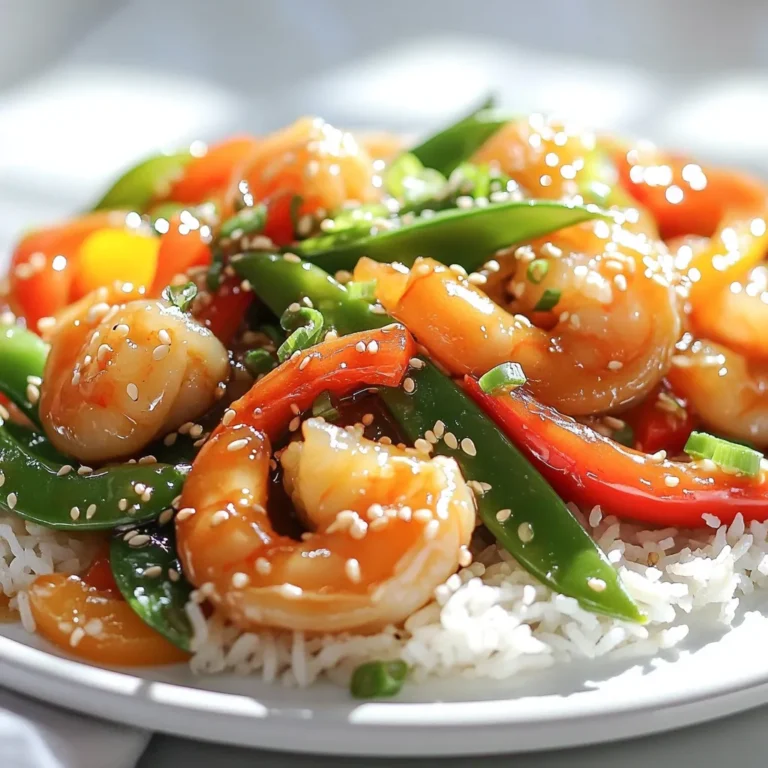
Garlic Honey Shrimp Stir Fry Quick and Flavorful Meal
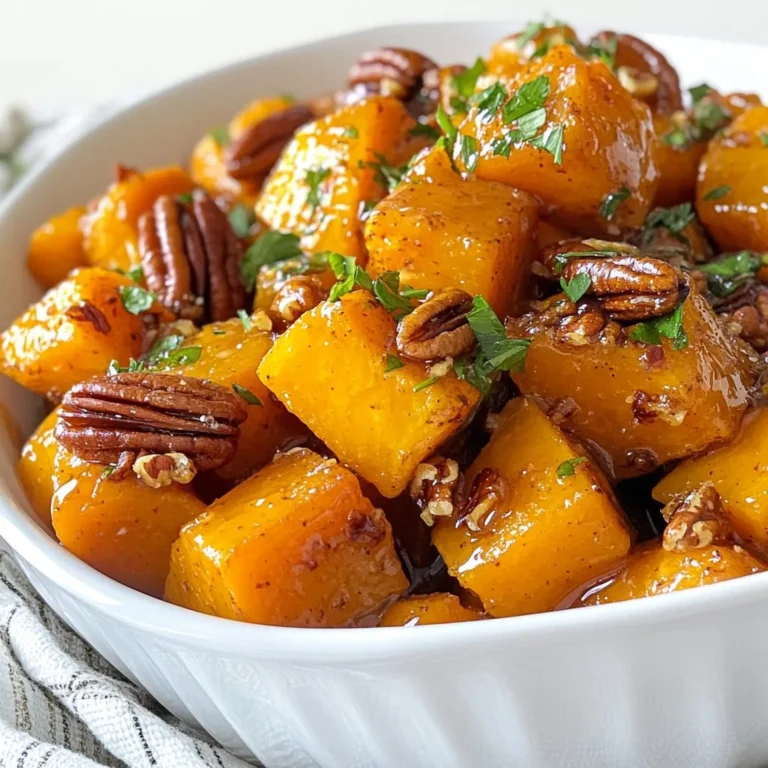
Maple Pecan Roasted Sweet Potatoes Flavorful Delight
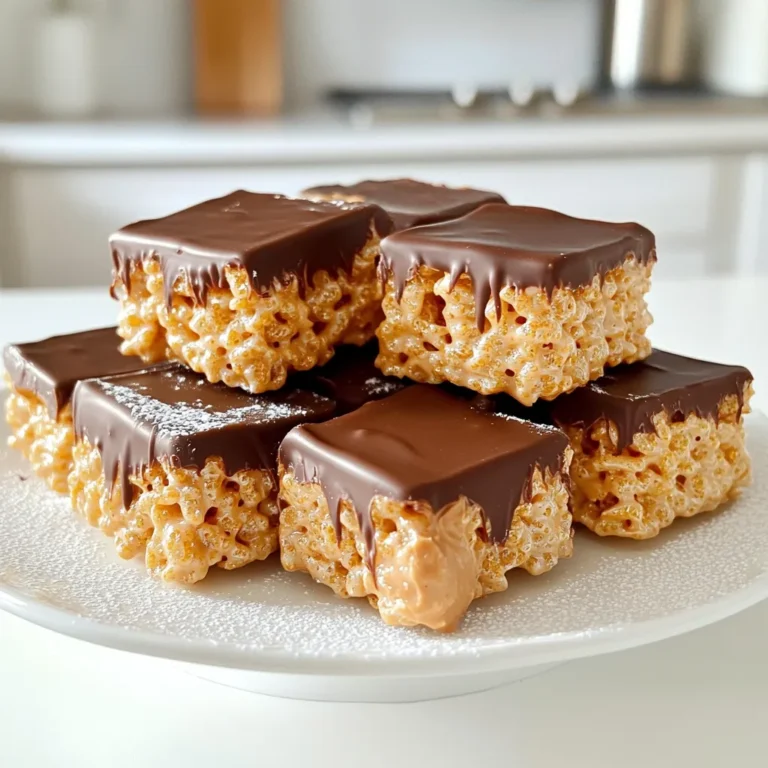
Chocolate Peanut Butter Rice Krispies Easy Treat
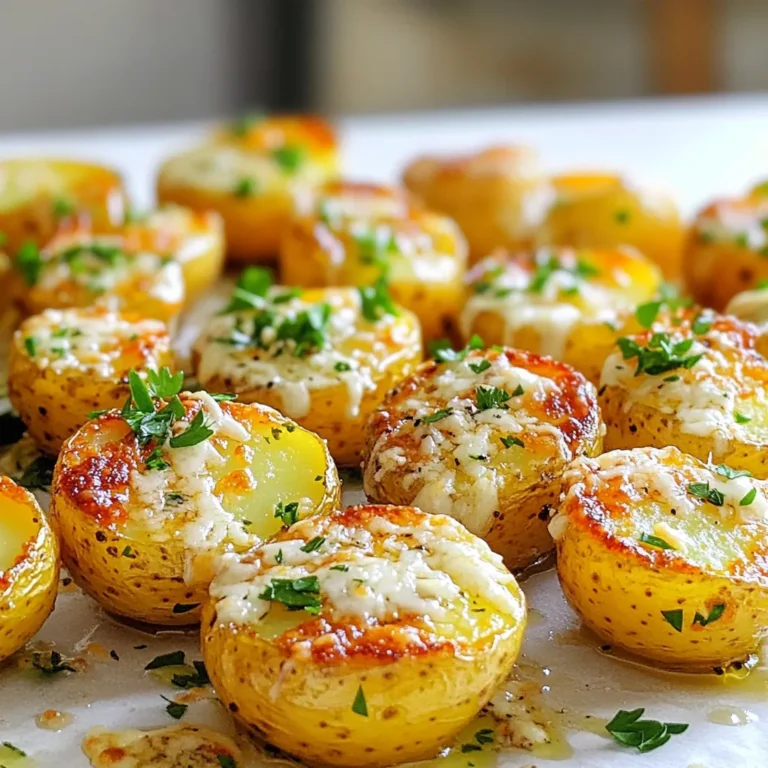
Roasted Garlic Parmesan Potatoes Sheet-Pan Delight
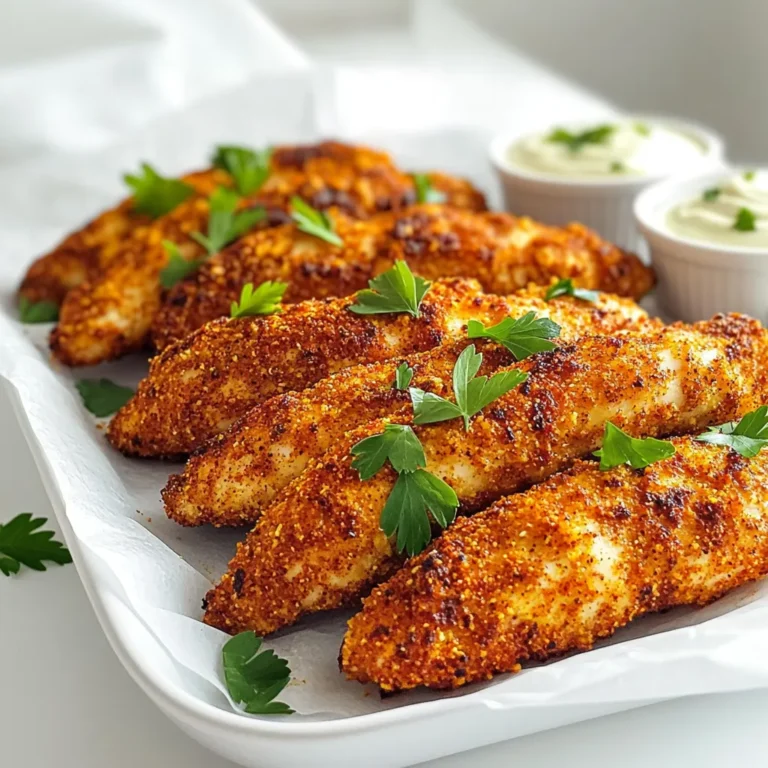
Air Fryer Cajun Chicken Tenders Flavorful and Easy Recipe
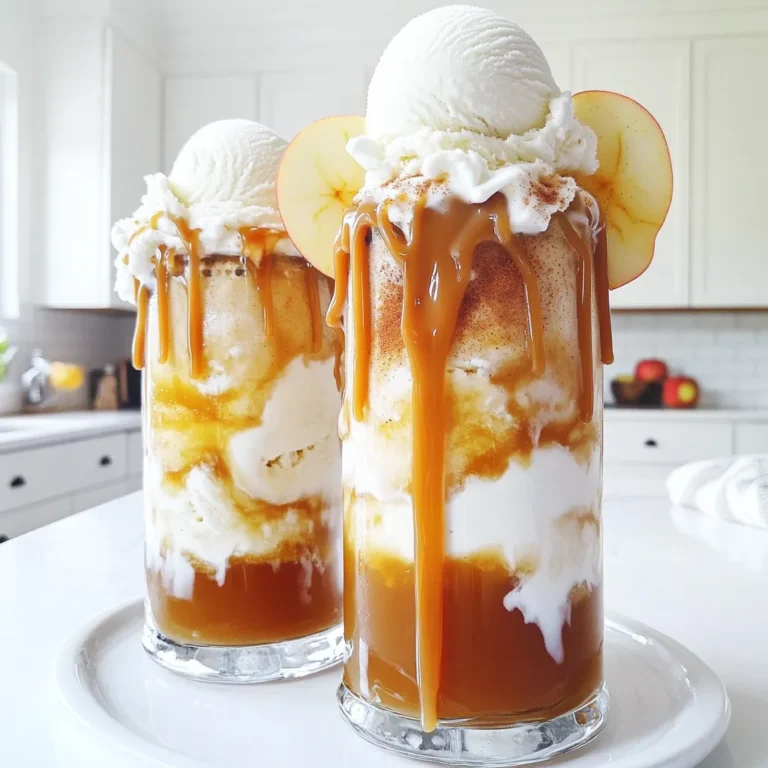
Caramel Apple Cider Float Great for Fall Gatherings
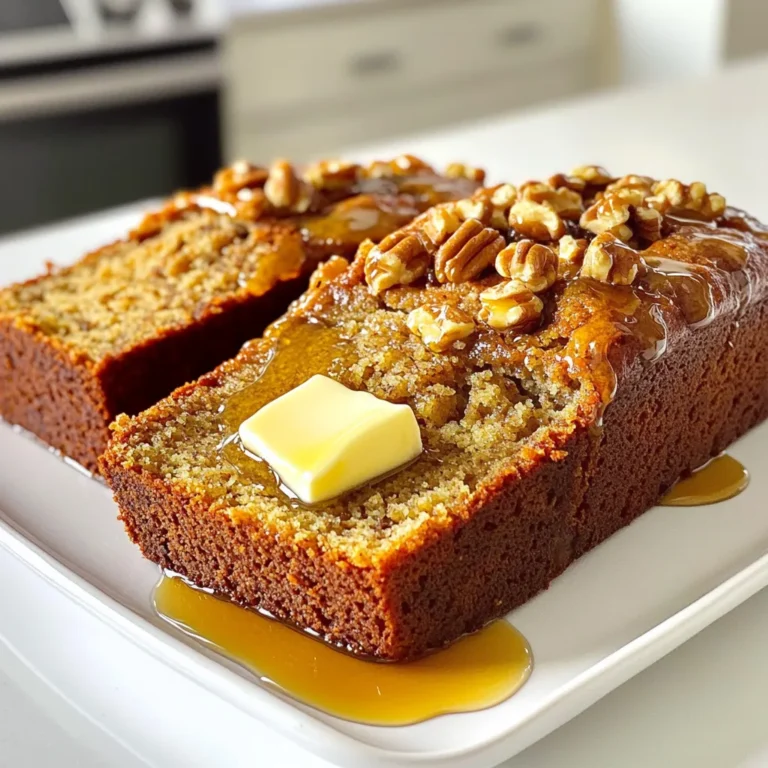
Maple Walnut Banana Bread Bakery-Style Delight
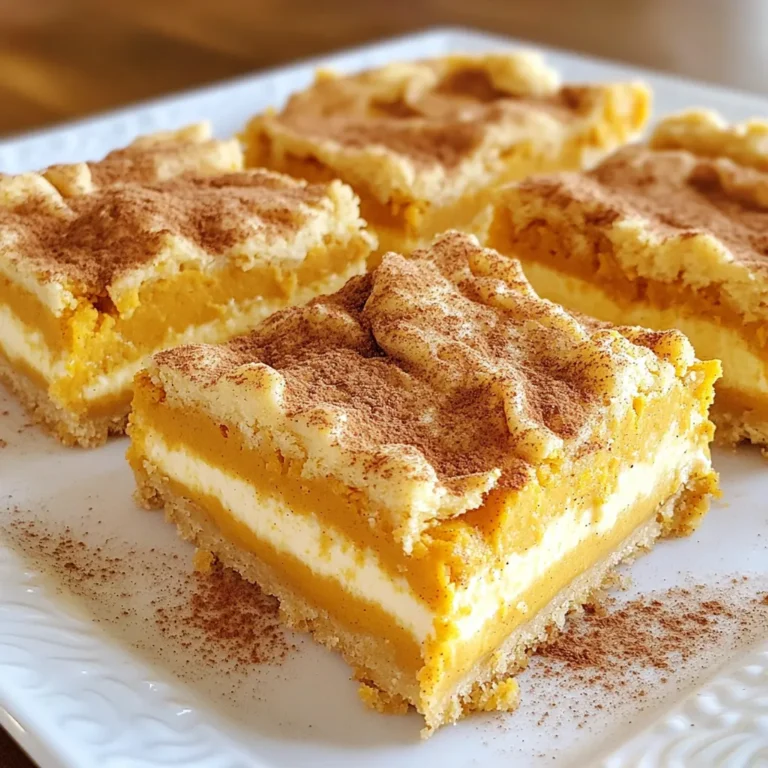
Pumpkin Cheesecake Cookie Bars Rich and Tasty Treat
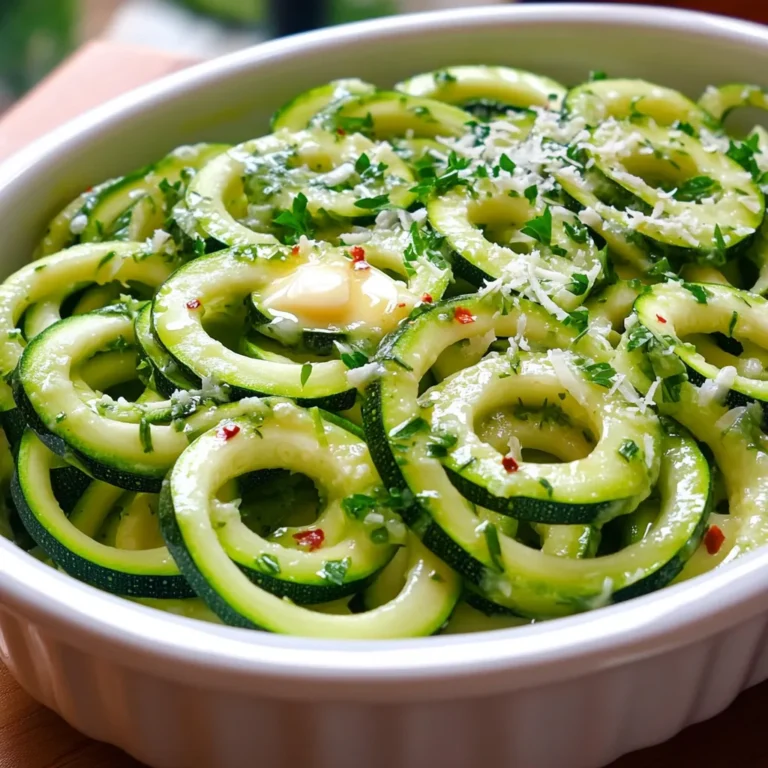
Garlic Butter Zucchini Noodles Quick and Simple Meal
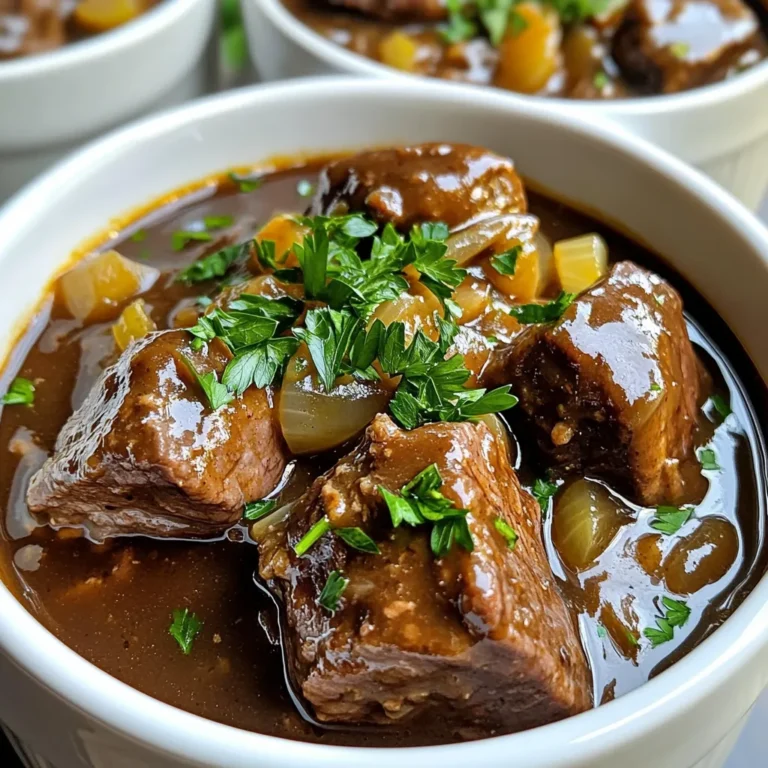
Slow Cooker Beef Tips & Gravy Simple Comfort Dish
PREV
1
…
6
7
8
…
57
NEXT