FREE DINNER EBOOK!
Get your copy!
Cookie Policy
GDPR Policy
Disclaimer
Terms Of Use
Visit my other site:
Fun Cookie Recipes
Home
Dinner
Desserts
Drinks
Appetizers
Contact
About
Privacy Policy
Home
Dinner
Desserts
Drinks
Appetizers
Contact
About
Privacy Policy
Cookie Policy
GDPR Policy
Disclaimer
Terms Of Use
Visit my other site:
Fun Cookie Recipes
HOME / CATEGORIES /
Latest
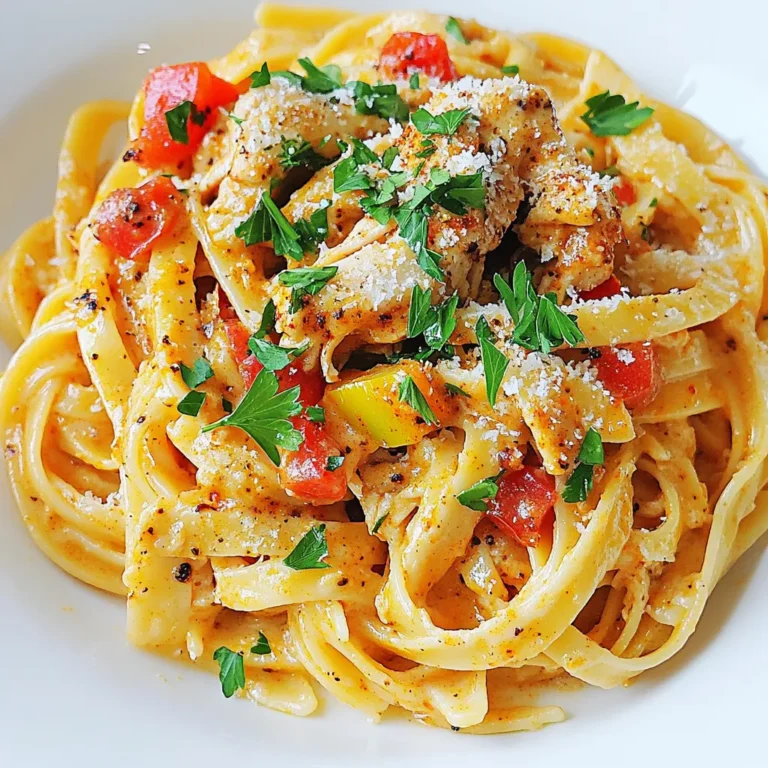
Slow Cooker Cajun Chicken Pasta Tasty and Simple Meal
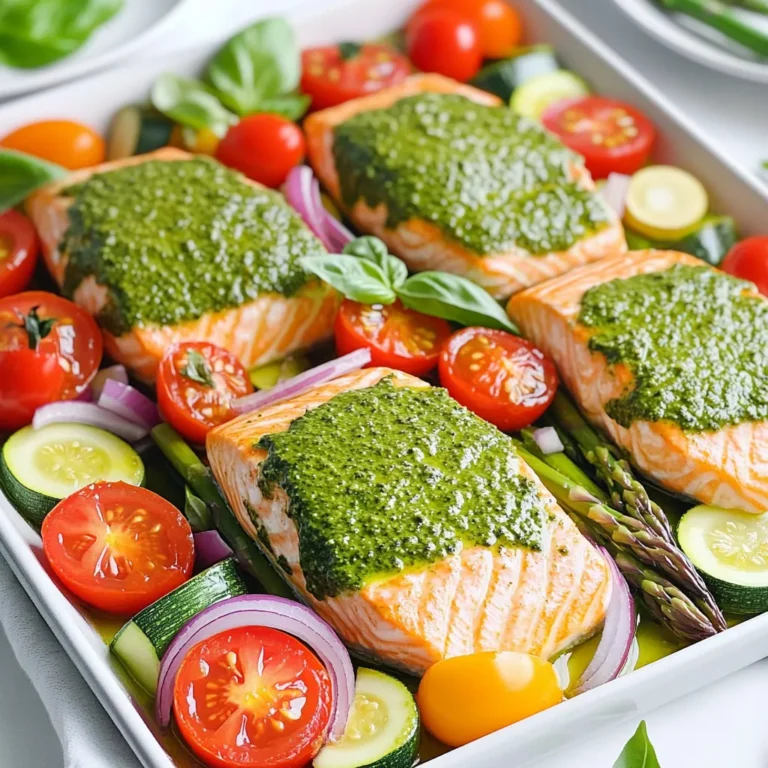
Sheet Pan Pesto Salmon Veggies Quick and Easy Meal
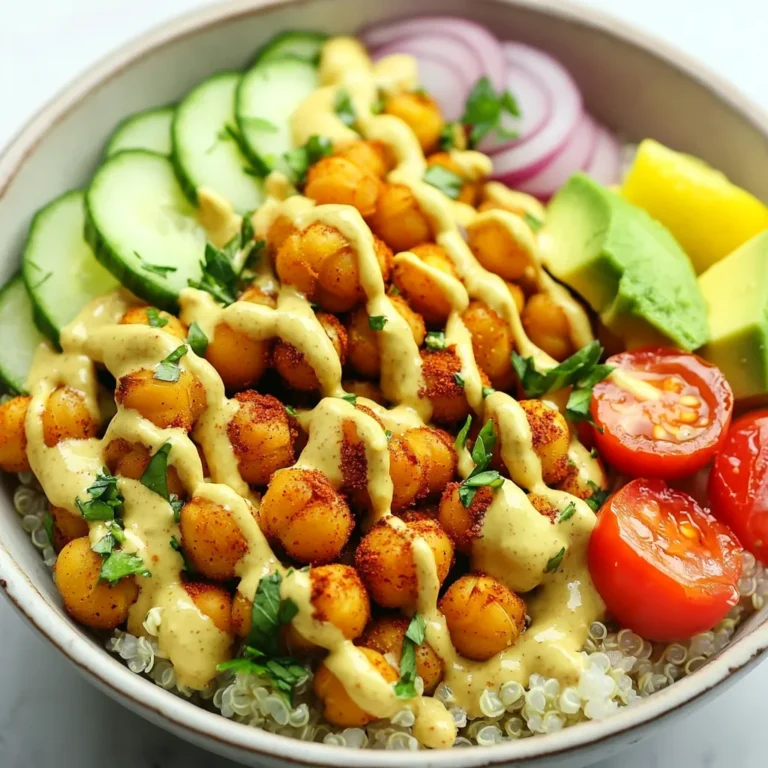
Chickpea Shawarma Bowl Tasty and Nutritious Meal
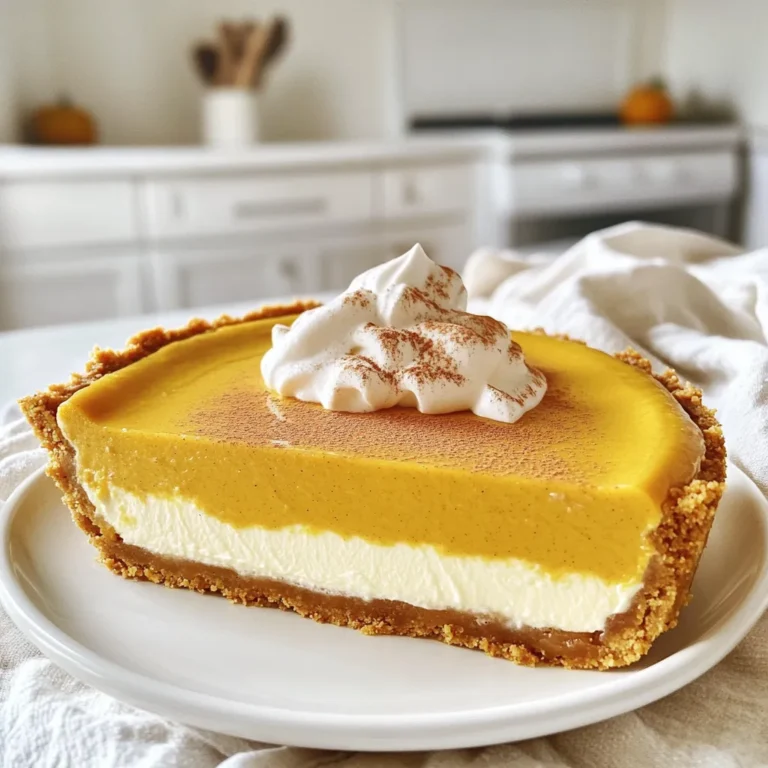
Pumpkin Pie Hybrid Cheesecake Festive and Delightful
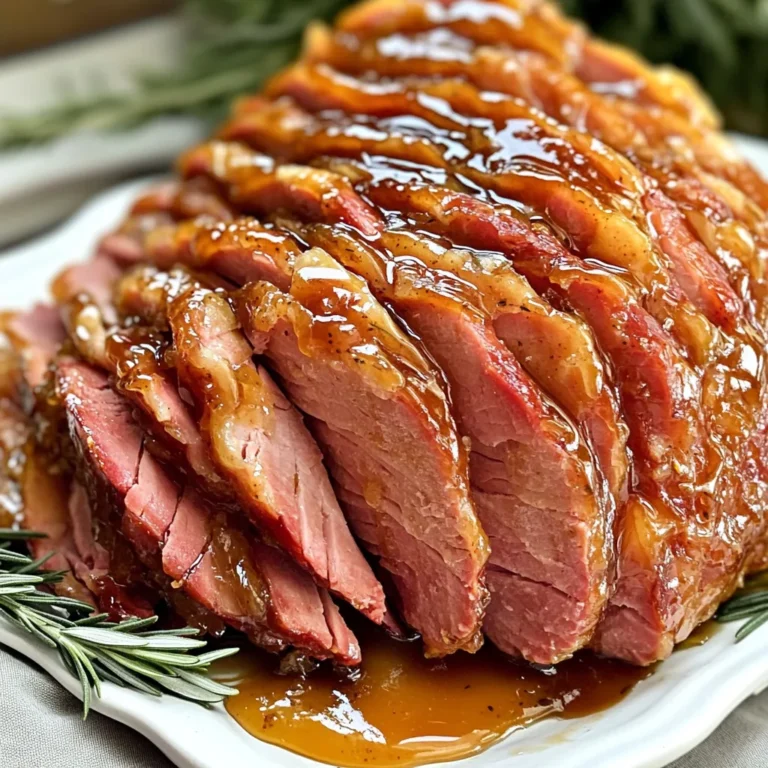
Maple Glazed Ham Slow Cooker Recipe to Savor
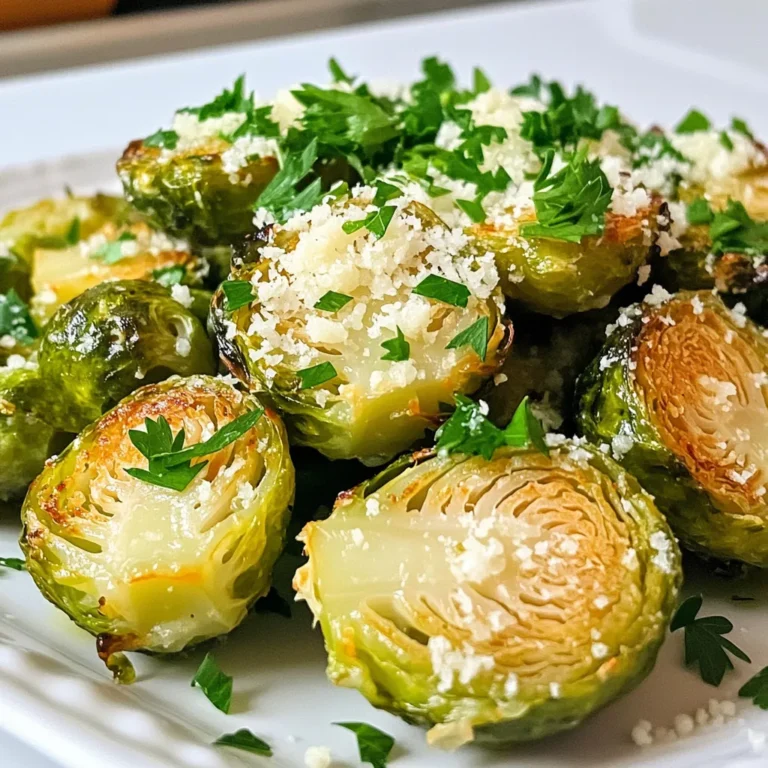
Garlic Parmesan Brussels Sprouts Air Fryer Delight
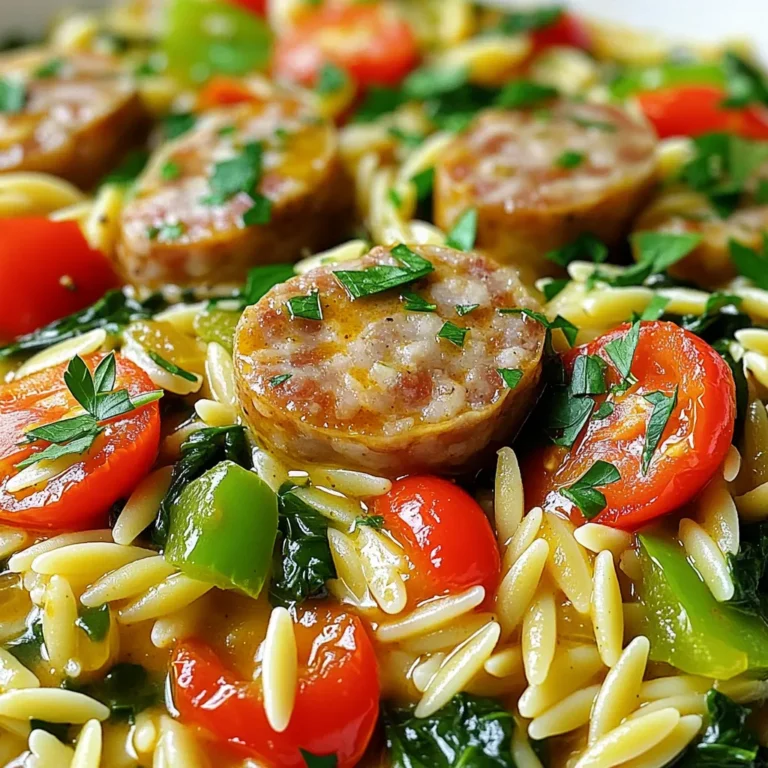
Cajun Chicken Sausage Orzo One Pot Flavorful Meal
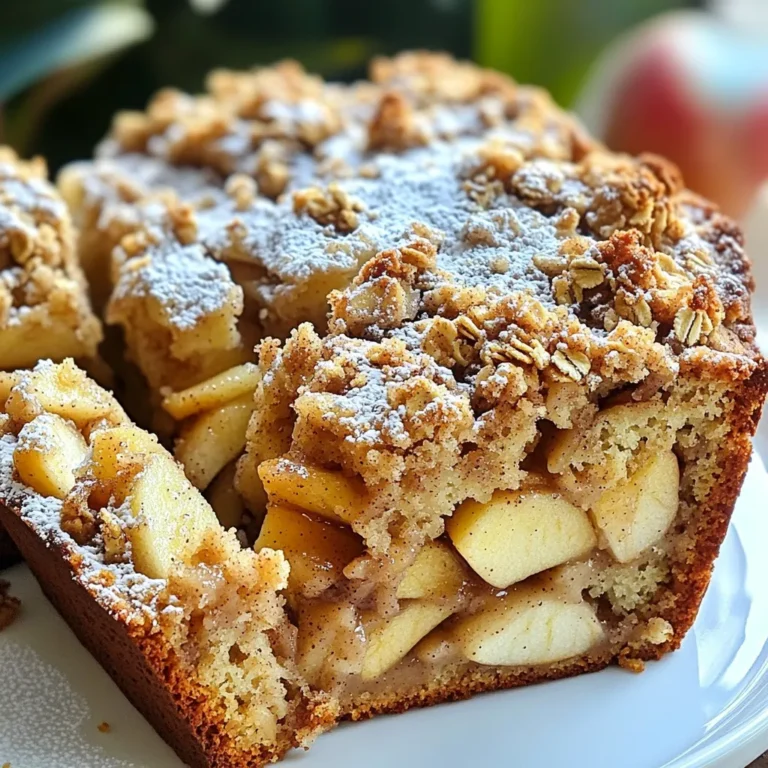
Apple Cinnamon Quick Bread with Crumble Delight
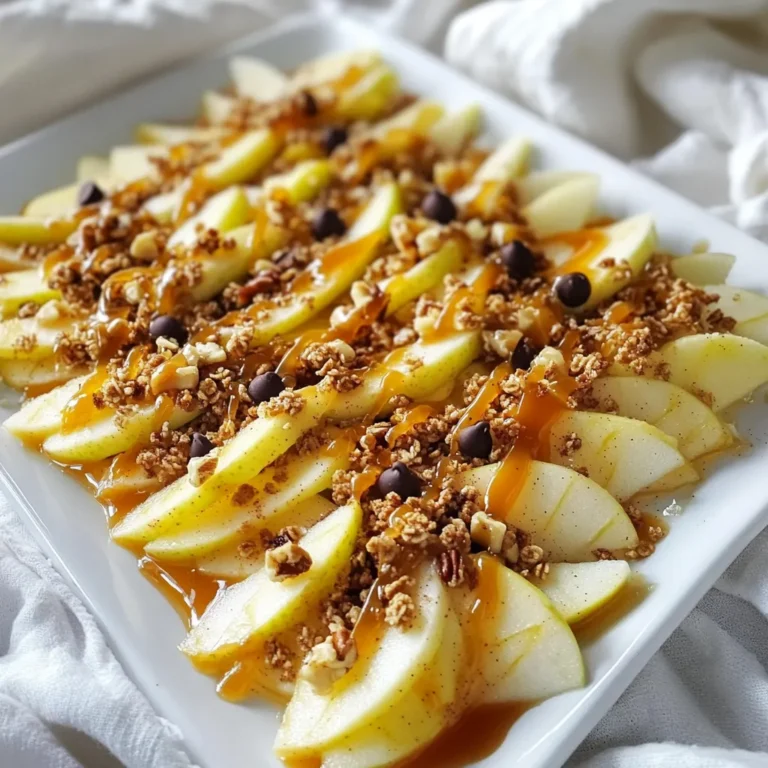
Caramel Apple Nachos Delightful and Simple Treat
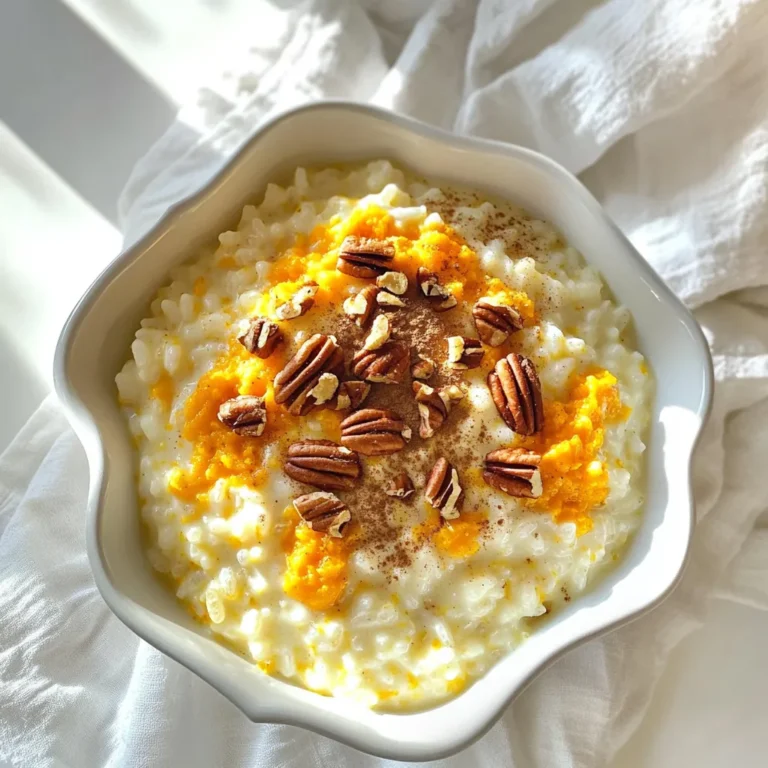
Pumpkin Spice Rice Pudding Comforting Fall Dessert
PREV
1
…
5
6
7
…
57
NEXT