FREE DINNER EBOOK!
Get your copy!
Cookie Policy
GDPR Policy
Disclaimer
Terms Of Use
Visit my other site:
Fun Cookie Recipes
Home
Dinner
Desserts
Drinks
Appetizers
Contact
About
Privacy Policy
Home
Dinner
Desserts
Drinks
Appetizers
Contact
About
Privacy Policy
Cookie Policy
GDPR Policy
Disclaimer
Terms Of Use
Visit my other site:
Fun Cookie Recipes
HOME / CATEGORIES /
Latest
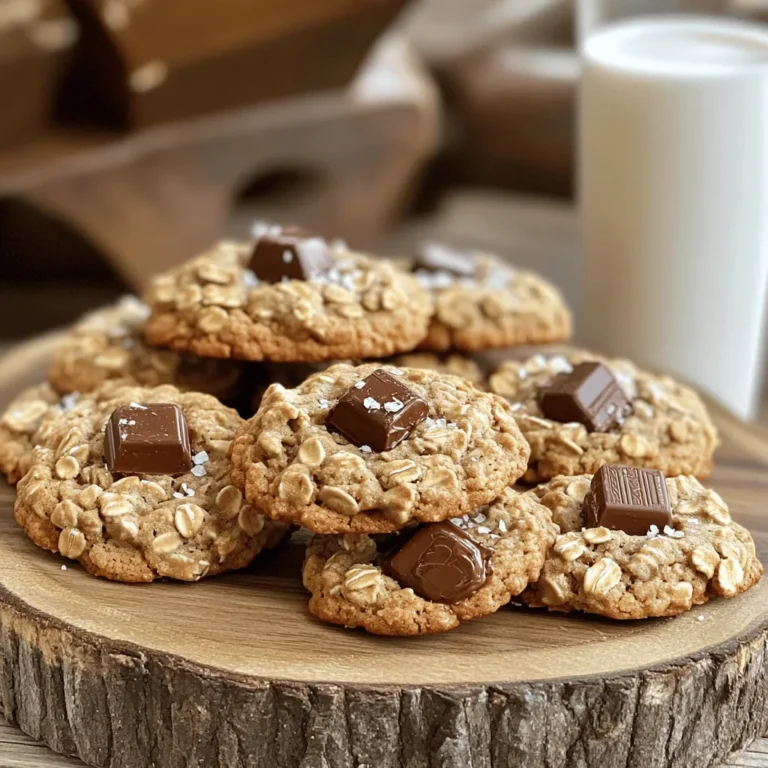
Chocolate Chunk Oatmeal Cookies Delightful Treat Recipe
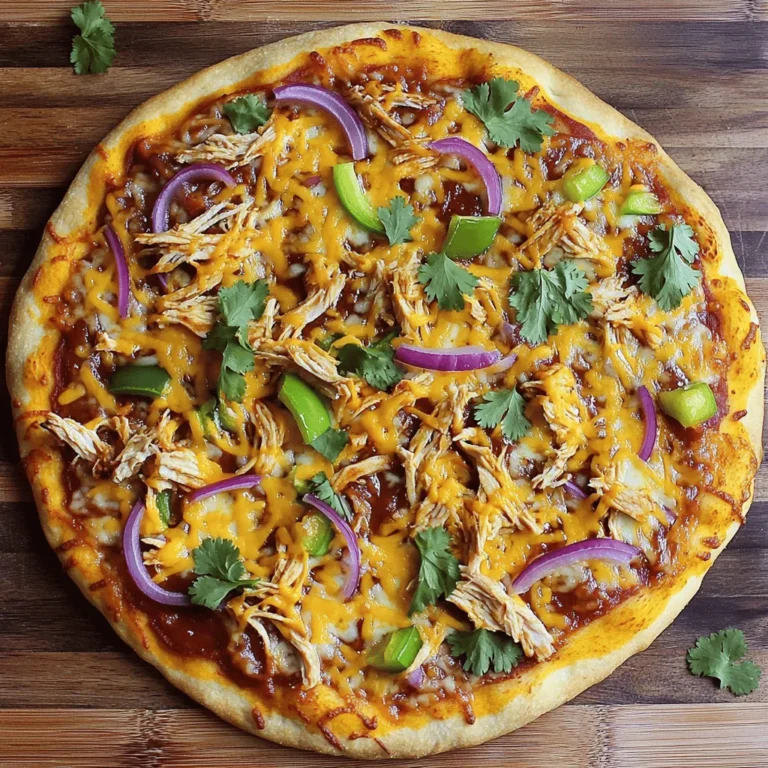
BBQ Ranch Chicken Pizza Delightful and Easy Dinner
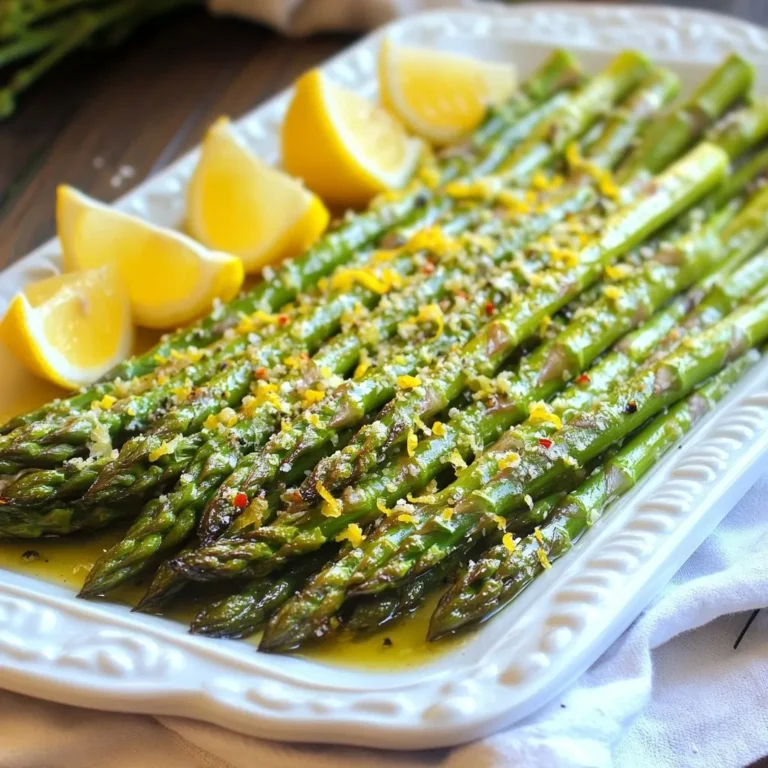
Lemon Garlic Roasted Asparagus Flavorful Side Dish
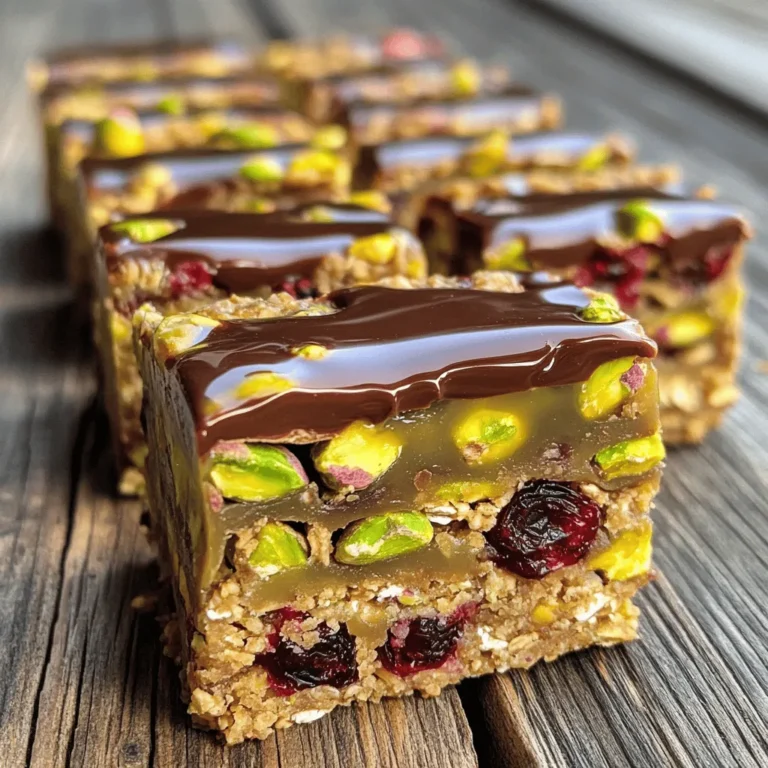
Pistachio Cranberry Energy Squares Quick and Easy Snack
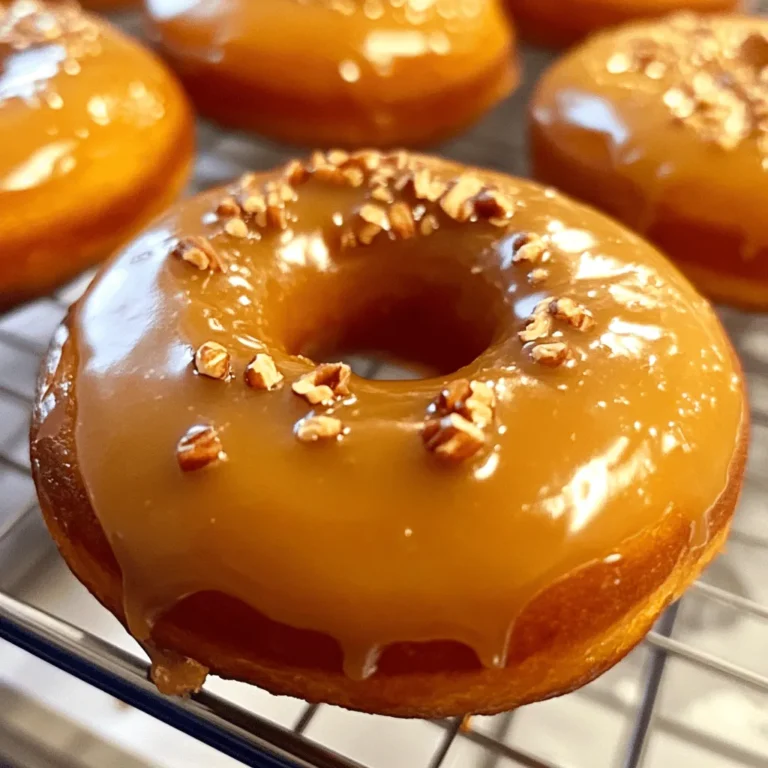
Maple Glazed Pumpkin Donuts Perfect for Fall Mornings
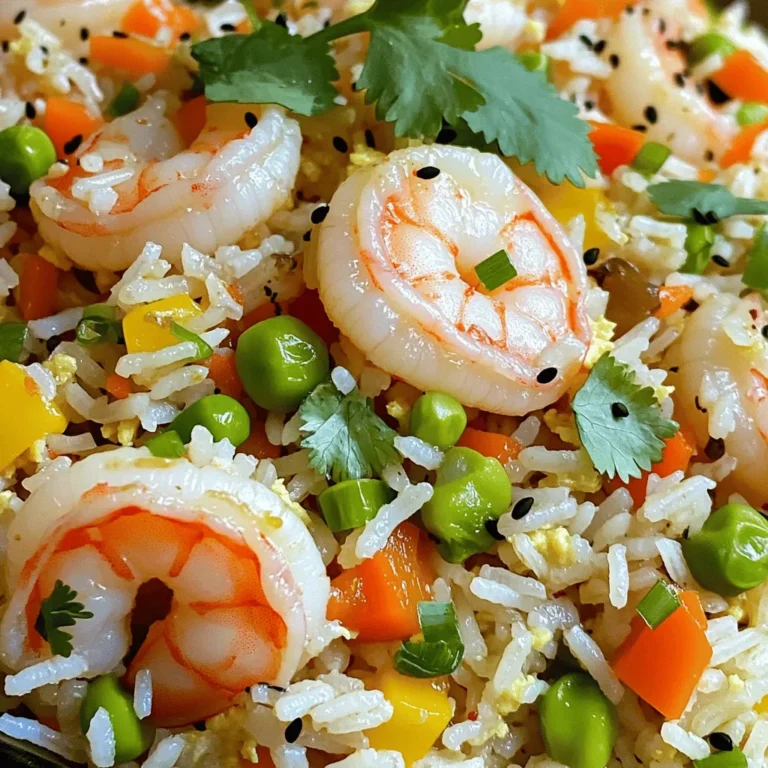
Garlic Ginger Shrimp Fried Rice Easy Flavorful Meal
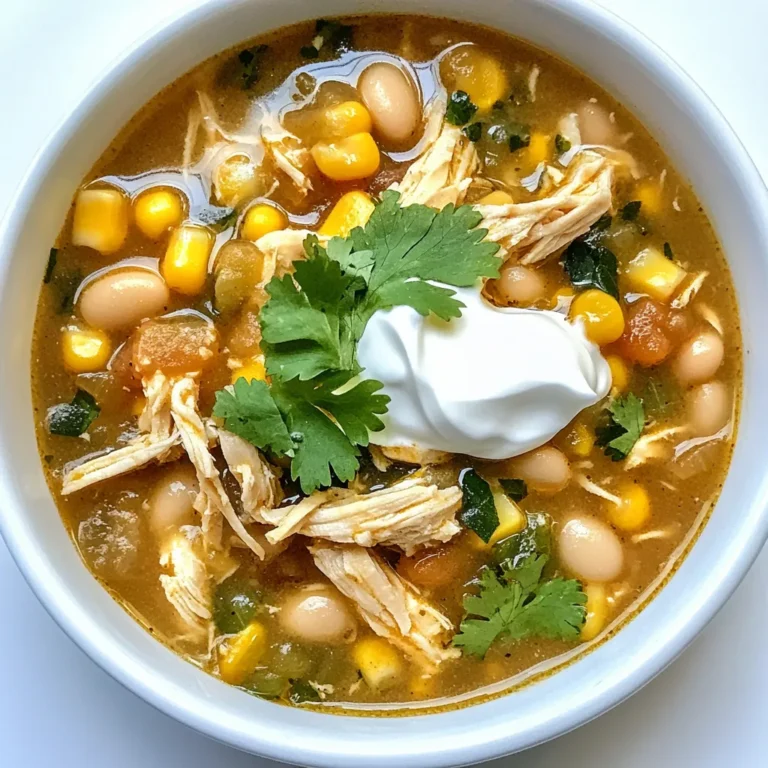
White Chicken Chili Hearty and Flavorful Recipe
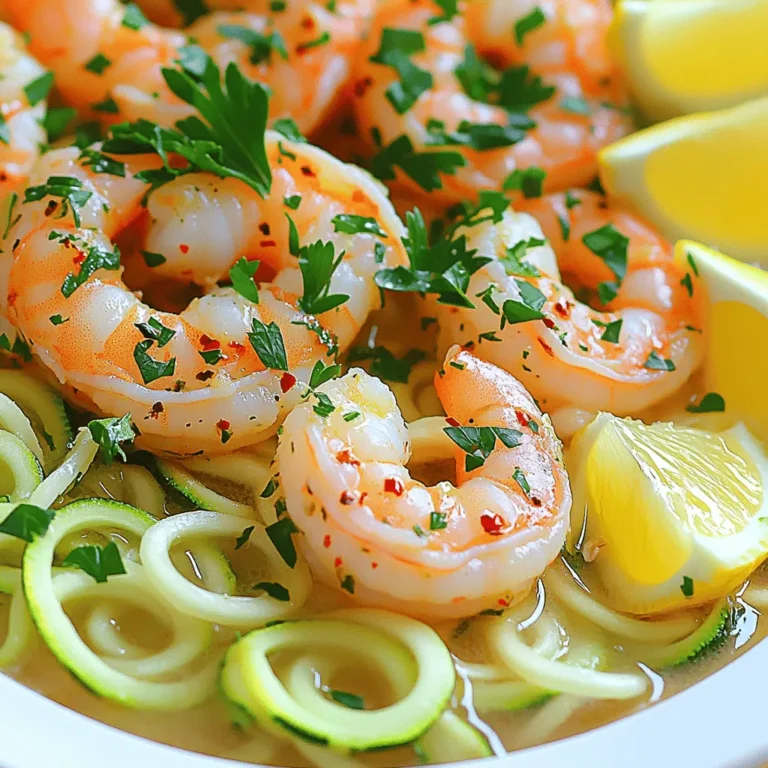
Savory Shrimp Scampi Zoodles Quick and Easy Recipe
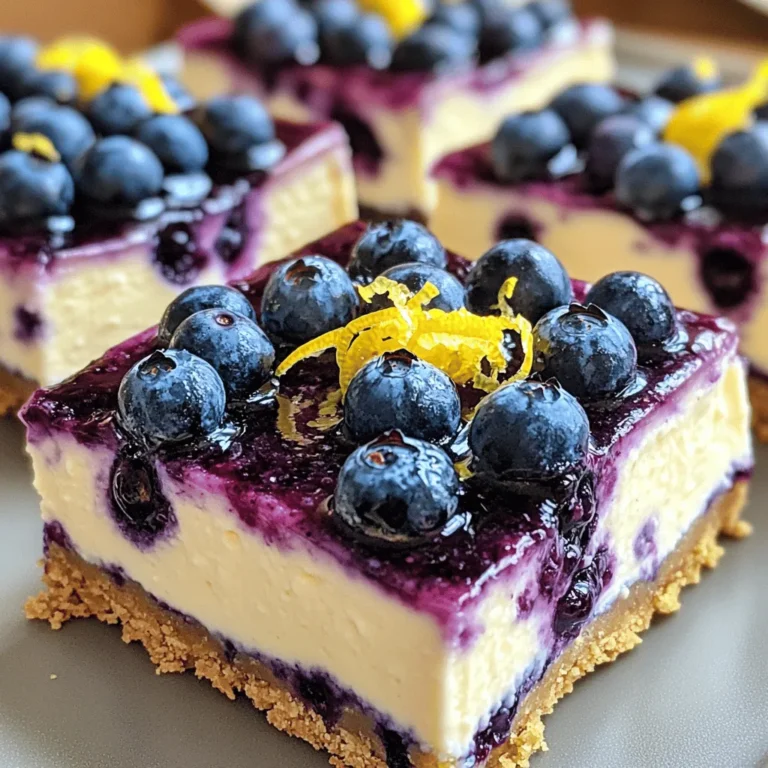
Lemon Blueberry Cheesecake Bars Fresh and Flavorful Treat
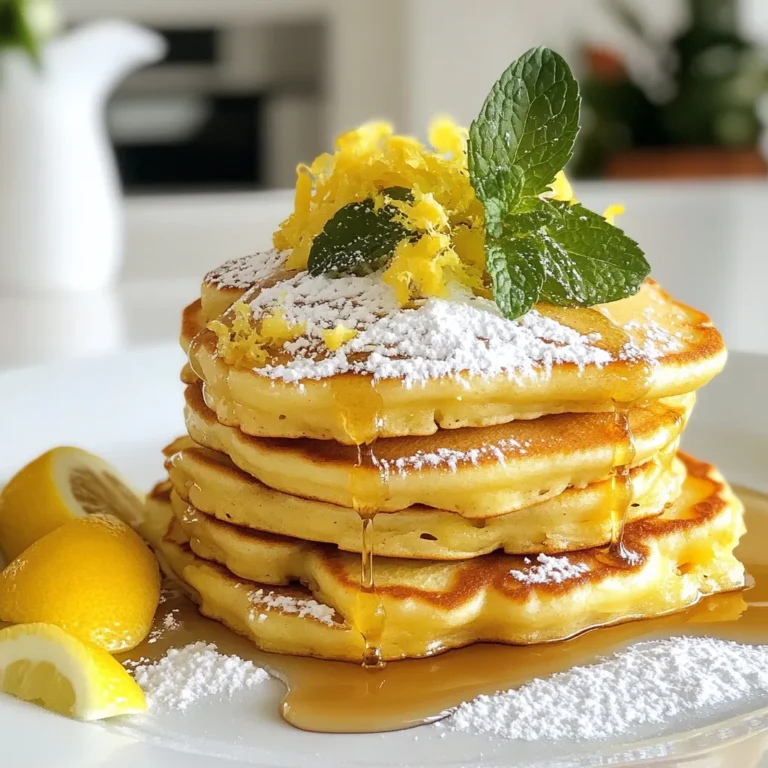
Lemon Ricotta Pancakes Fluffy and Delicious Breakfast
PREV
1
…
29
30
31
…
58
NEXT