FREE DINNER EBOOK!
Get your copy!
Cookie Policy
GDPR Policy
Disclaimer
Terms Of Use
Visit my other site:
Fun Cookie Recipes
Home
Dinner
Desserts
Drinks
Appetizers
Contact
About
Privacy Policy
Home
Dinner
Desserts
Drinks
Appetizers
Contact
About
Privacy Policy
Cookie Policy
GDPR Policy
Disclaimer
Terms Of Use
Visit my other site:
Fun Cookie Recipes
HOME / CATEGORIES /
Latest
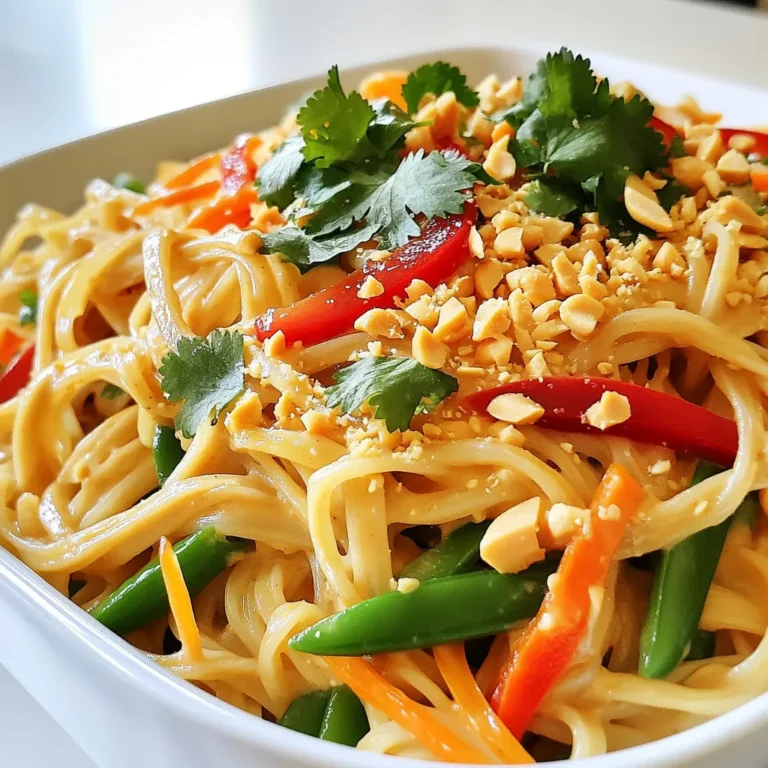
Spicy Thai Peanut Noodles Quick and Flavorful Meal
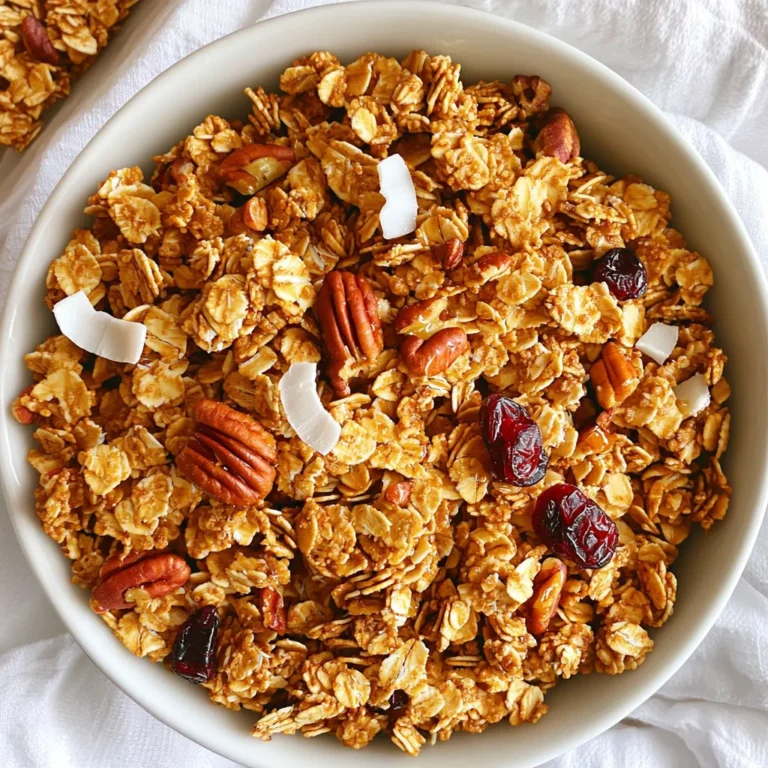
Maple Pecan Granola Easy and Tasty Breakfast Choice
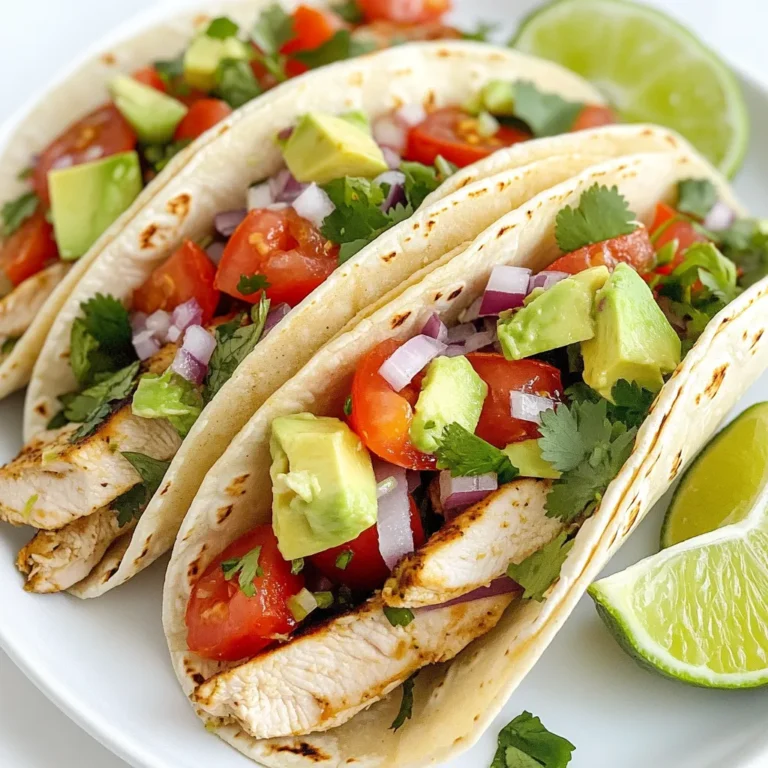
Cilantro Lime Chicken Tacos Flavorful and Simple Prep
Shrimp Scampi Zoodles Flavorful and Easy Recipe
Baked Cinnamon Sugar Donuts Soft and Fluffy Treat
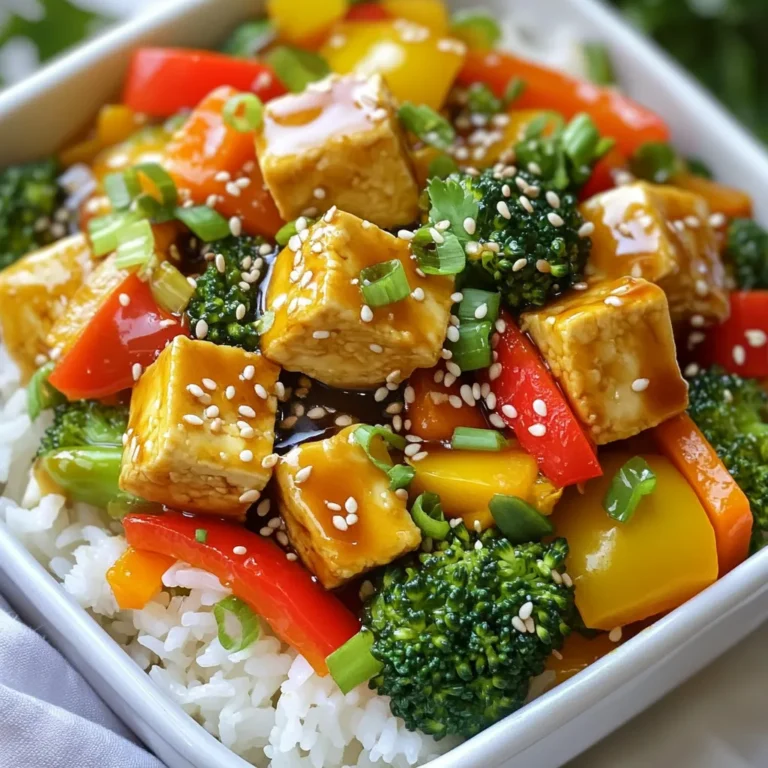
Teriyaki Tofu Stir Fry Flavorful and Easy Recipe
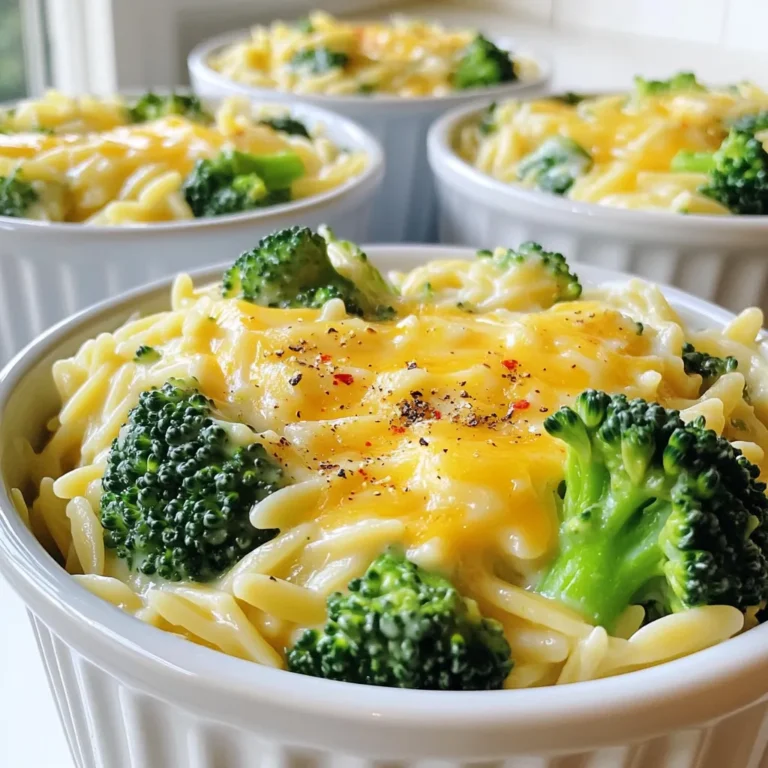
Creamy Broccoli Cheddar Orzo Flavorful and Satisfying
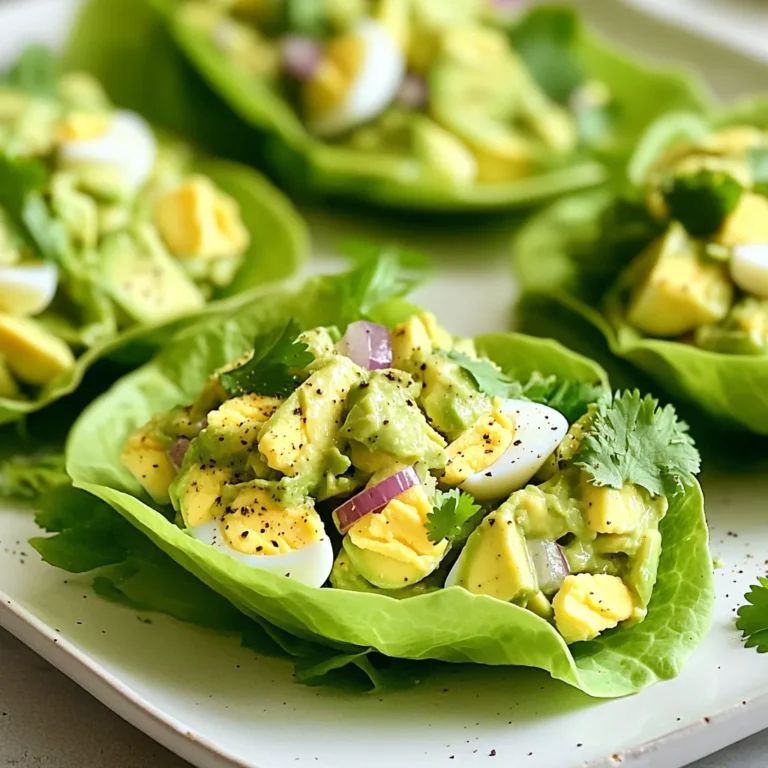
Avocado Egg Salad Lettuce Wraps Fresh and Healthy Meal
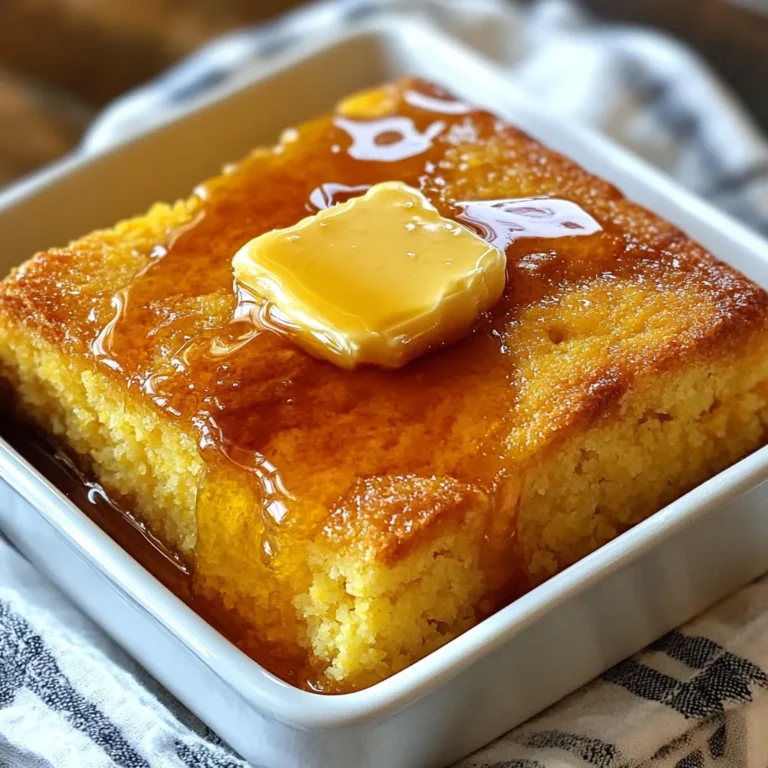
Honey Butter Cornbread Flavorful and Easy Recipe
Minute Creamy Pesto Shrimp Pasta Quick and Easy Recipe
PREV
1
2
3
4
…
57
NEXT