FREE DINNER EBOOK!
Get your copy!
Cookie Policy
GDPR Policy
Disclaimer
Terms Of Use
Visit my other site:
Fun Cookie Recipes
Home
Dinner
Desserts
Drinks
Appetizers
Contact
About
Privacy Policy
Home
Dinner
Desserts
Drinks
Appetizers
Contact
About
Privacy Policy
Cookie Policy
GDPR Policy
Disclaimer
Terms Of Use
Visit my other site:
Fun Cookie Recipes
HOME / CATEGORIES /
Latest
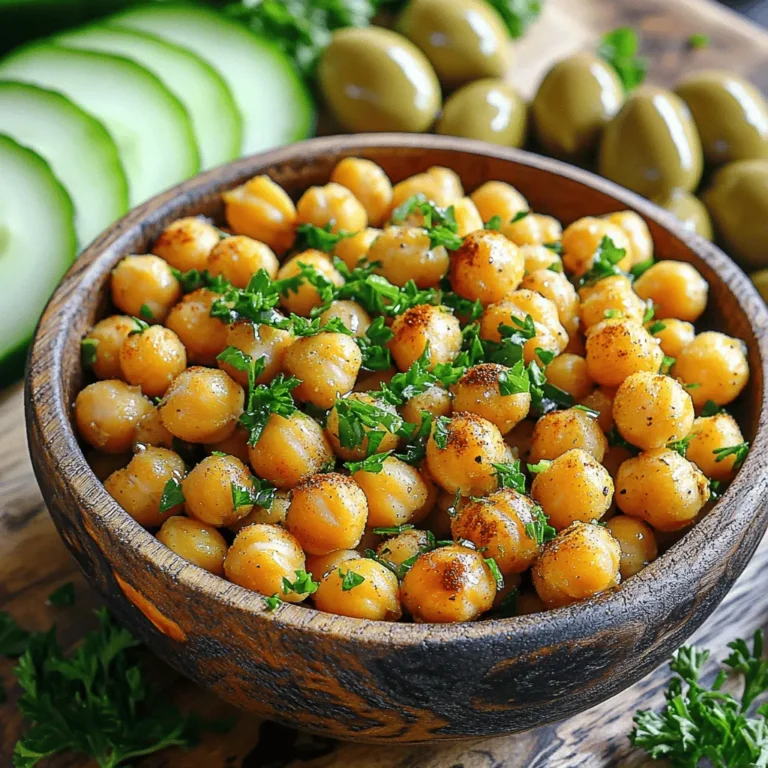
Herb Garlic Roasted Chickpeas Crunchy Flavor Boost
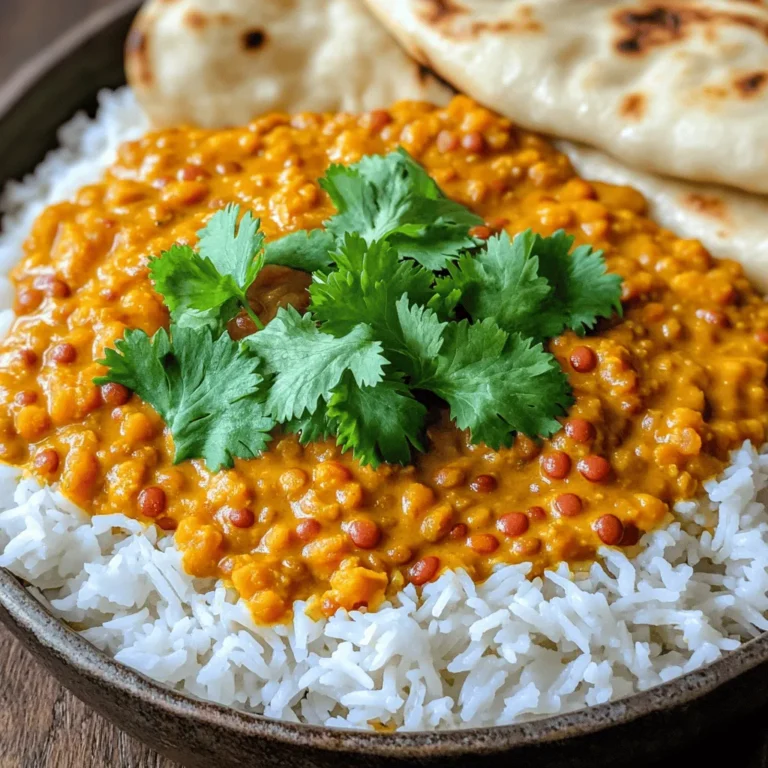
Creamy Coconut Lentil Curry Flavorful and Simple Dish
Strawberry Shortcake Sugar Cookies Simple and Sweet Treat
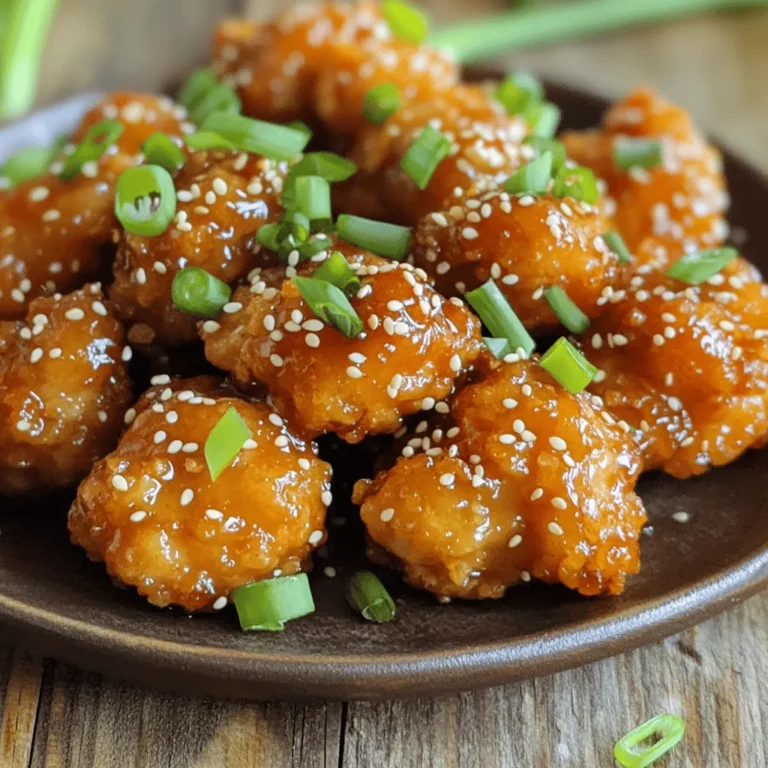
Sticky Sesame Chicken Bites Flavorful and Easy Treat
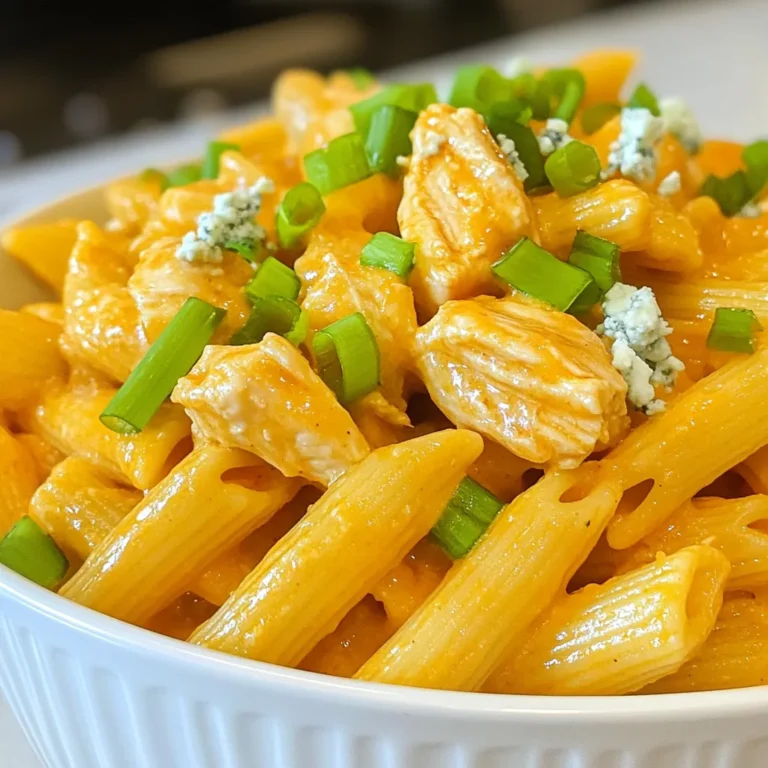
Creamy Buffalo Chicken Pasta Flavorful Comfort Meal
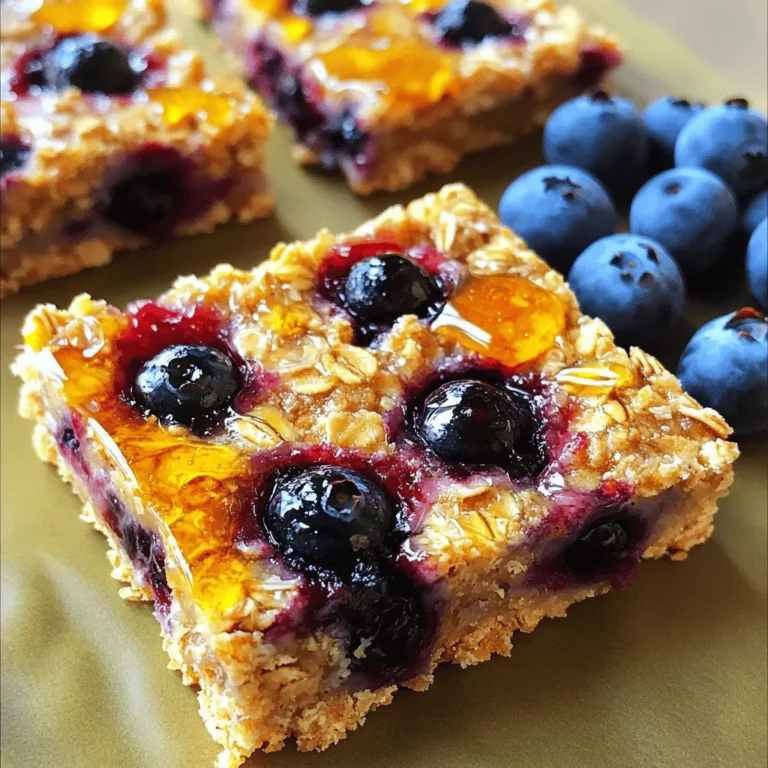
Blueberry Oat Breakfast Bars Tasty and Healthy Snack
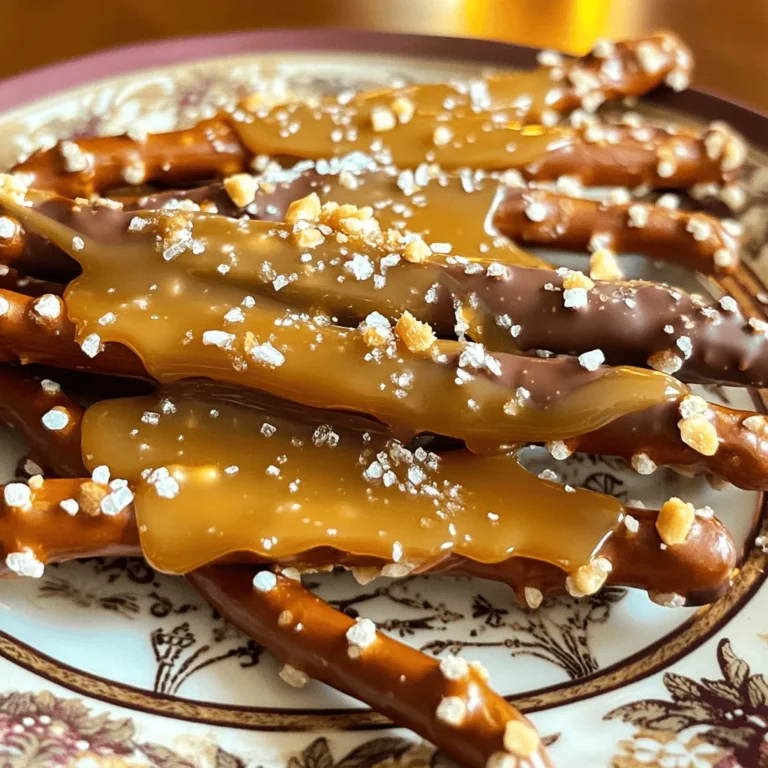
Salted Caramel Pretzel Bark Irresistible Snack Idea
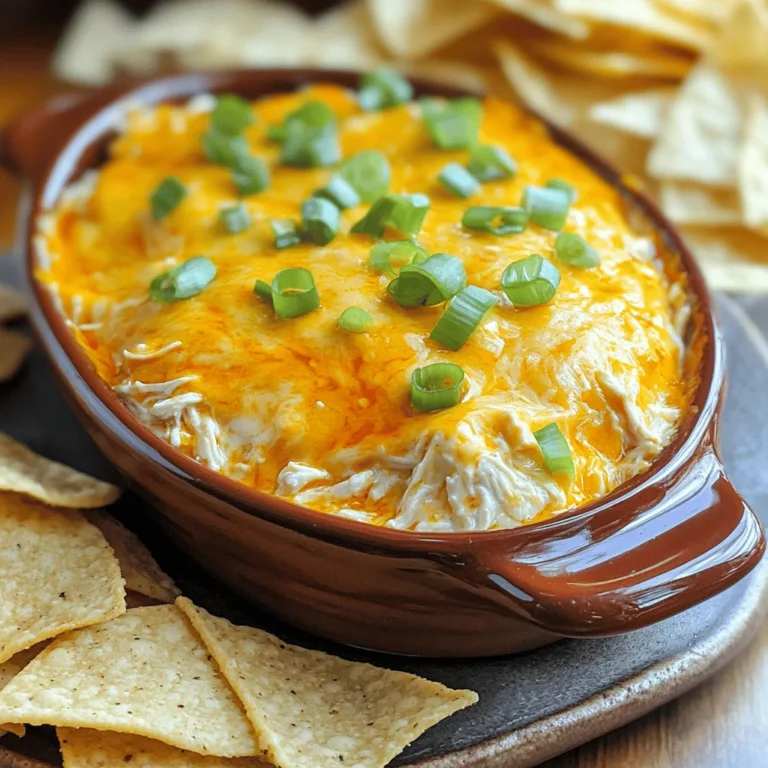
Buffalo Ranch Chicken Dip Irresistible Party Snack
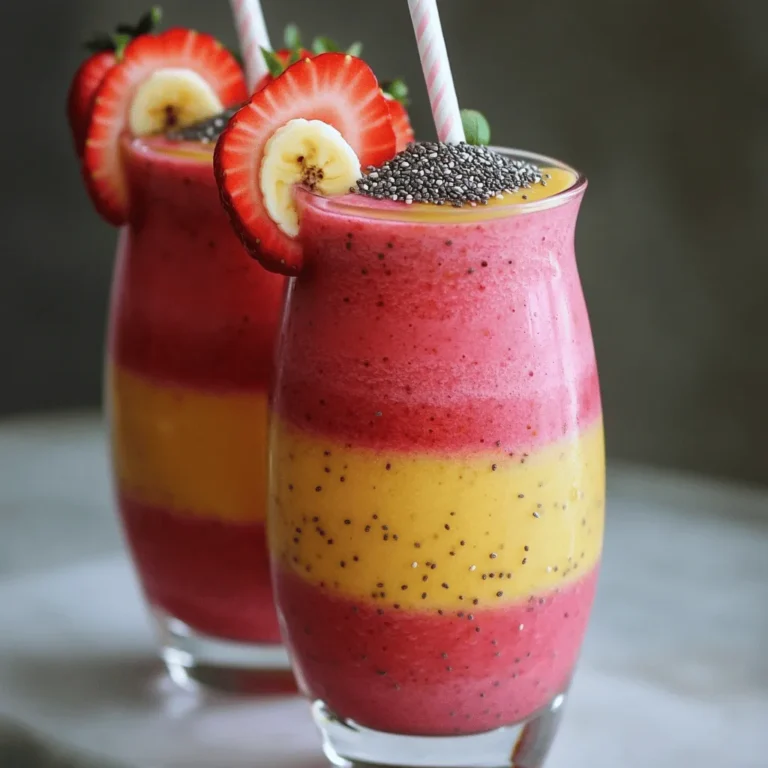
Strawberry Banana Protein Smoothie for Daily Energy
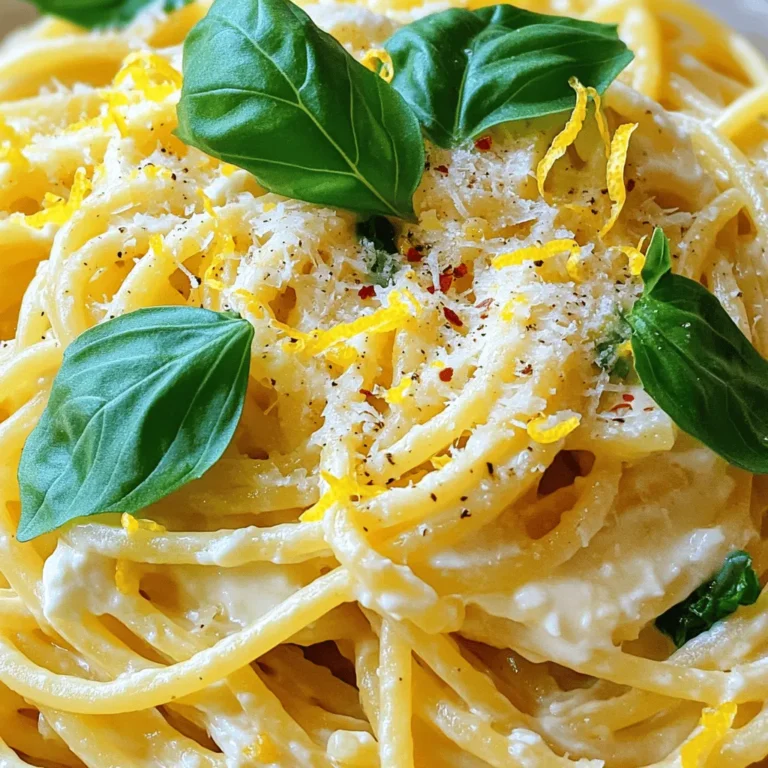
Lemon Ricotta Pasta Quick and Flavorful Recipe
PREV
1
…
28
29
30
…
58
NEXT