FREE DINNER EBOOK!
Get your copy!
Cookie Policy
GDPR Policy
Disclaimer
Terms Of Use
Visit my other site:
Fun Cookie Recipes
Home
Dinner
Desserts
Drinks
Appetizers
Contact
About
Privacy Policy
Home
Dinner
Desserts
Drinks
Appetizers
Contact
About
Privacy Policy
Cookie Policy
GDPR Policy
Disclaimer
Terms Of Use
Visit my other site:
Fun Cookie Recipes
HOME / CATEGORIES /
Latest
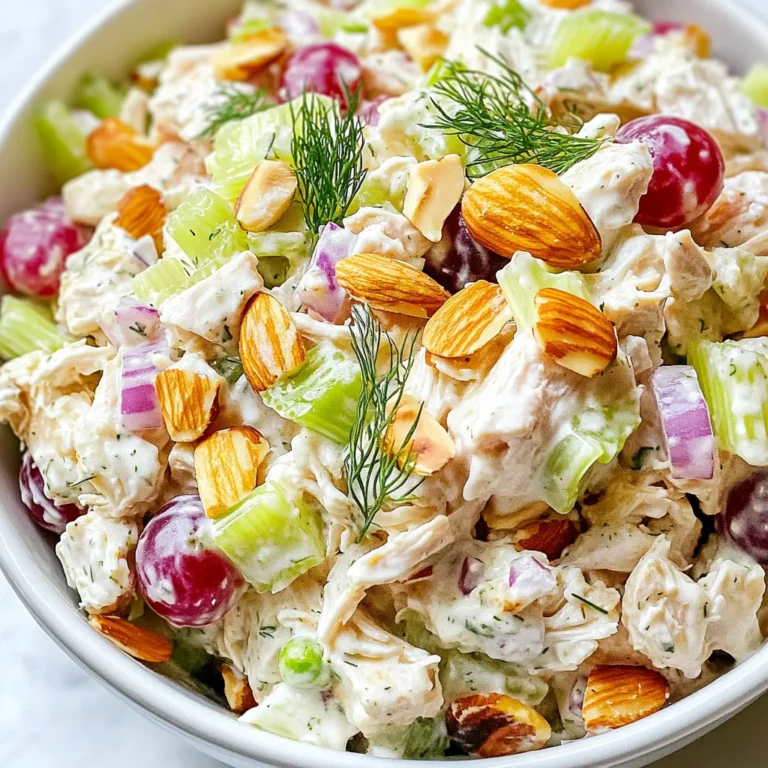
Greek Yogurt Chicken Salad Fresh and Flavorful Dish
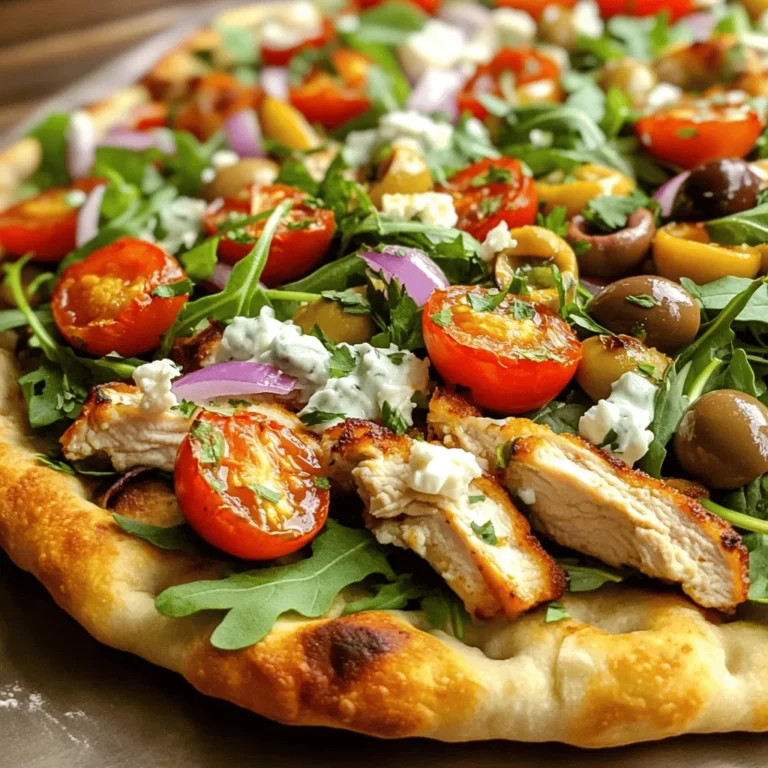
Greek Chicken Gyro Pizza Flavorful and Easy Recipe
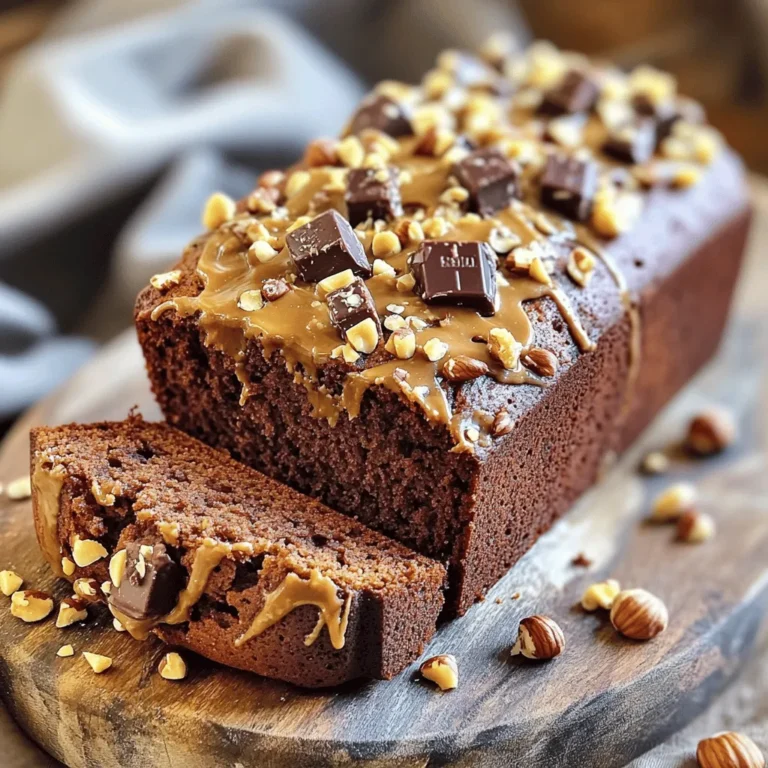
Chocolate Hazelnut Banana Bread Irresistible Treat
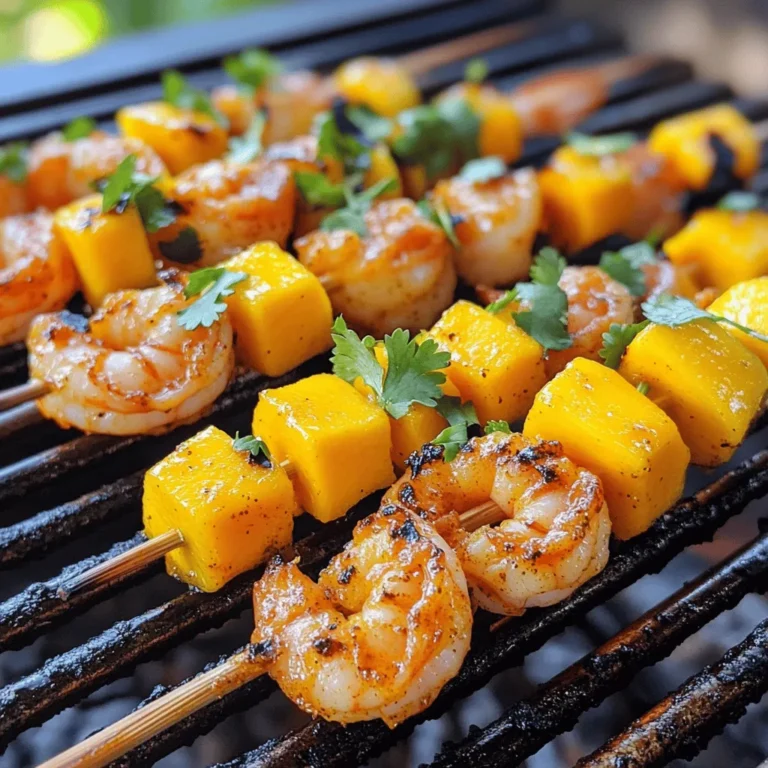
Spicy Mango Shrimp Skewers Flavorful Summer Delight
Salted Caramel Apple Dip Irresistible Flavor Delight
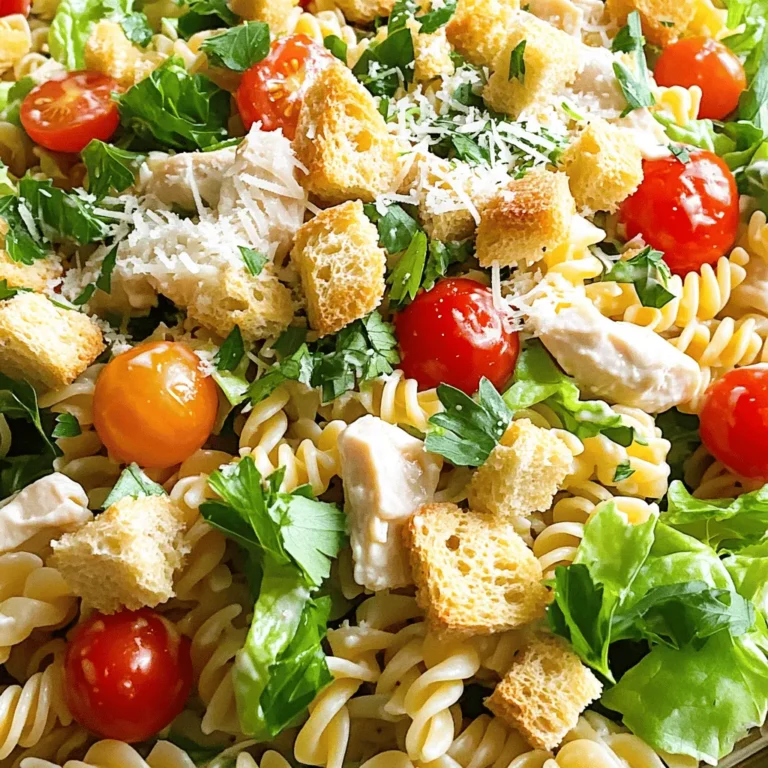
Chicken Caesar Pasta Salad Easy and Tasty Recipe
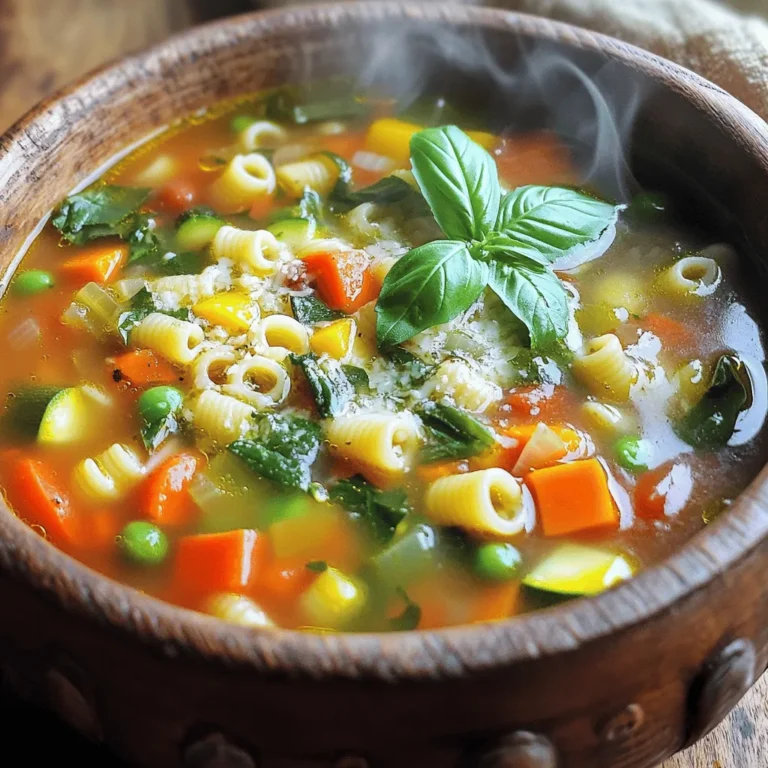
Veggie Packed Minestrone Soup Hearty and Nourishing Dish
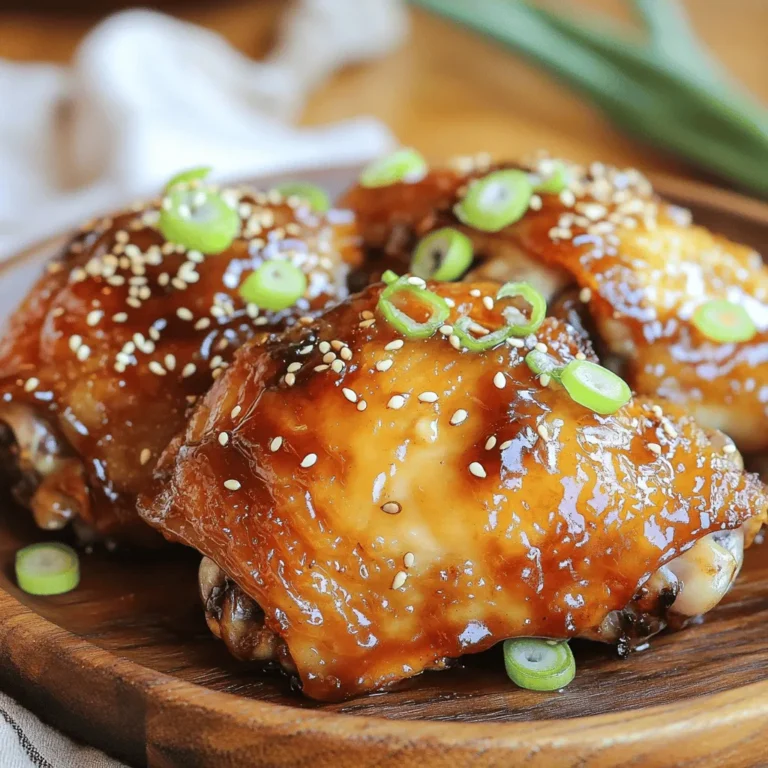
Honey Soy Glazed Chicken Thighs Flavorful Dinner Delight
Mango Coconut Chia Pudding Tasty and Healthy Treat
Savory Chicken Alfredo Stuffed Shells Easy Recipe
PREV
1
…
27
28
29
…
58
NEXT