FREE DINNER EBOOK!
Get your copy!
Cookie Policy
GDPR Policy
Disclaimer
Terms Of Use
Visit my other site:
Fun Cookie Recipes
Home
Dinner
Desserts
Drinks
Appetizers
Contact
About
Privacy Policy
Home
Dinner
Desserts
Drinks
Appetizers
Contact
About
Privacy Policy
Cookie Policy
GDPR Policy
Disclaimer
Terms Of Use
Visit my other site:
Fun Cookie Recipes
HOME / CATEGORIES /
Latest
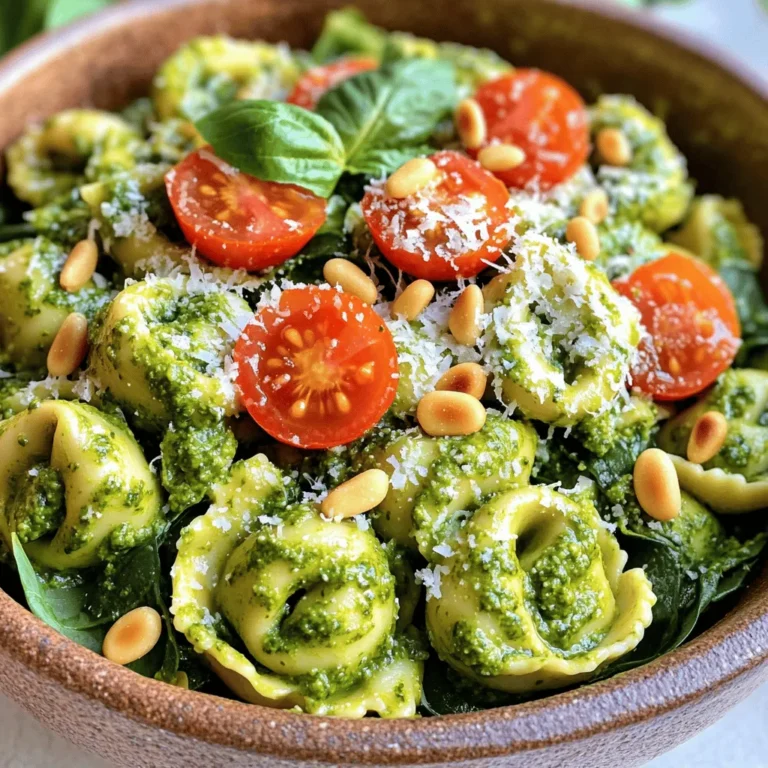
Creamy Pesto Tortellini Delightful and Easy Meal
Pumpkin Cheesecake Bars Simple and Rich Delight
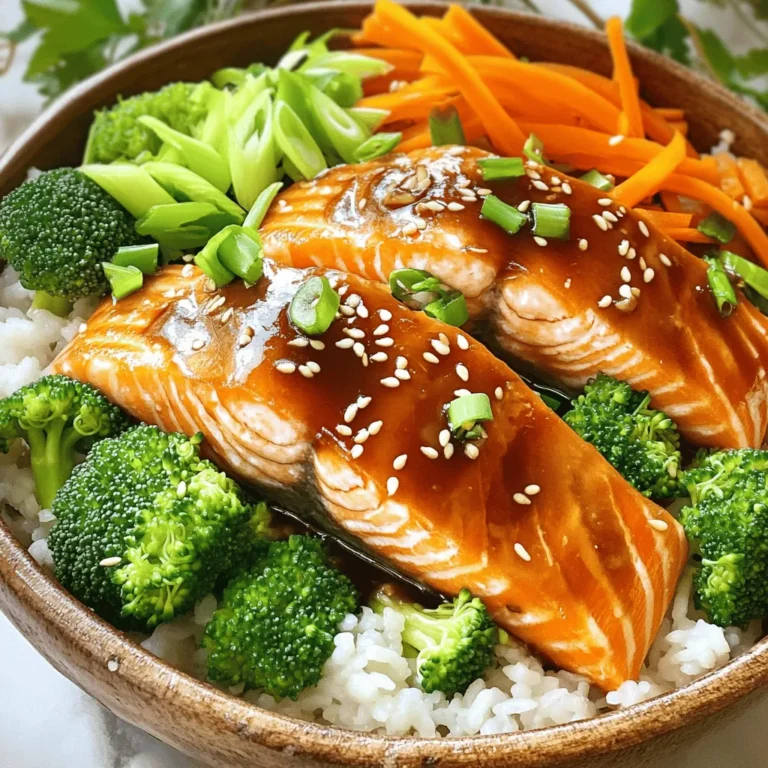
Teriyaki Salmon Rice Bowls Simple and Flavorful Meal
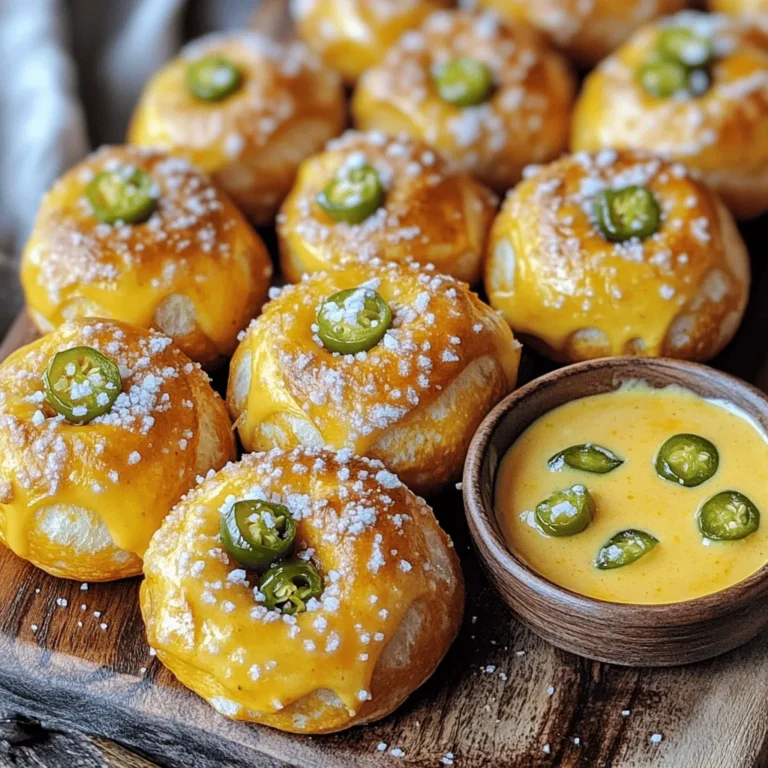
Cheddar Jalapeño Pretzel Bites Tasty Snack Recipe
Mango Coconut Overnight Oats Energizing Breakfast Treat
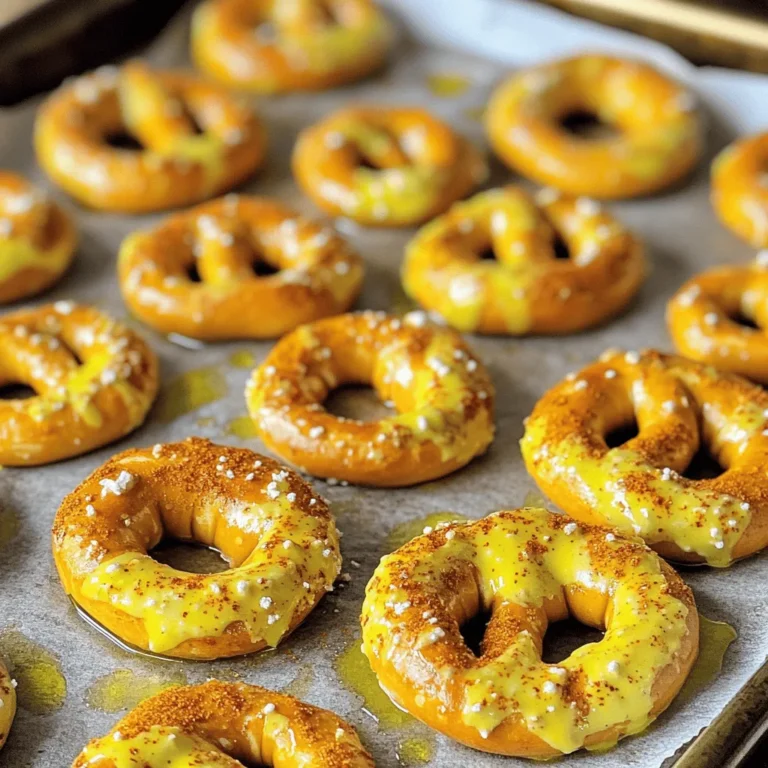
Spicy Ranch Pretzels Crunchy and Flavorful Snack
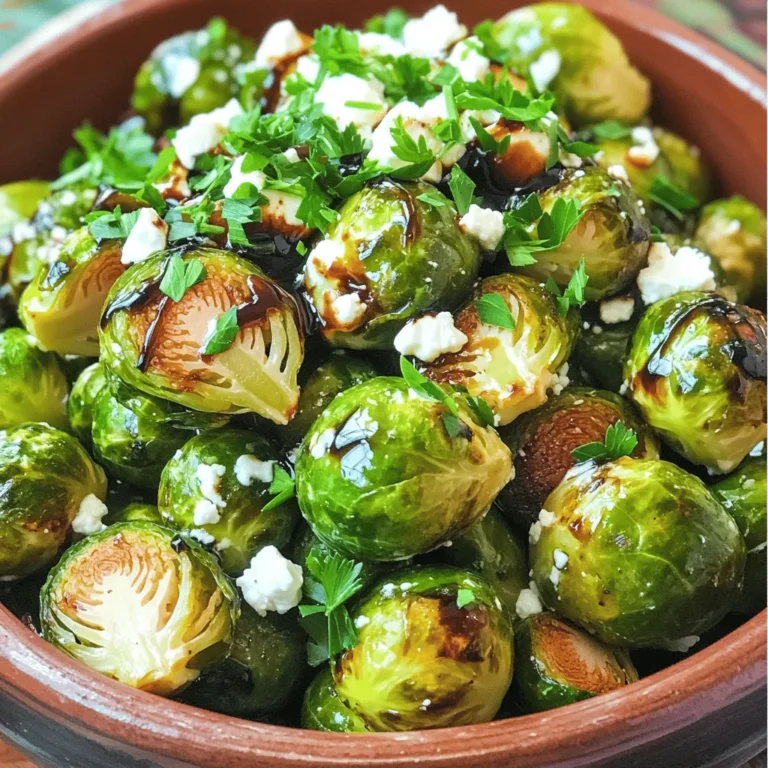
Balsamic Glazed Roasted Brussels Sprouts Delight
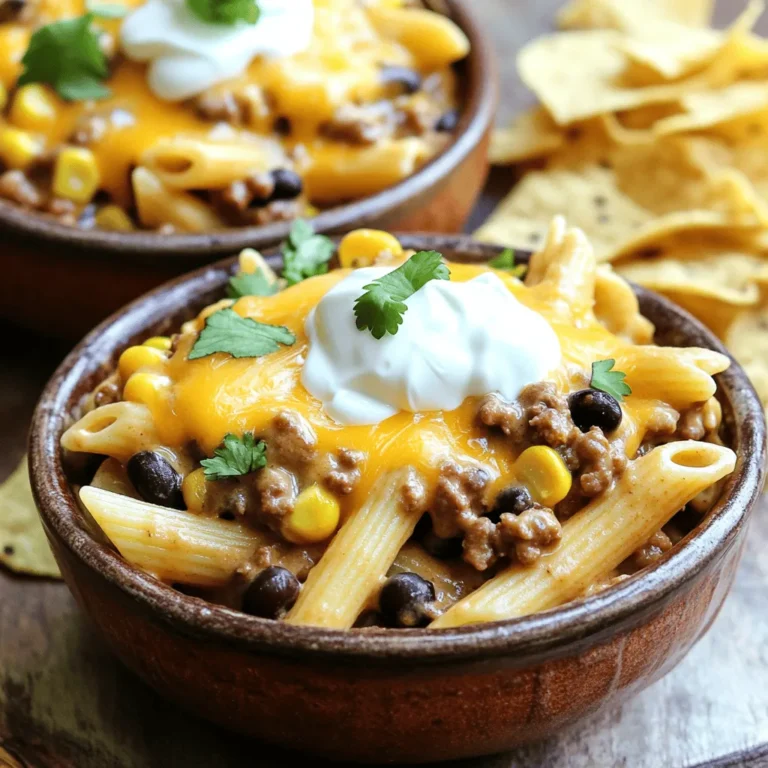
One-Pot Creamy Taco Pasta Quick and Tasty Meal
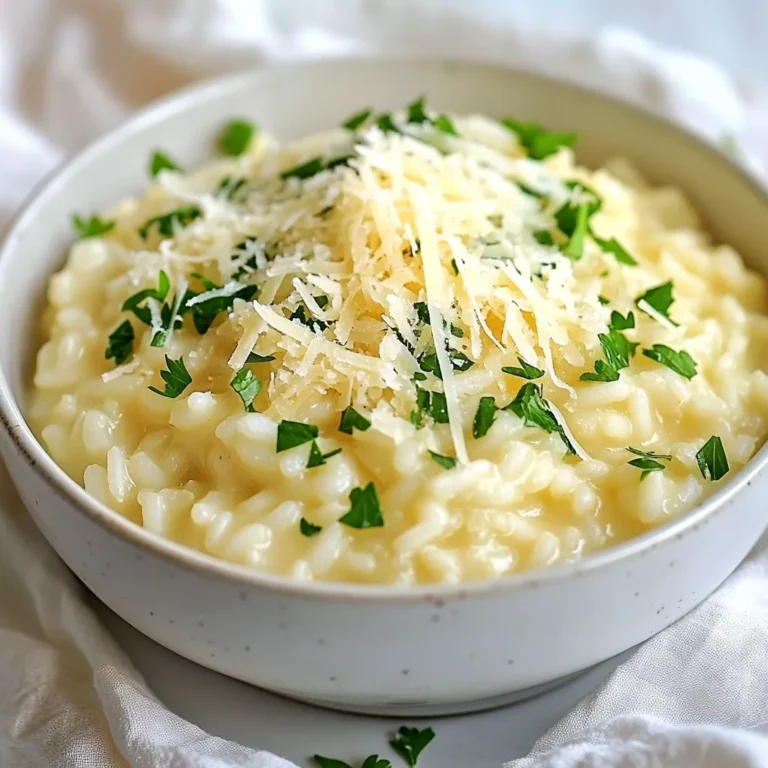
Creamy Garlic Parmesan Risotto Rich and Flavorful Dish
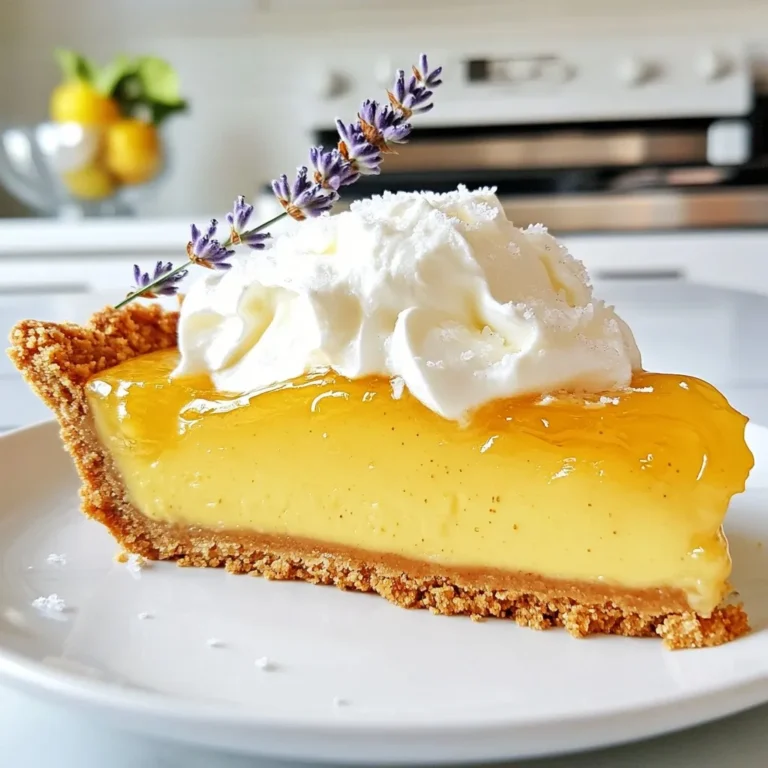
Salted Honey Pie Simple Recipe for Perfect Dessert
PREV
1
…
26
27
28
…
58
NEXT