FREE DINNER EBOOK!
Get your copy!
Cookie Policy
GDPR Policy
Disclaimer
Terms Of Use
Visit my other site:
Fun Cookie Recipes
Home
Dinner
Desserts
Drinks
Appetizers
Contact
About
Privacy Policy
Home
Dinner
Desserts
Drinks
Appetizers
Contact
About
Privacy Policy
Cookie Policy
GDPR Policy
Disclaimer
Terms Of Use
Visit my other site:
Fun Cookie Recipes
HOME / CATEGORIES /
Latest
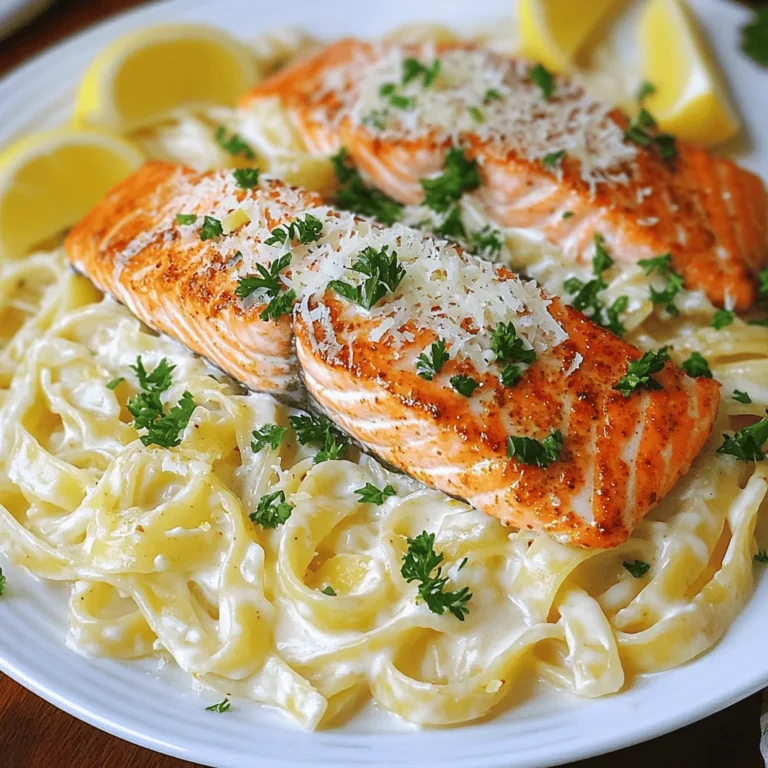
Cajun Salmon Alfredo Flavorful and Easy Recipe
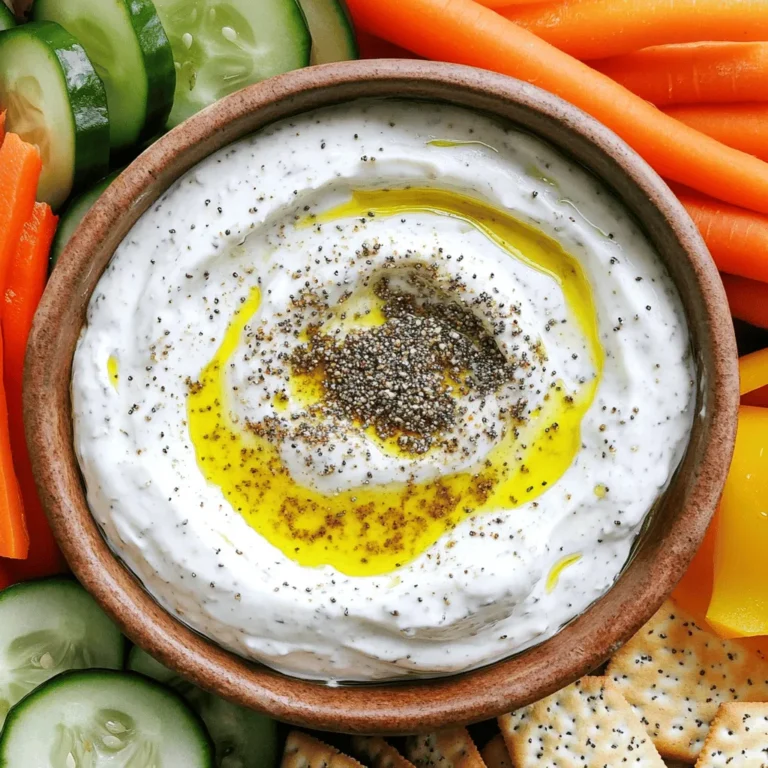
Greek Yogurt Everything Bagel Dip Flavorful Treat
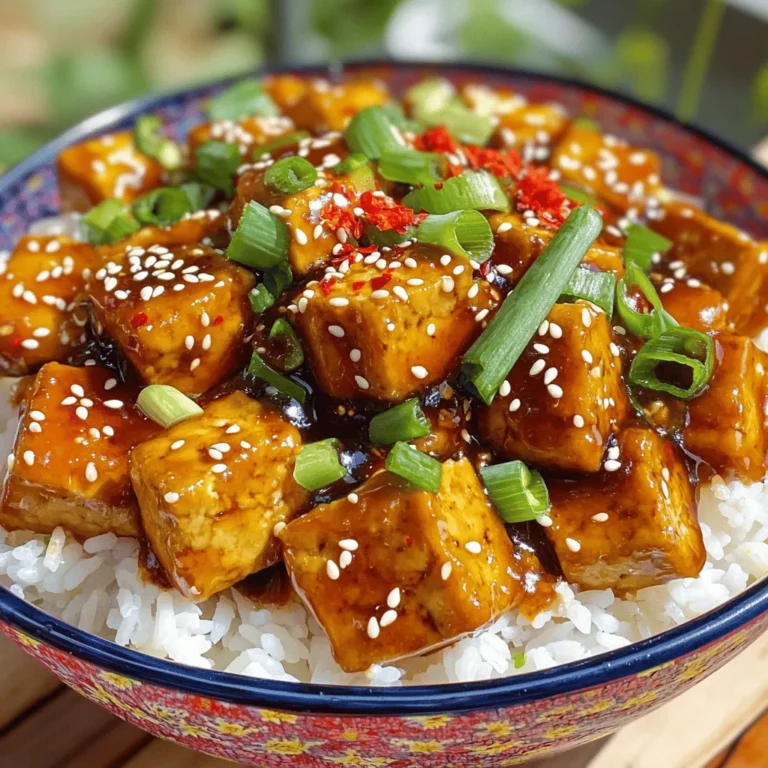
Spicy Garlic Teriyaki Tofu Flavorful Plant-Based Dish
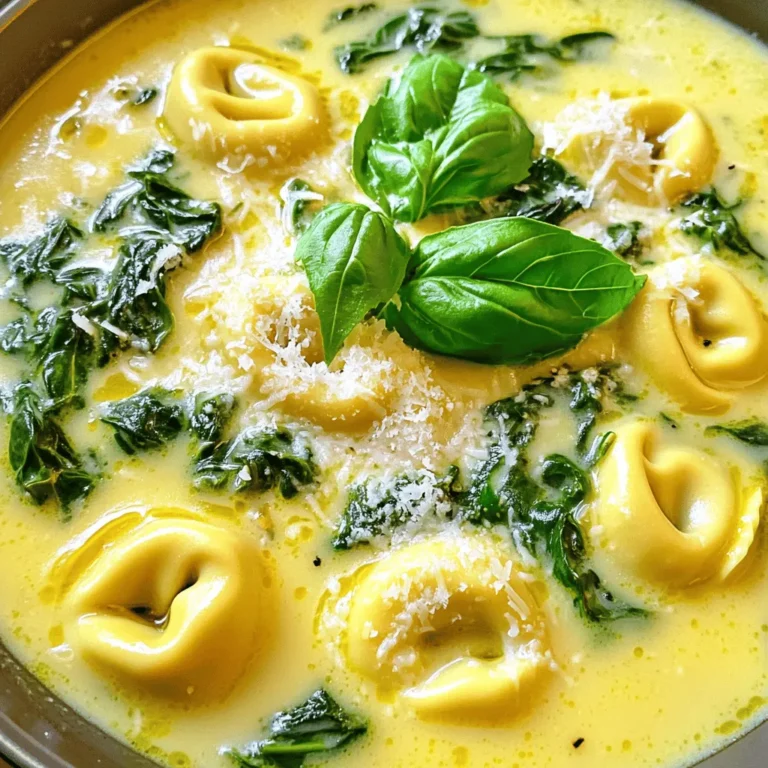
Creamy Spinach Tortellini Soup Flavorful Comfort Dish
Toasted Coconut Banana Bread Flavorful and Easy Recipe
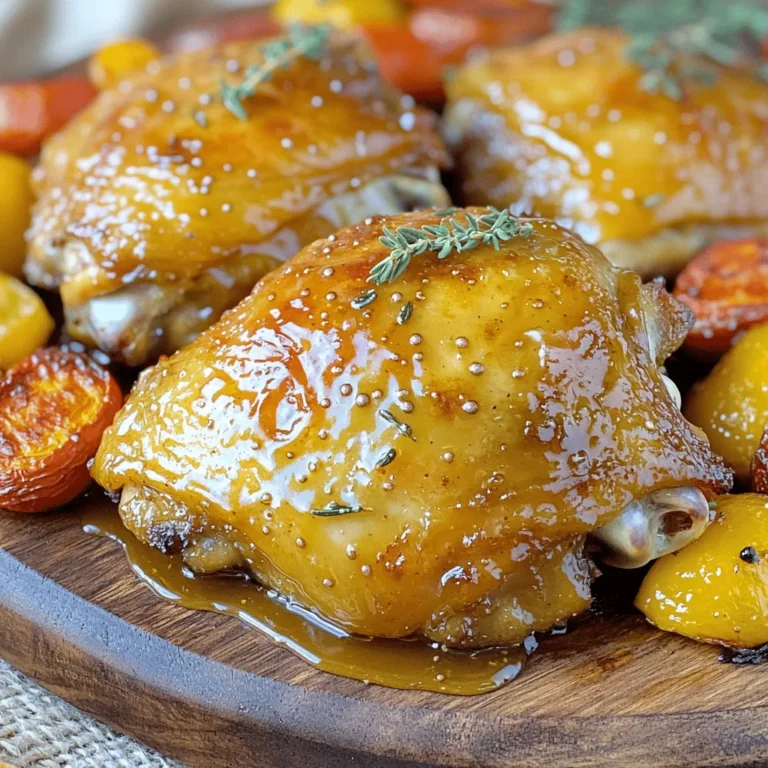
Honey Mustard Chicken Thighs Simple and Tasty Recipe
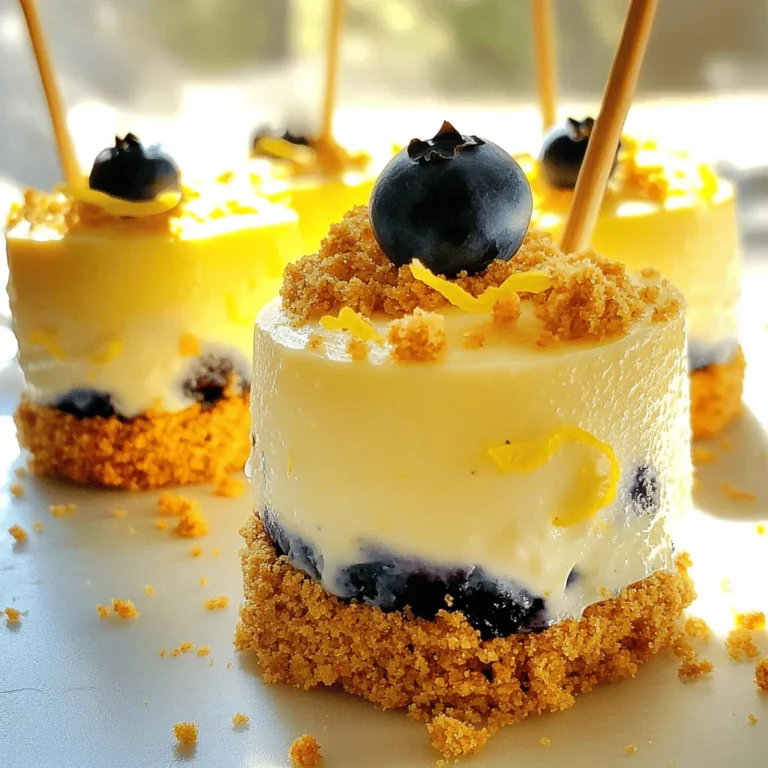
Blueberry Lemon Cheesecake Pops Simple and Tasty Treat
Savory Chicken Fajita Stuffed Zucchini Recipe
Instant Pot Butter Chicken Savory and Simple Meal
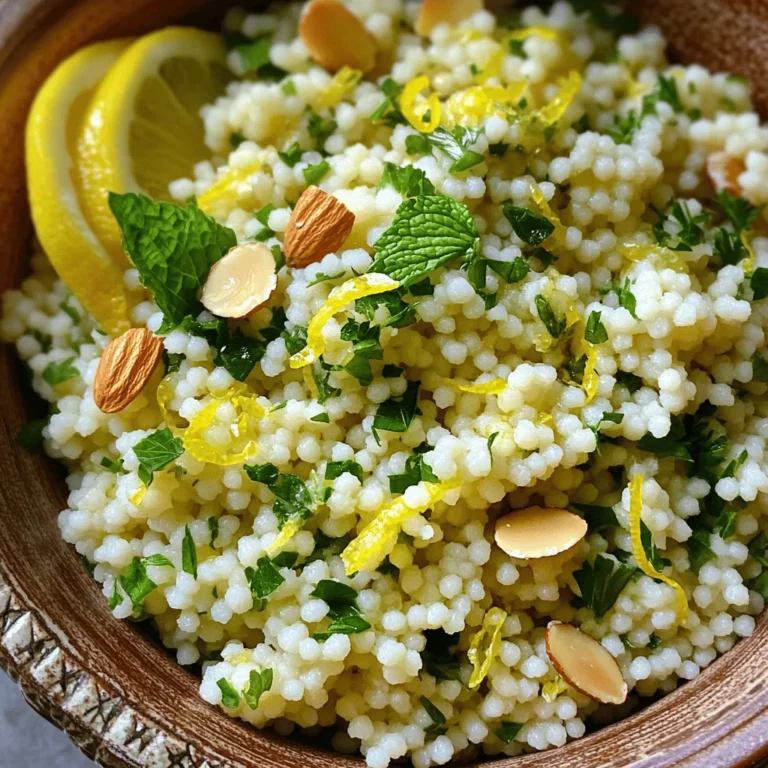
Lemon Herb Couscous Tasty and Easy Side Dish
PREV
1
…
25
26
27
…
58
NEXT