FREE DINNER EBOOK!
Get your copy!
Cookie Policy
GDPR Policy
Disclaimer
Terms Of Use
Visit my other site:
Fun Cookie Recipes
Home
Dinner
Desserts
Drinks
Appetizers
Contact
About
Privacy Policy
Home
Dinner
Desserts
Drinks
Appetizers
Contact
About
Privacy Policy
Cookie Policy
GDPR Policy
Disclaimer
Terms Of Use
Visit my other site:
Fun Cookie Recipes
HOME / CATEGORIES /
Latest
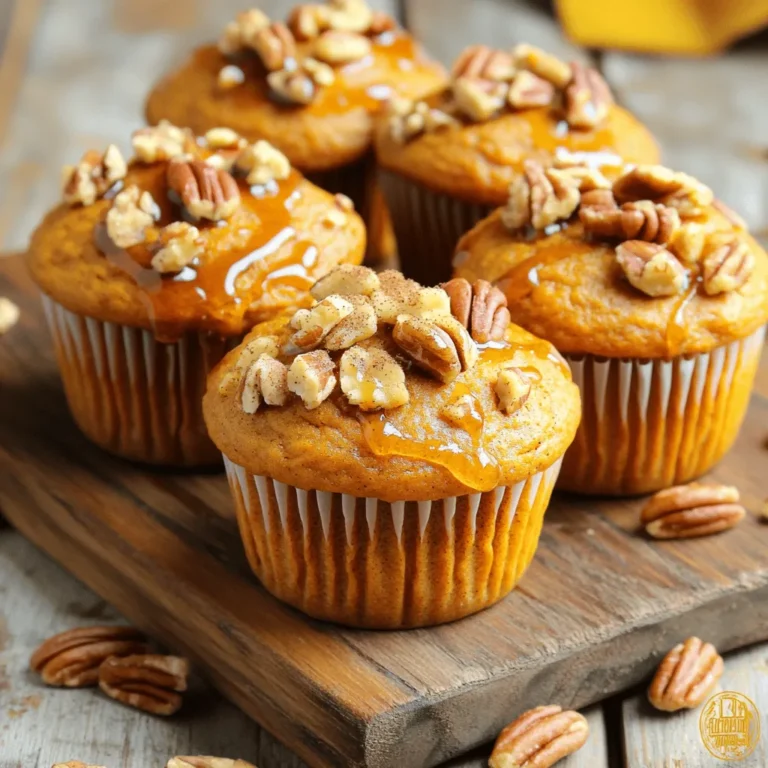
Pumpkin Maple Pecan Muffins Bakery Delight Recipe
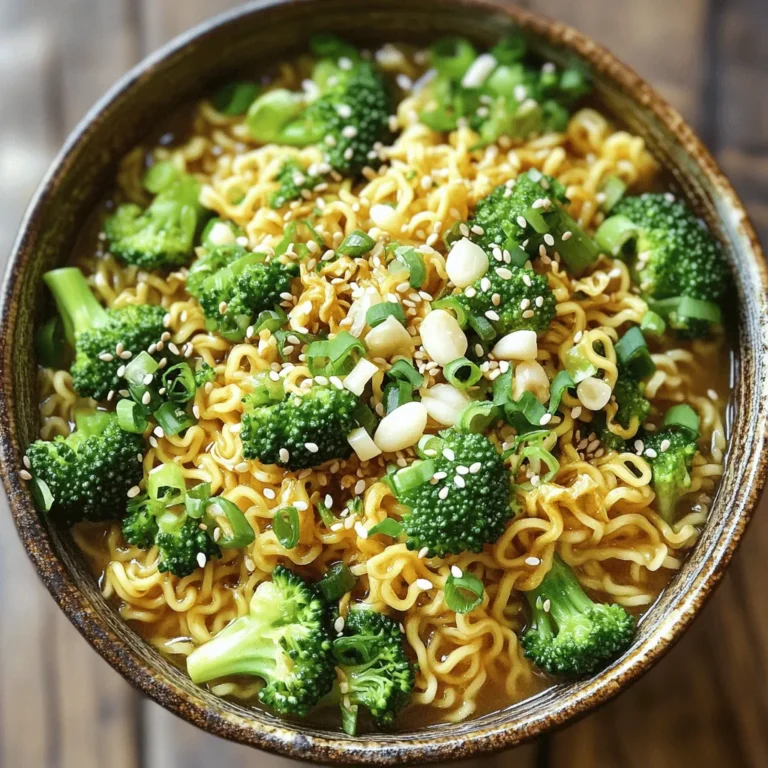
Minute Spicy Garlic Broccoli Ramen Flavorful Meal Guide
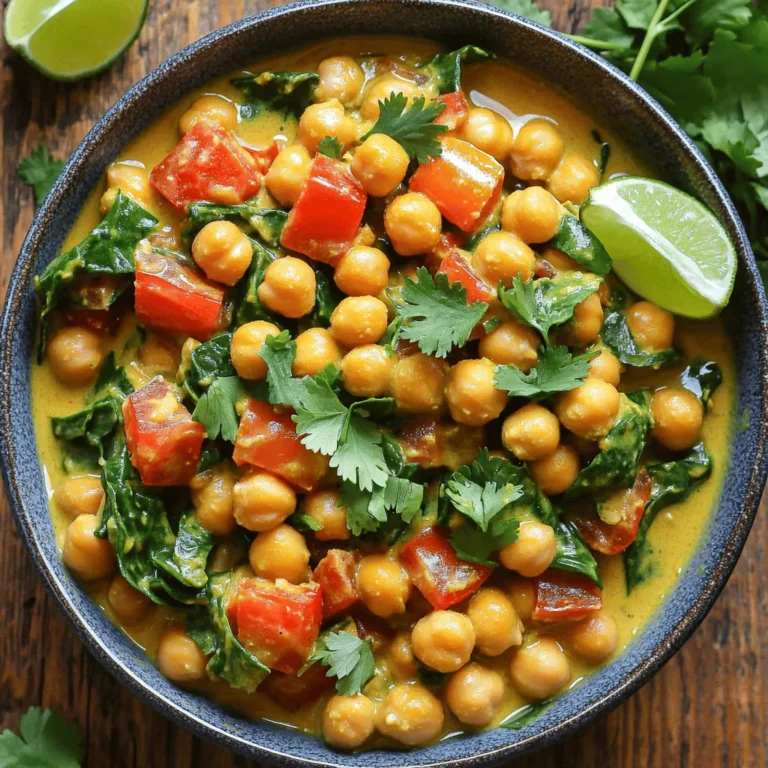
Savory Slow Cooker Coconut Curry Chickpeas Delight
Caramel Snickerdoodle Blondies Delightful Sweet Treat
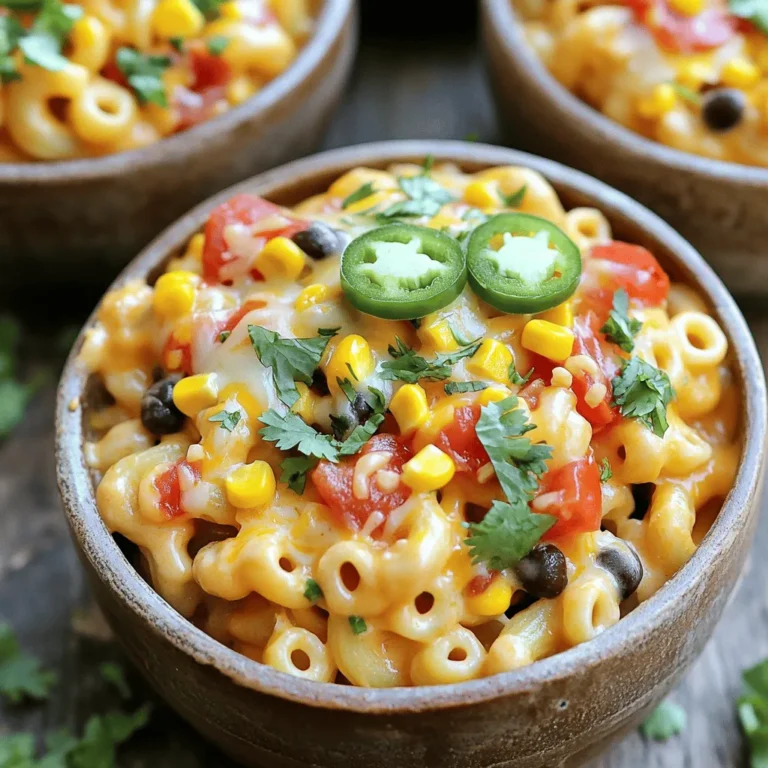
One-Pot Creamy Taco Mac and Cheese Delightful Dish
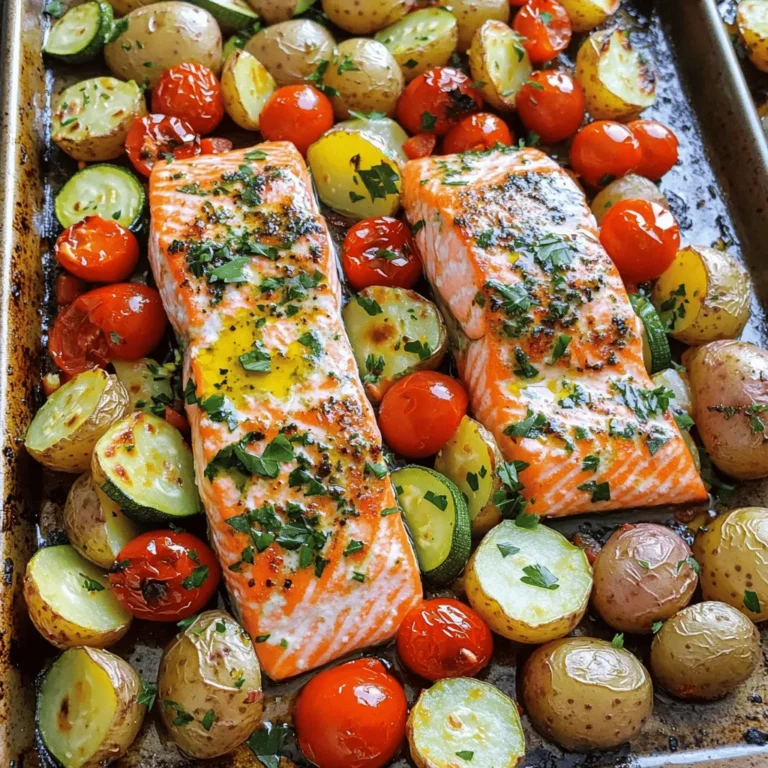
Sheet-Pan Mediterranean Salmon and Potatoes Delight
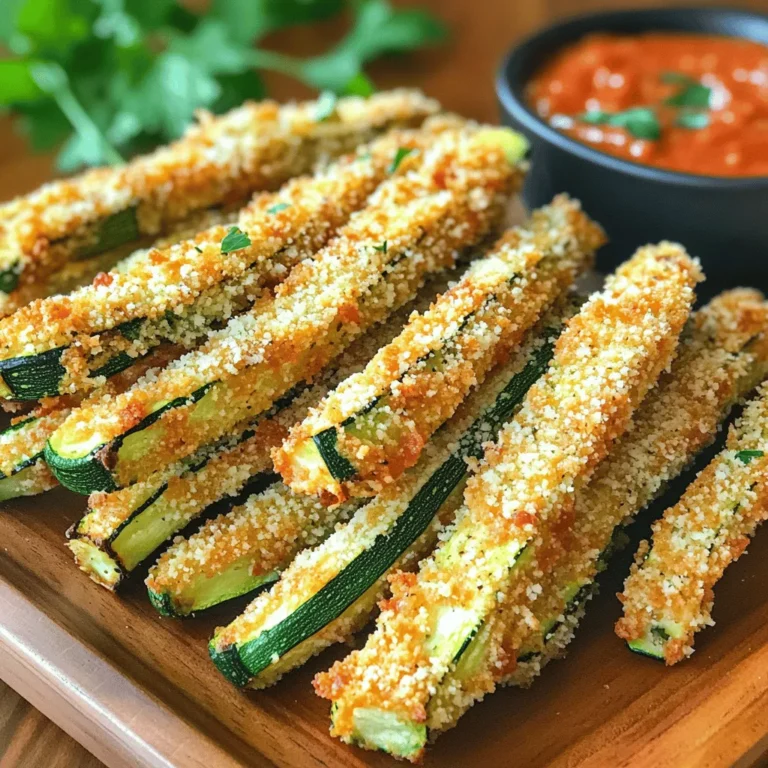
Air Fryer Parmesan Zucchini Fries Crispy and Tasty
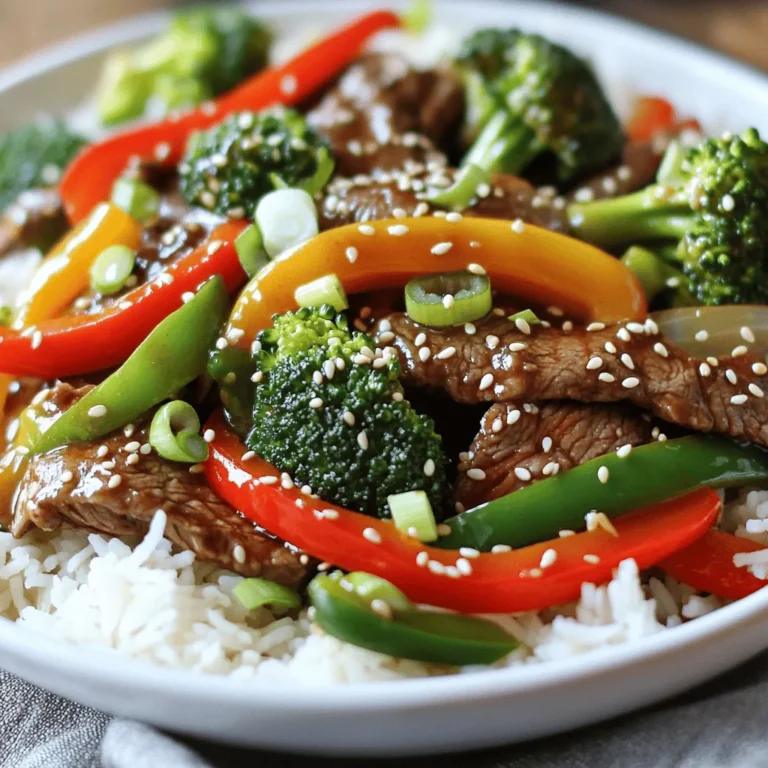
Better-Than-Takeout Garlic Ginger Beef Stir-Fry Recipe
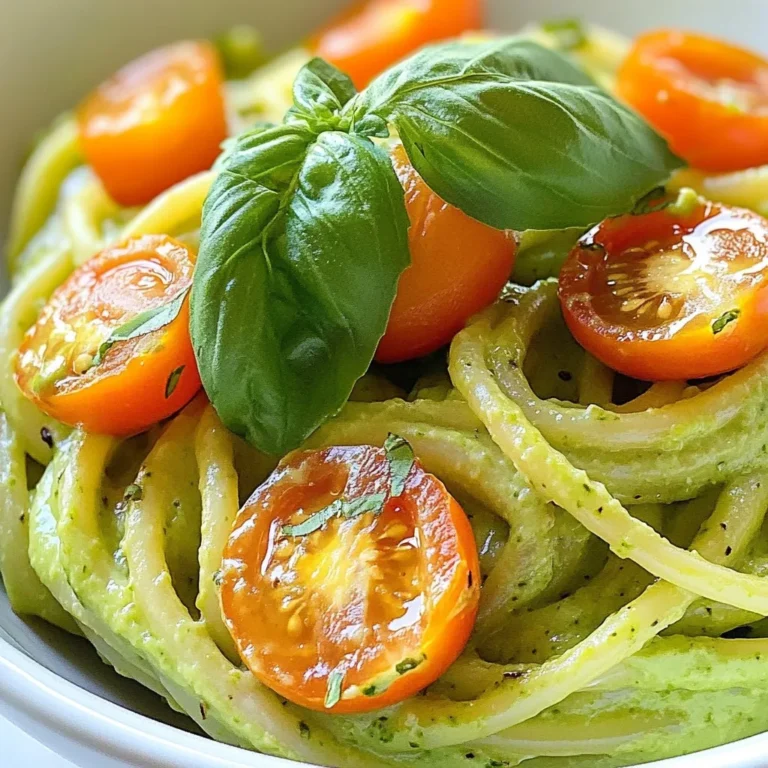
Creamy Avocado Pasta Quick and Tasty Recipe
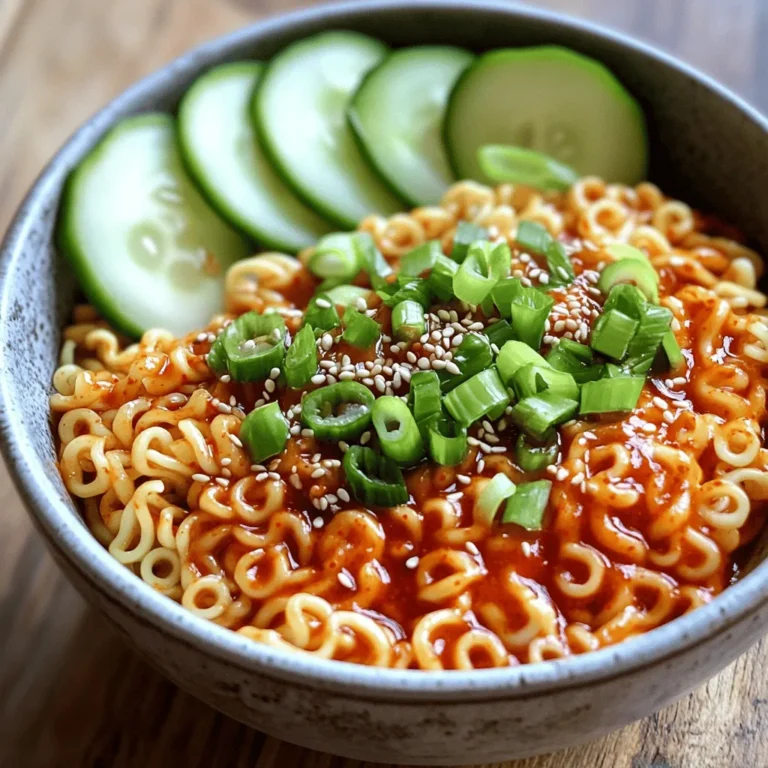
Minute Spicy Gochujang Noodles Quick and Easy Meal
PREV
1
…
21
22
23
…
58
NEXT