FREE DINNER EBOOK!
Get your copy!
Cookie Policy
GDPR Policy
Disclaimer
Terms Of Use
Visit my other site:
Fun Cookie Recipes
Home
Dinner
Desserts
Drinks
Appetizers
Contact
About
Privacy Policy
Home
Dinner
Desserts
Drinks
Appetizers
Contact
About
Privacy Policy
Cookie Policy
GDPR Policy
Disclaimer
Terms Of Use
Visit my other site:
Fun Cookie Recipes
HOME / CATEGORIES /
Latest
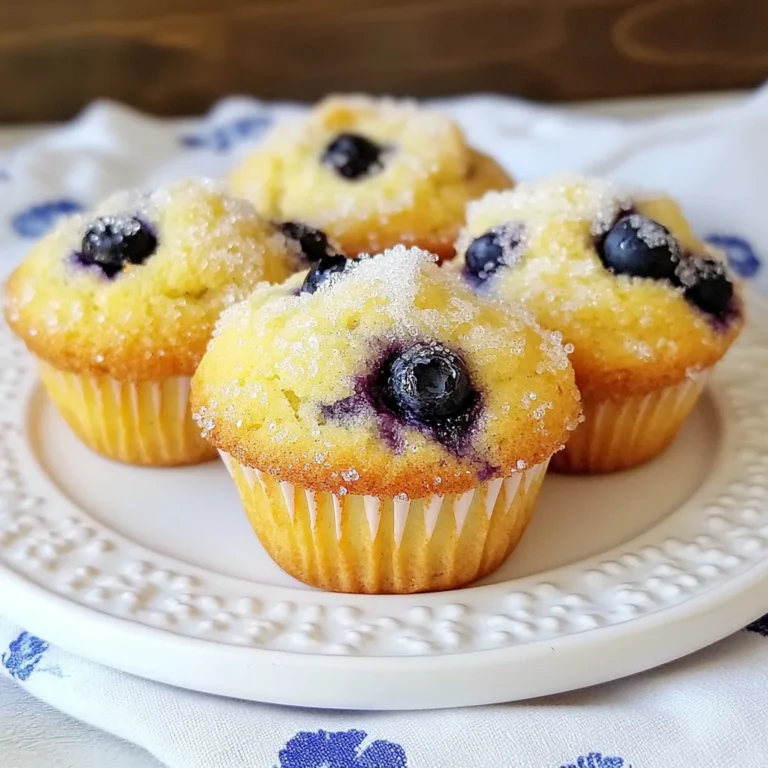
Greek Yogurt Blueberry Muffins Simple Tasty Recipe
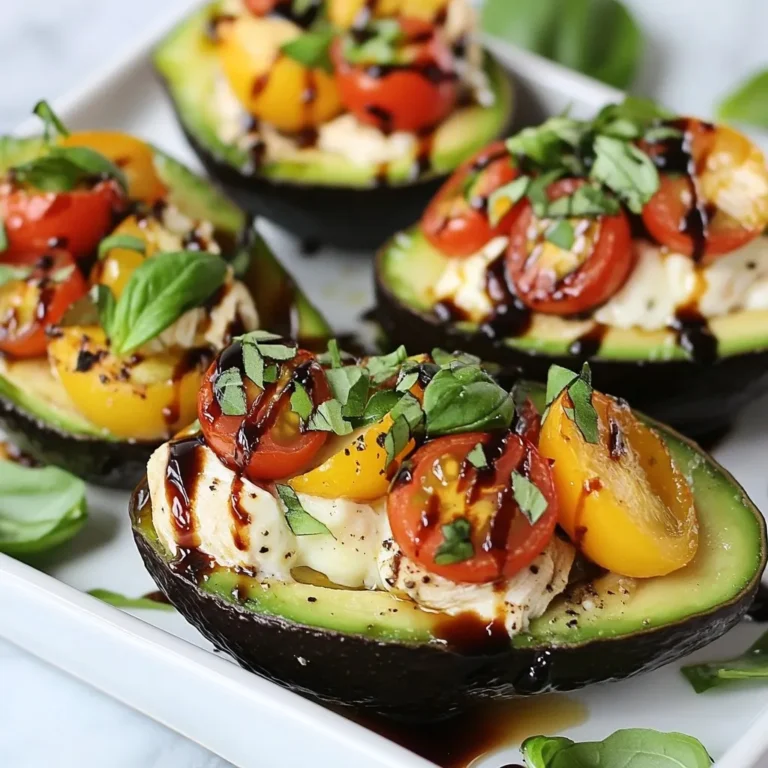
Caprese Chicken Stuffed Avocados Flavorful and Fresh
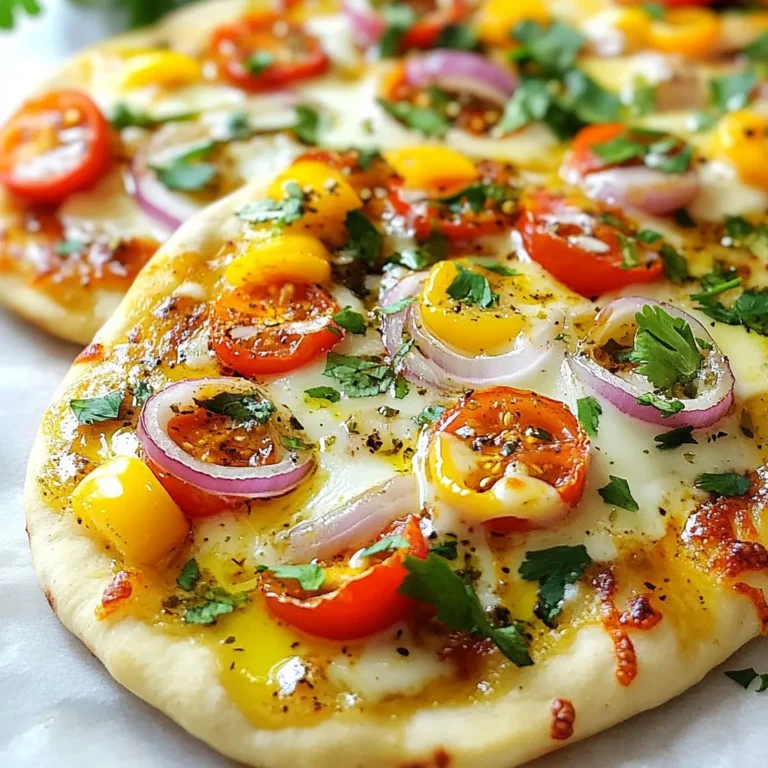
Chili Garlic Naan Pizza Savory and Simple Recipe
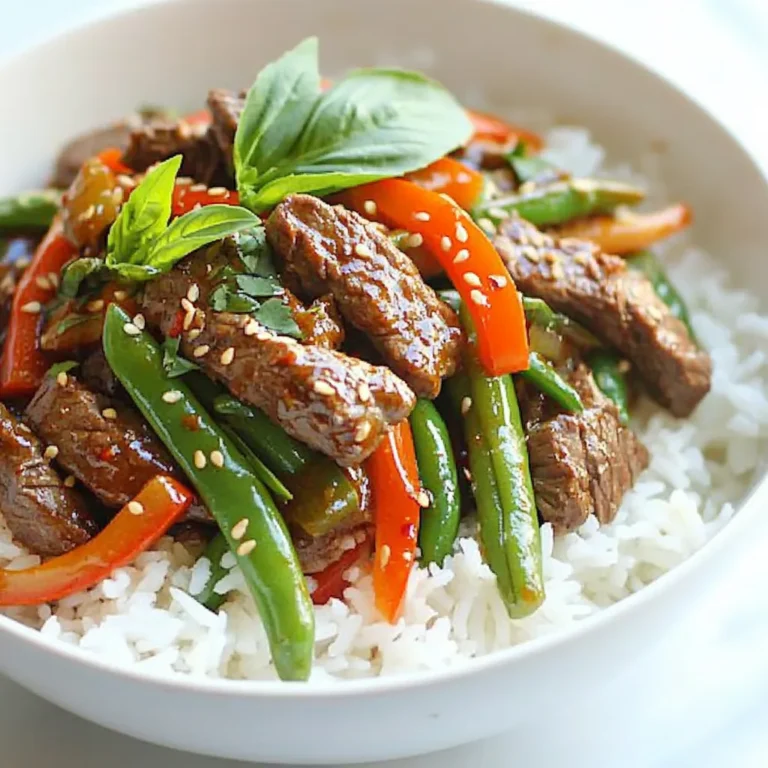
Thai Basil Beef Stir Fry Savory and Quick Meal
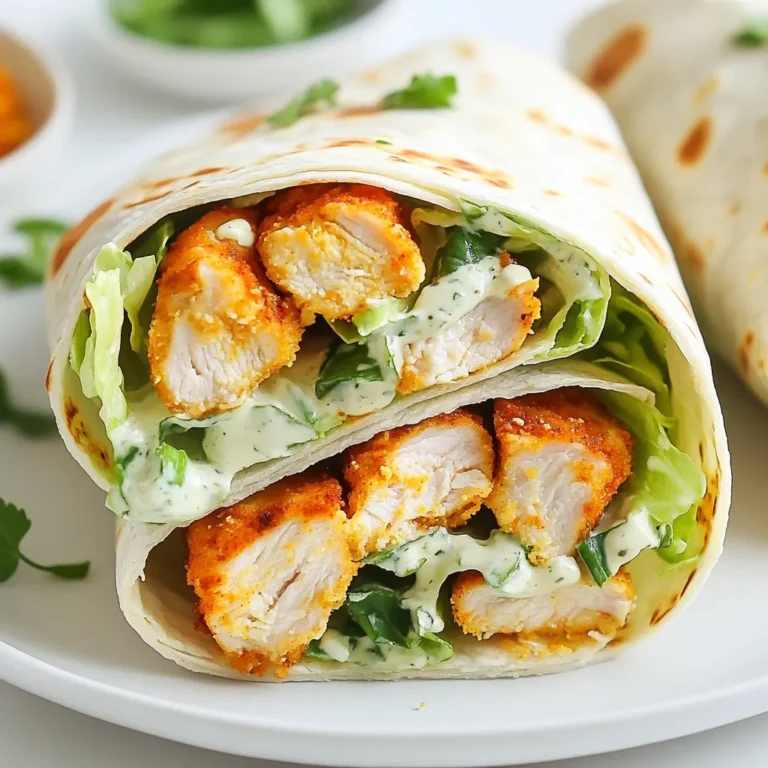
Cajun Chicken Caesar Wraps Flavorful and Simple Meal
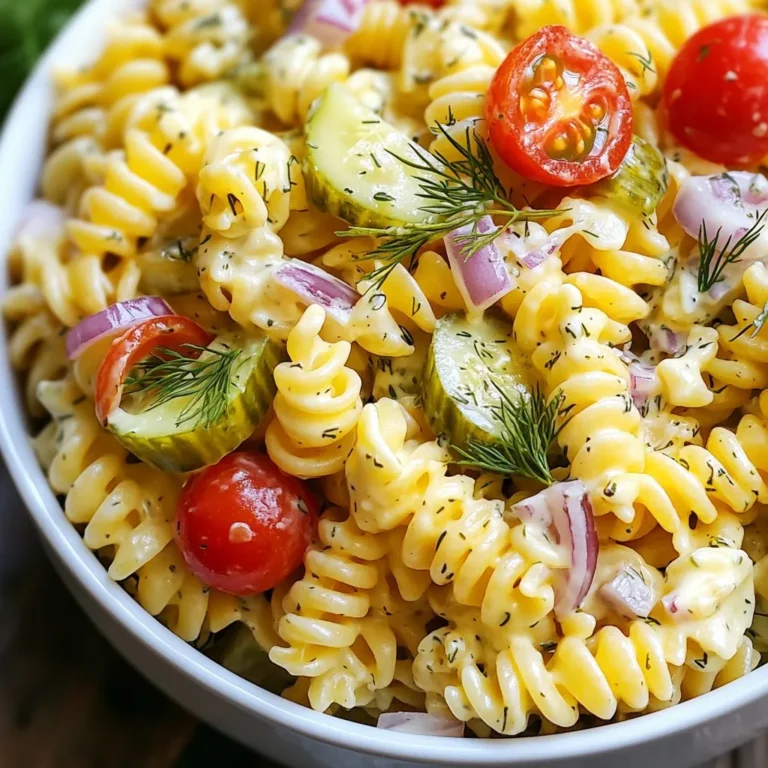
Dill Pickle Pasta Salad Savory and Simple Dish
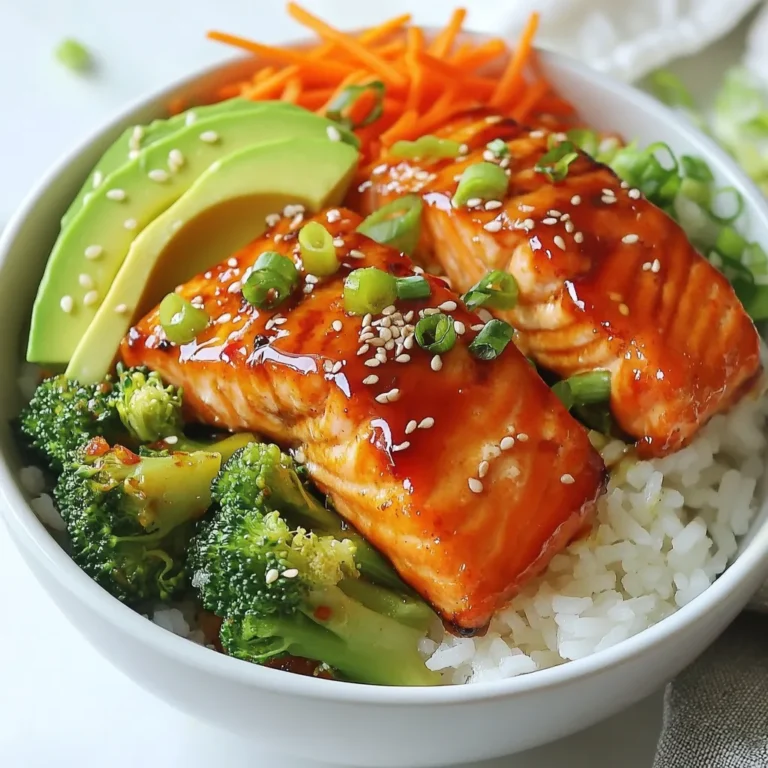
Sweet Chili Salmon Bowls Flavorful and Nutritious Meal
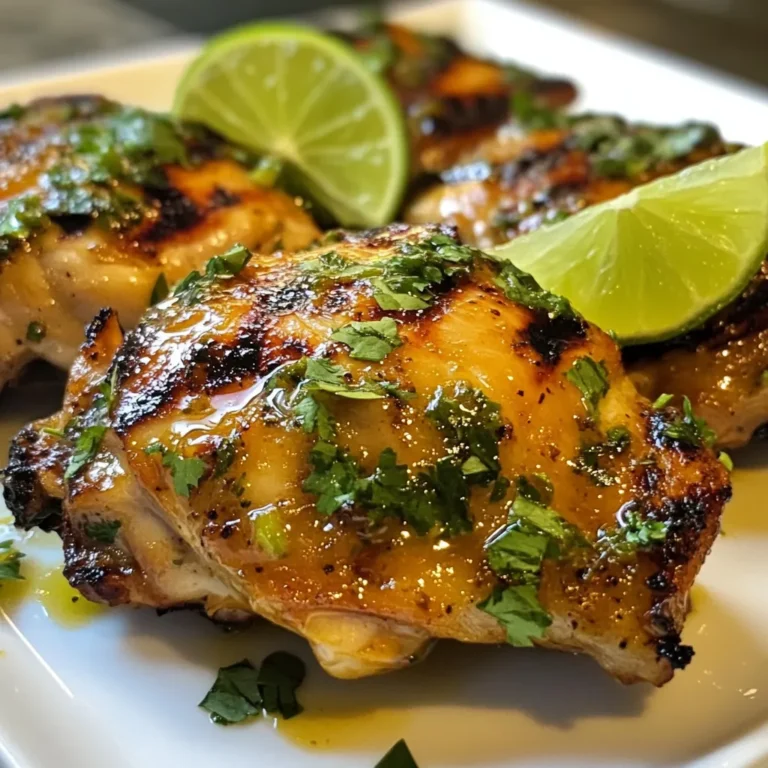
Cilantro Lime Chicken Thighs Juicy and Flavorful Dish
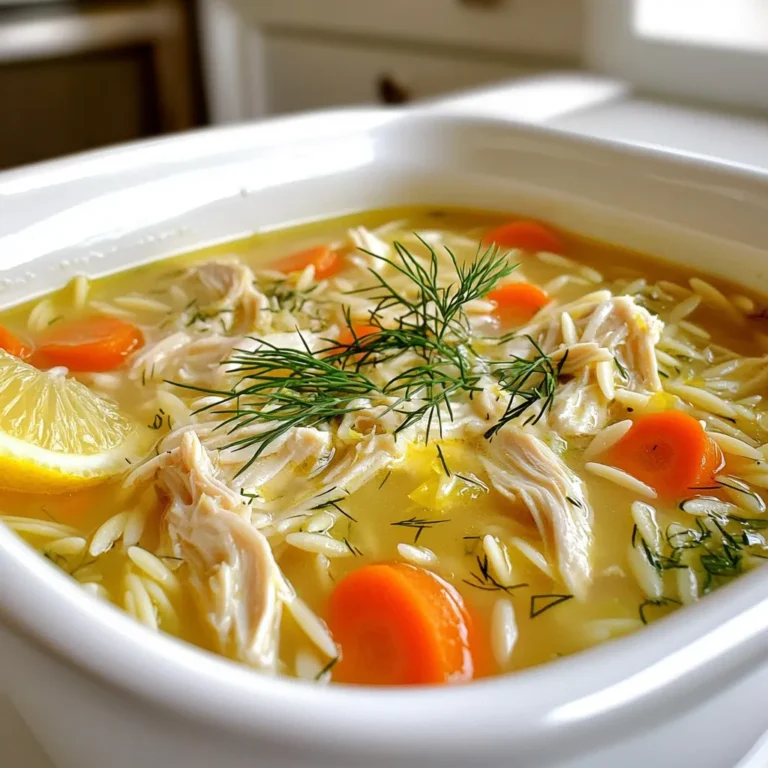
Greek Lemon Chicken Soup Comforting and Satisfying
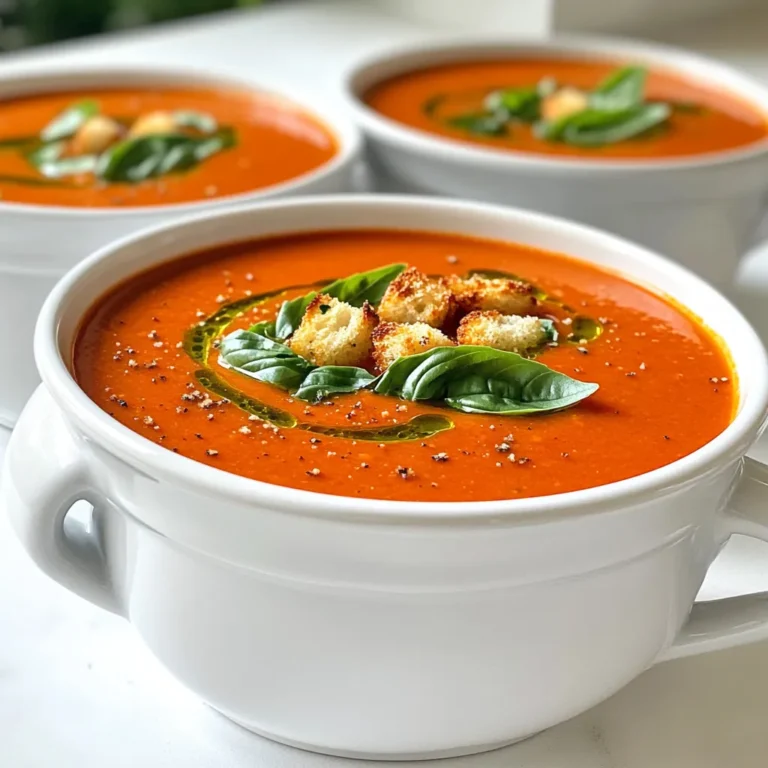
Roasted Tomato Basil Soup Flavorful and Simple Recipe
PREV
1
2
3
…
57
NEXT