FREE DINNER EBOOK!
Get your copy!
Cookie Policy
GDPR Policy
Disclaimer
Terms Of Use
Visit my other site:
Fun Cookie Recipes
Home
Dinner
Desserts
Drinks
Appetizers
Contact
About
Privacy Policy
Home
Dinner
Desserts
Drinks
Appetizers
Contact
About
Privacy Policy
Cookie Policy
GDPR Policy
Disclaimer
Terms Of Use
Visit my other site:
Fun Cookie Recipes
HOME / CATEGORIES /
Latest
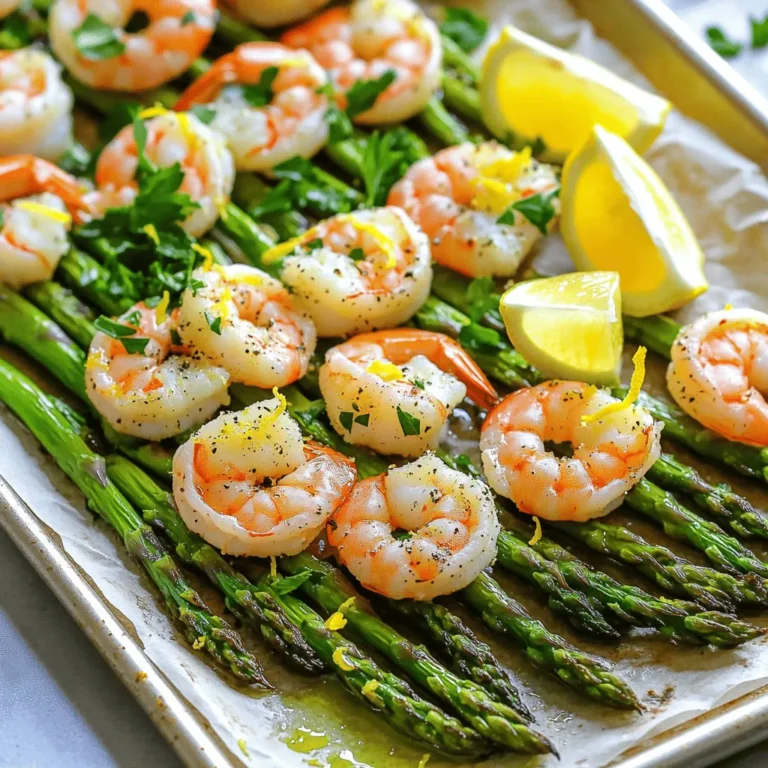
Sheet-Pan Lemon Pepper Shrimp with Asparagus Recipe
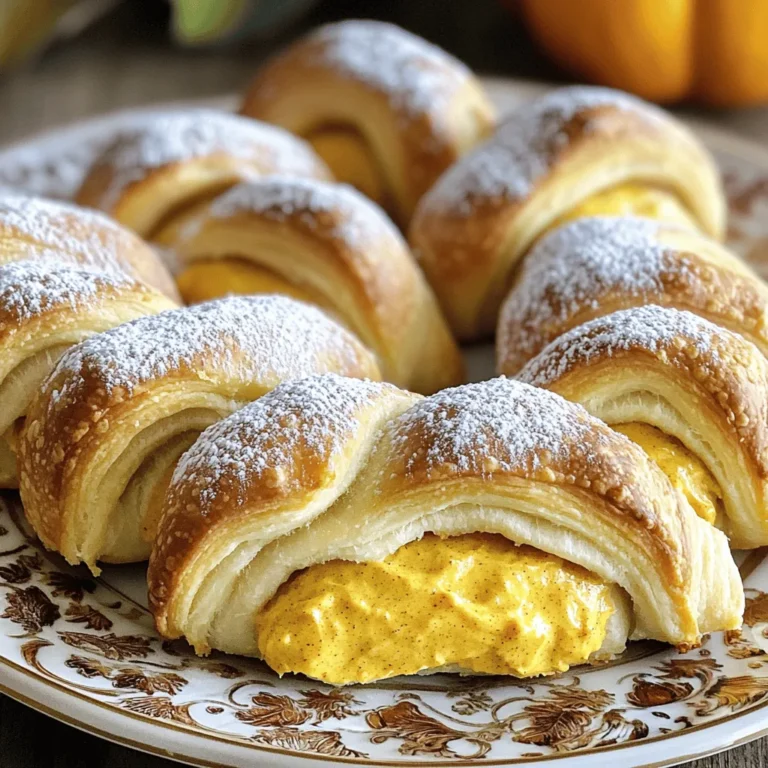
Pumpkin Spice Cheesecake Crescent Rolls Delightful Treat
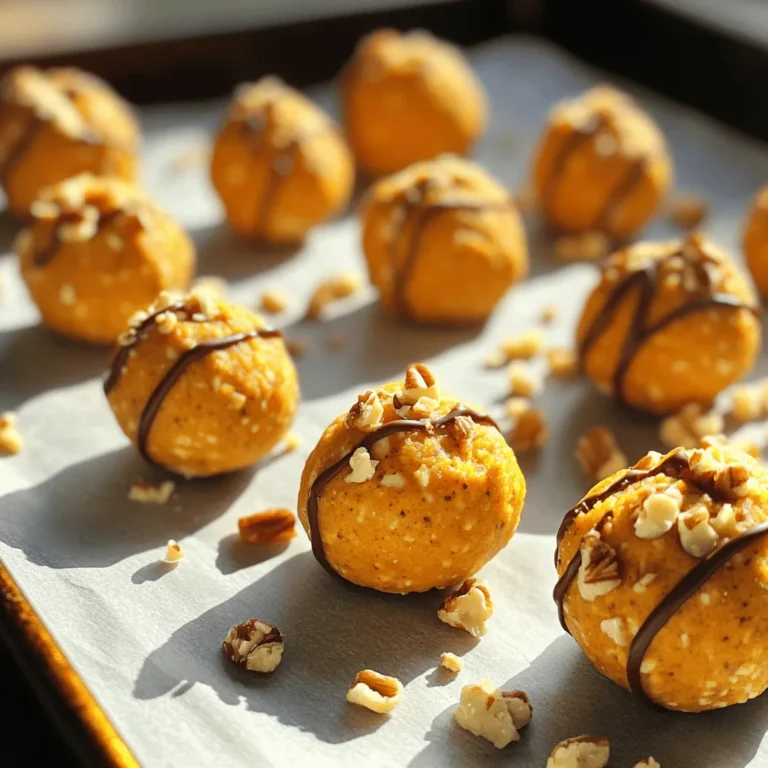
Pumpkin Cheesecake Energy Balls No Bake Delight
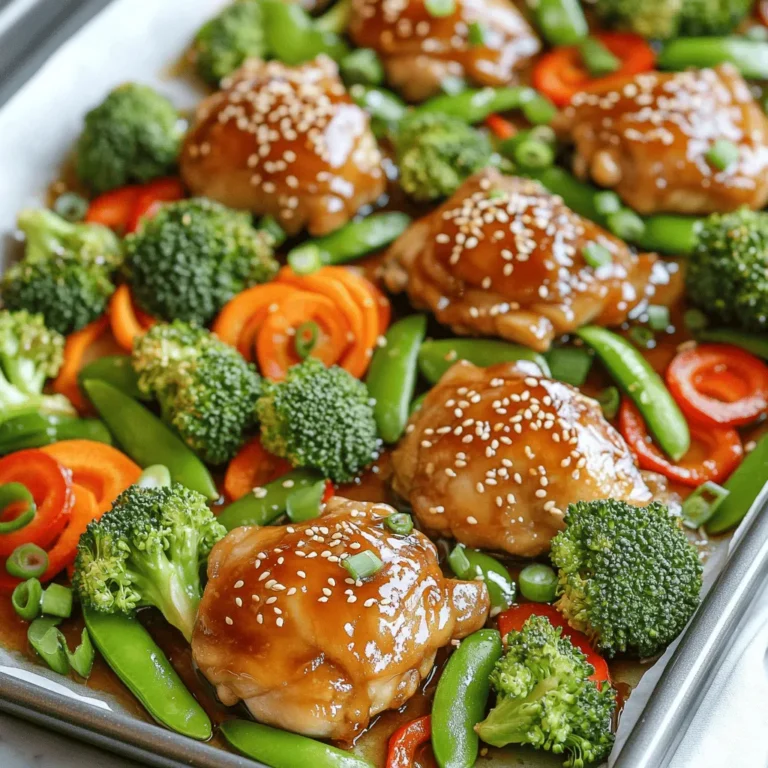
Teriyaki Chicken & Veggies Sheet Pan Flavor Boost
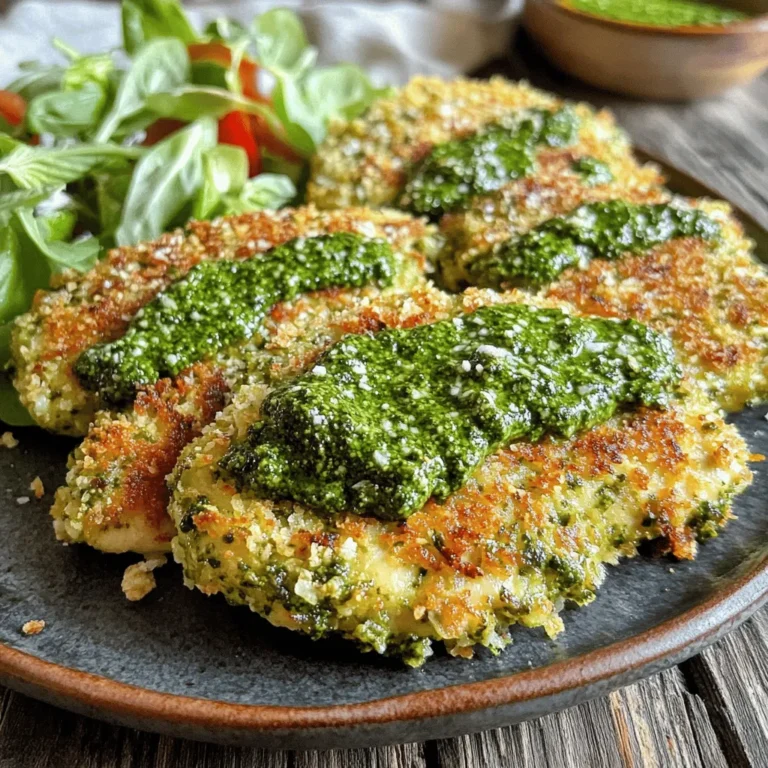
Crispy Pesto Chicken Cutlets Air Fryer Delight
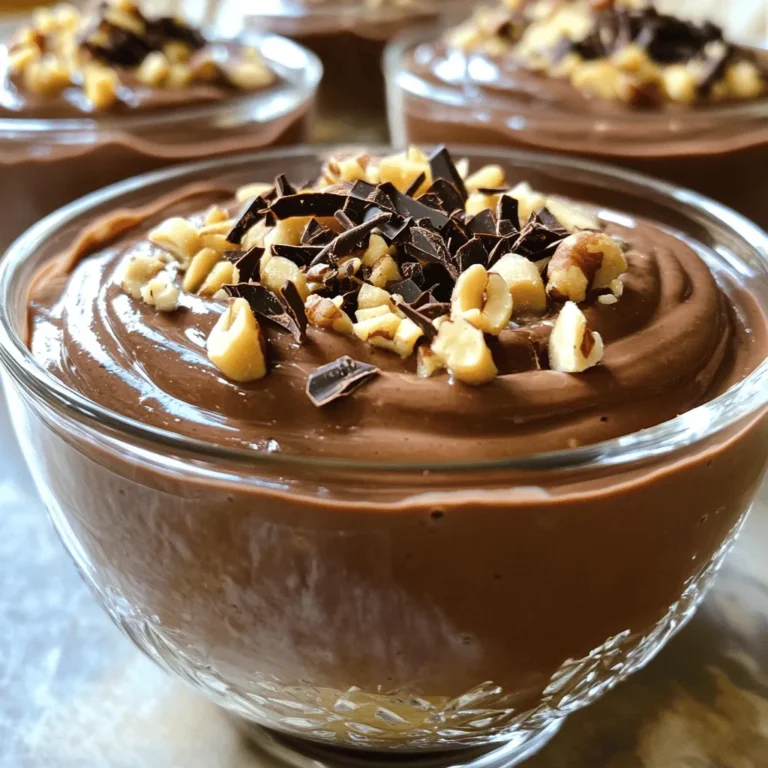
Chocolate Peanut Butter Pudding High Protein Delight
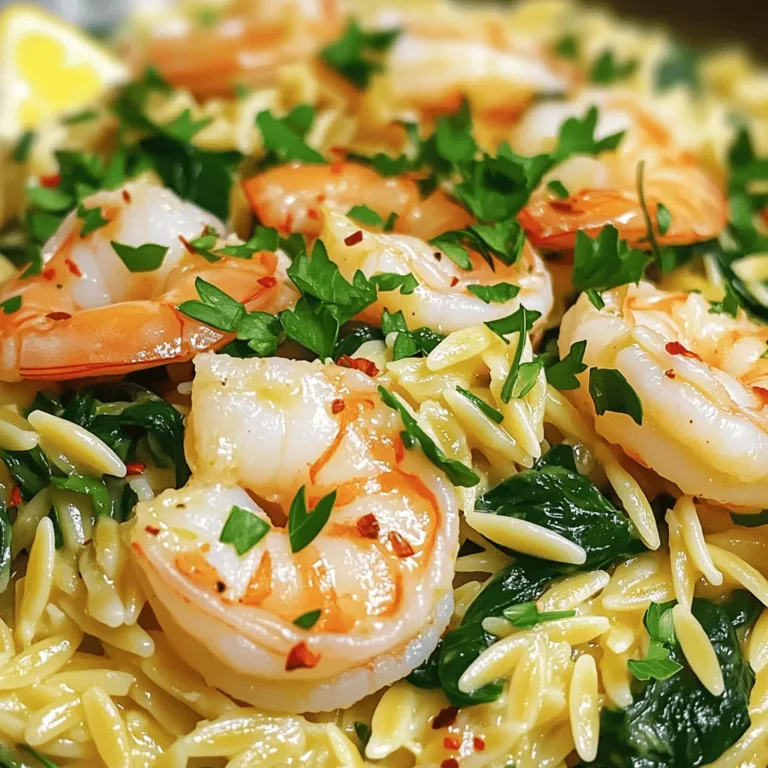
Garlic Butter Orzo with Shrimp 15-Minute Delight
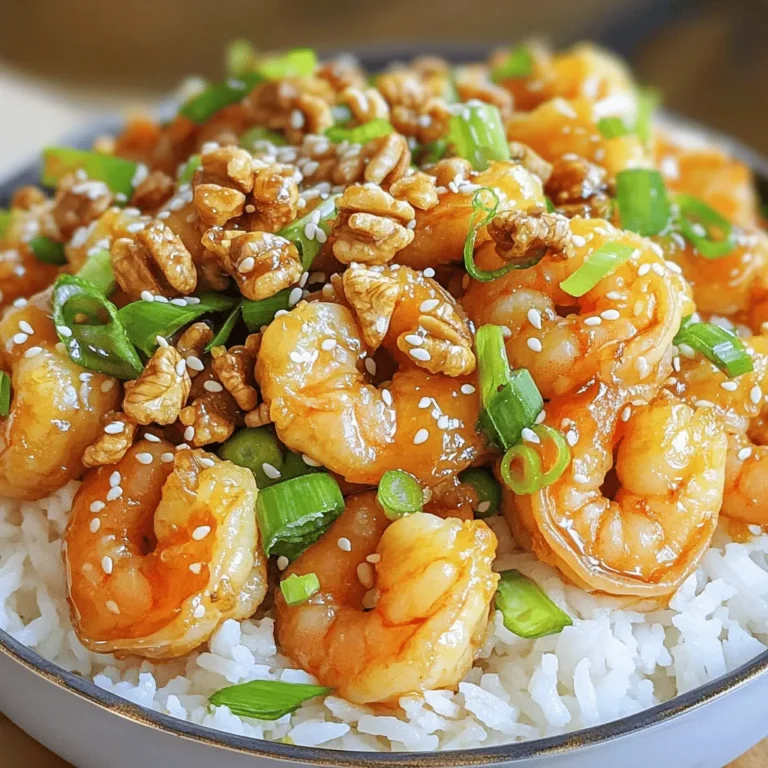
Honey Walnut Shrimp Better Than Takeout Delight
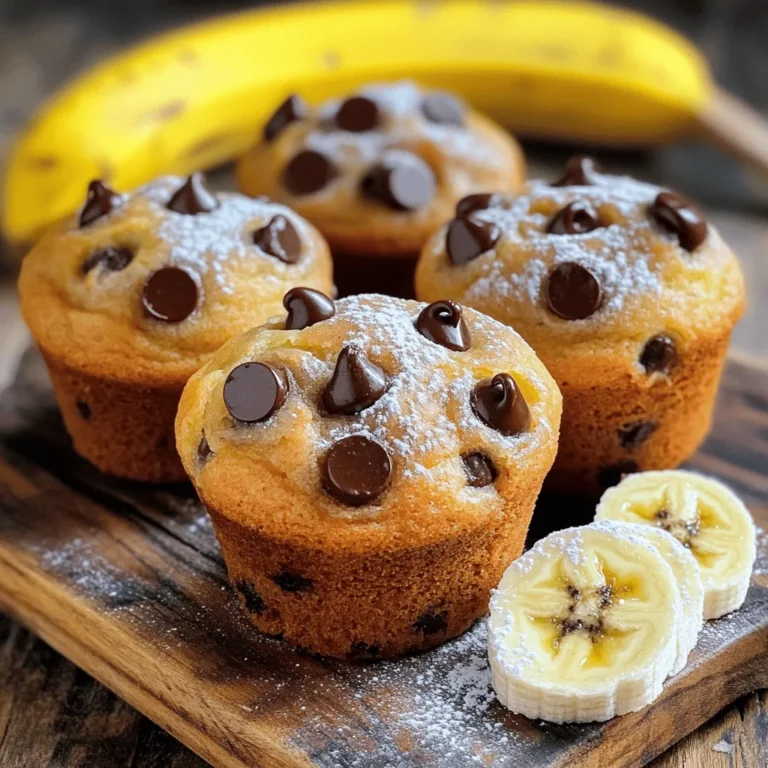
Chocolate Chip Banana Muffins Bakery Delight Recipe
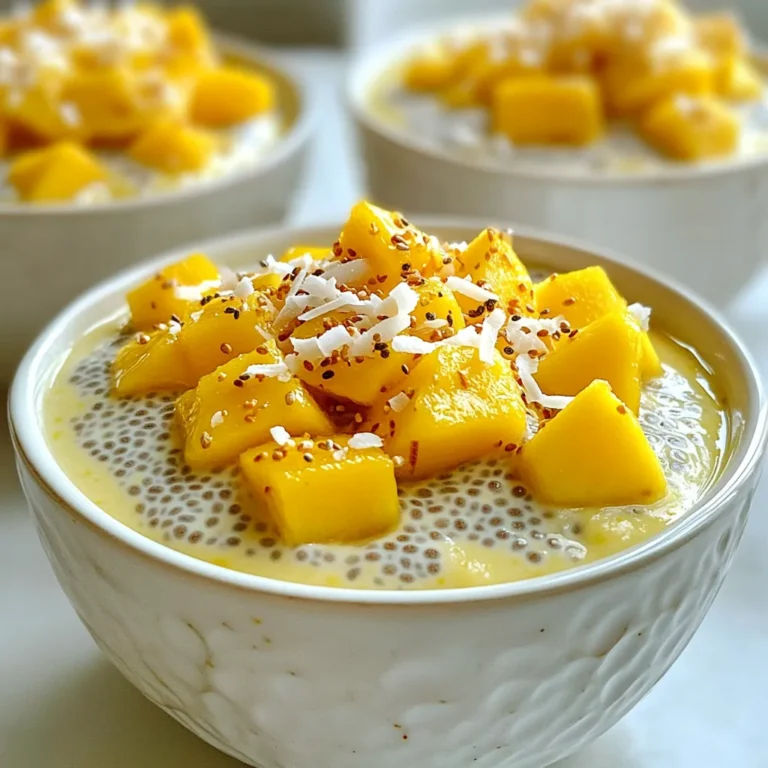
Coconut Mango Chia Pudding Tasty and Healthy Recipe
PREV
1
…
18
19
20
…
57
NEXT