FREE DINNER EBOOK!
Get your copy!
Cookie Policy
GDPR Policy
Disclaimer
Terms Of Use
Visit my other site:
Fun Cookie Recipes
Home
Dinner
Desserts
Drinks
Appetizers
Contact
About
Privacy Policy
Home
Dinner
Desserts
Drinks
Appetizers
Contact
About
Privacy Policy
Cookie Policy
GDPR Policy
Disclaimer
Terms Of Use
Visit my other site:
Fun Cookie Recipes
HOME / CATEGORIES /
Latest
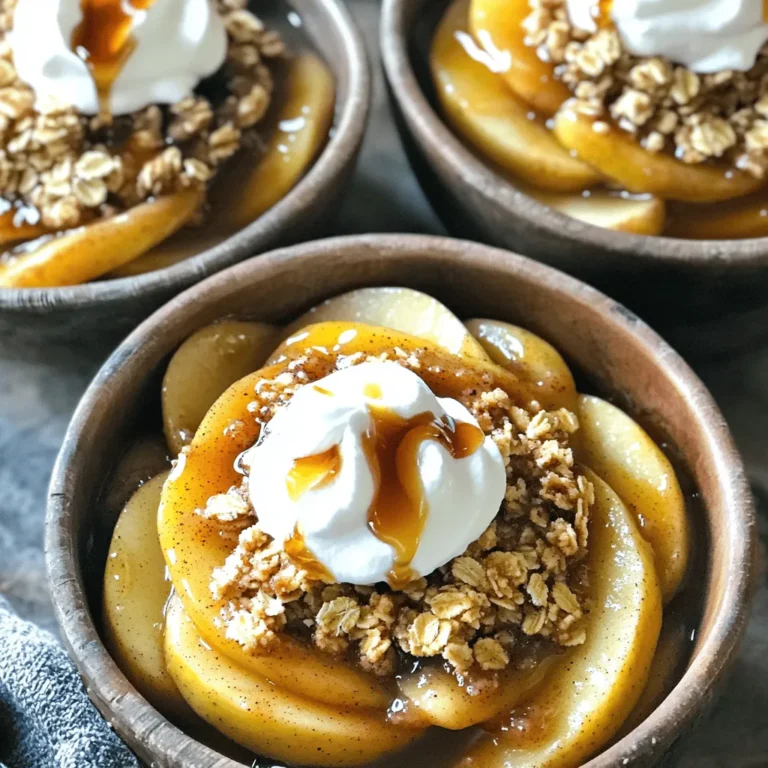
Slow Cooker Cinnamon Maple Apple Crisp Delight
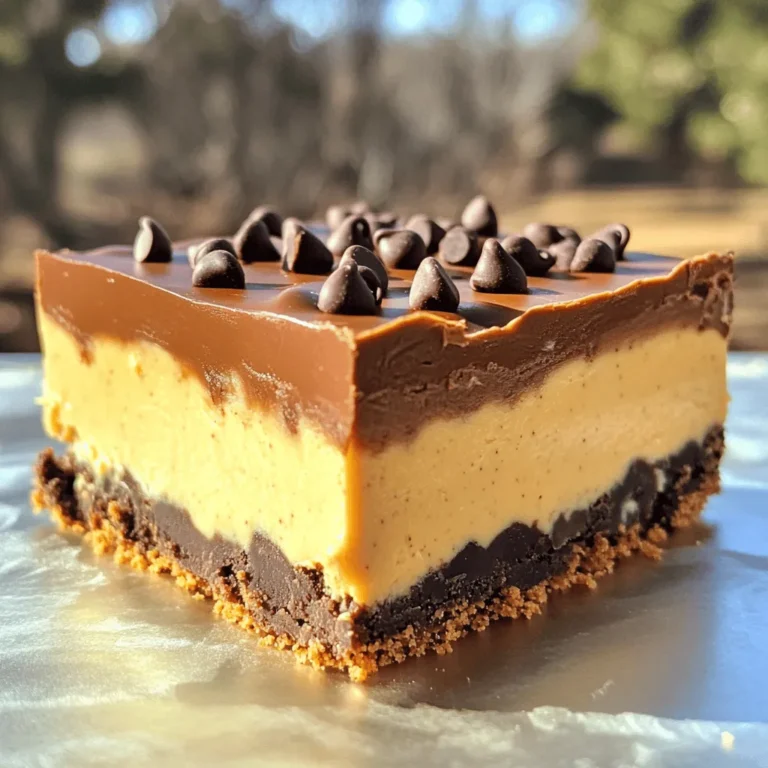
No-Bake Chocolate Peanut Butter Cheesecake Bars Delight
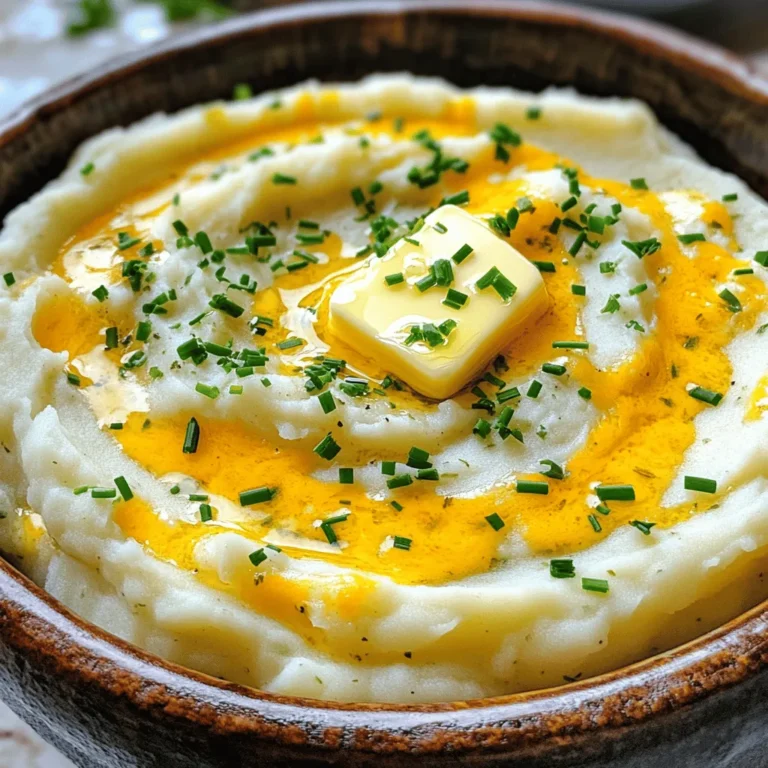
Cheddar Herb Mashed Potatoes Creamy and Flavorful Side
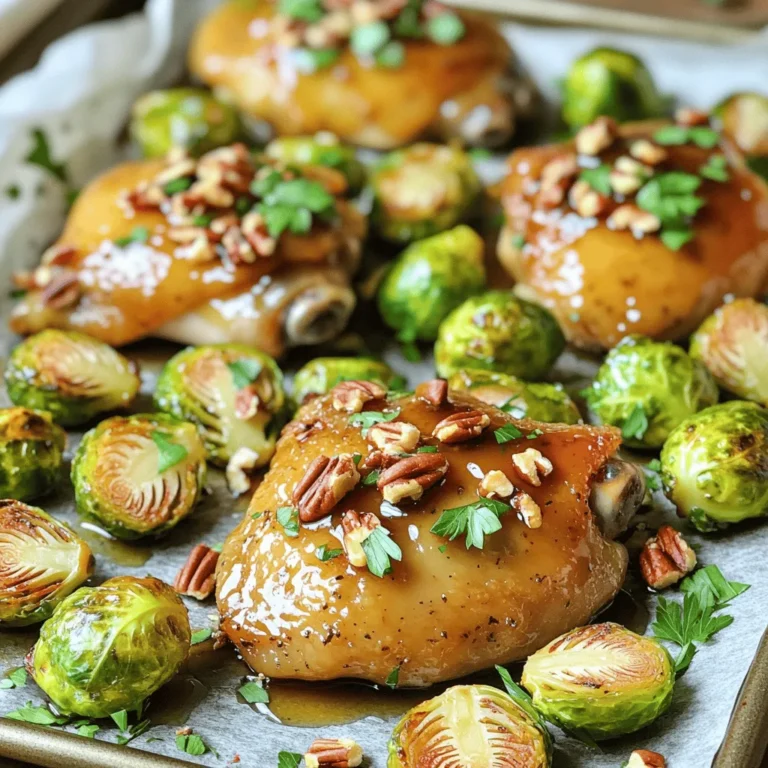
Sheet-Pan Maple Dijon Chicken with Brussels Sprouts Delight
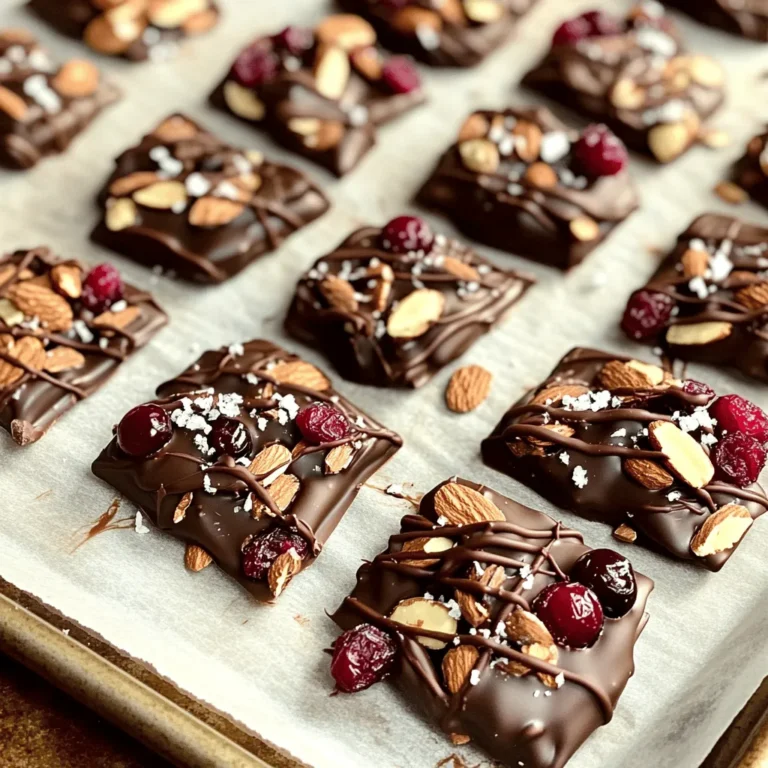
No-Bake Chocolate Almond Cranberry Clusters Delight
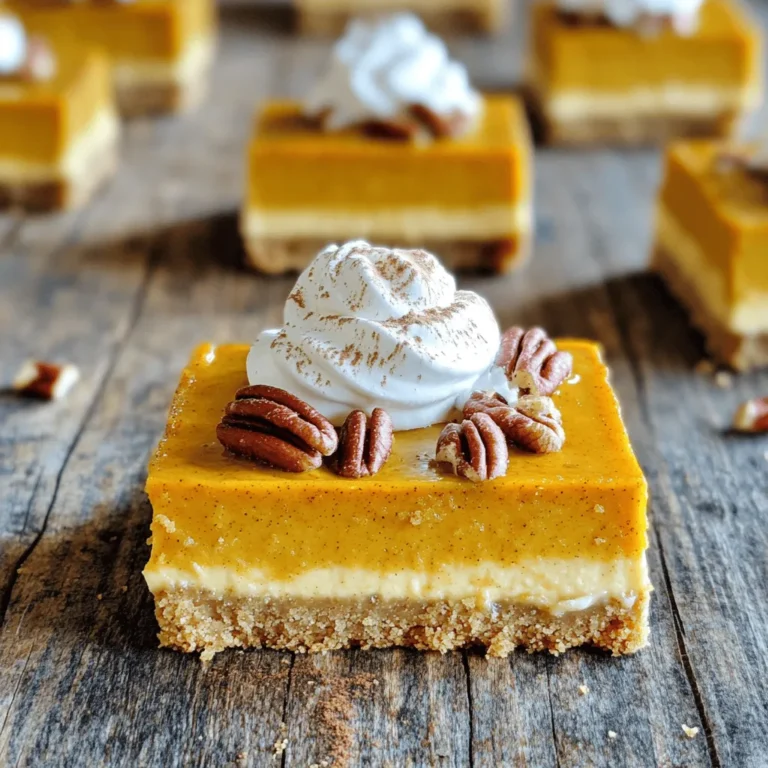
Pumpkin Pecan Cheesecake Pie Bars Delightful Treat
Air Fryer Crispy Garlic Parmesan Fries Delightful Treat
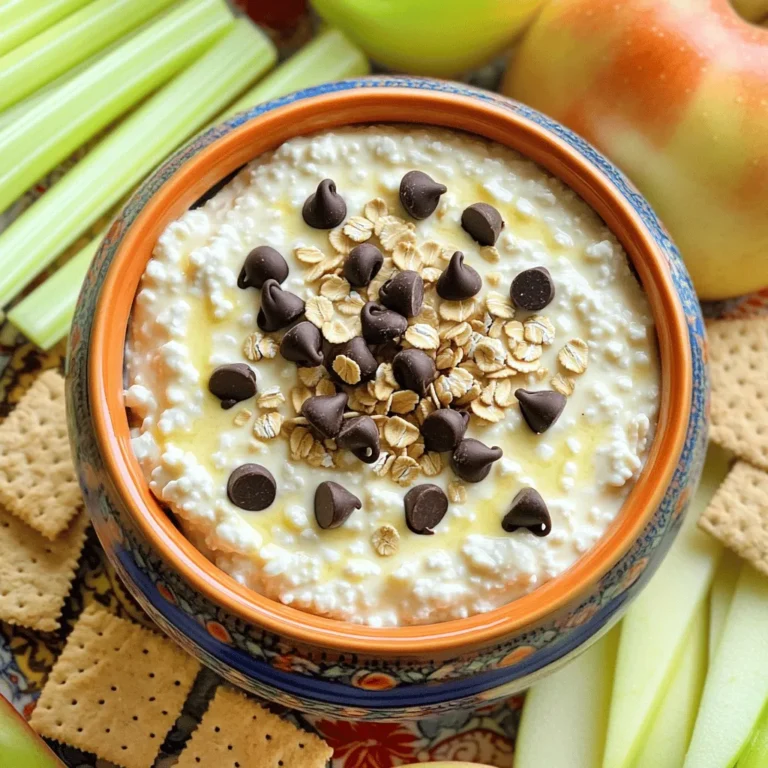
High-Protein Cottage Cheese Cookie Dough Dip Delight
Warm Apple Cider Glazed Donut Cake Simple Recipe
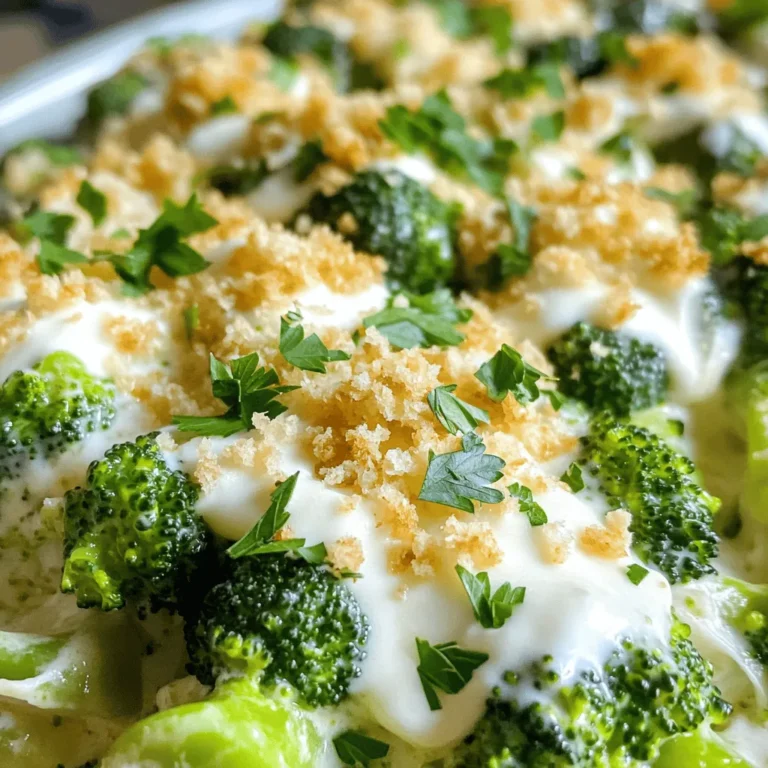
Savory Slow Cooker Garlic Parmesan Broccoli Casserole
PREV
1
…
17
18
19
…
57
NEXT