FREE DINNER EBOOK!
Get your copy!
Cookie Policy
GDPR Policy
Disclaimer
Terms Of Use
Visit my other site:
Fun Cookie Recipes
Home
Dinner
Desserts
Drinks
Appetizers
Contact
About
Privacy Policy
Home
Dinner
Desserts
Drinks
Appetizers
Contact
About
Privacy Policy
Cookie Policy
GDPR Policy
Disclaimer
Terms Of Use
Visit my other site:
Fun Cookie Recipes
HOME / CATEGORIES /
Latest
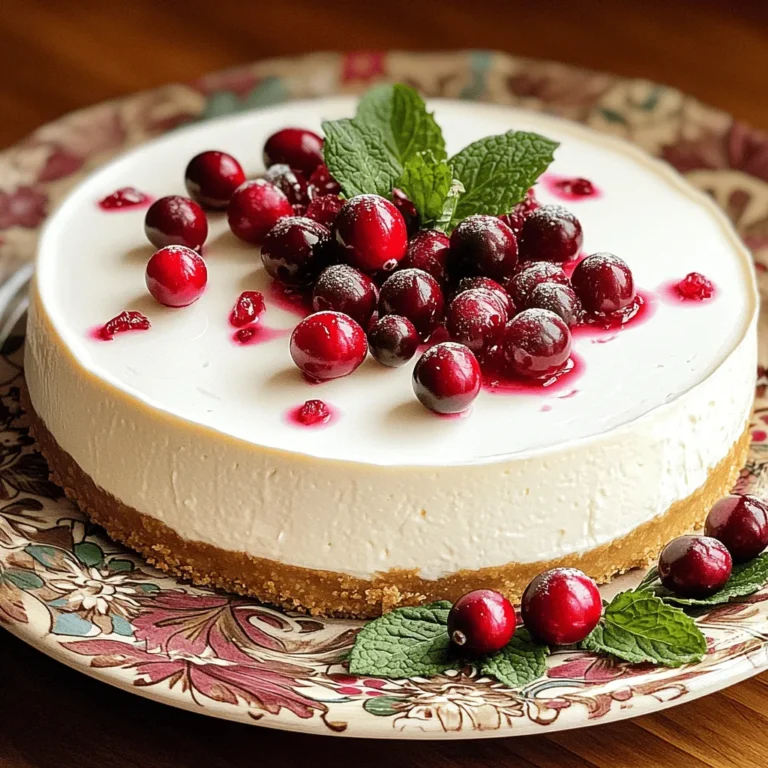
Wholesome White Chocolate Cranberry Cheesecake Recipe
Peanut Butter Banana Bites Quick and Tasty Snack
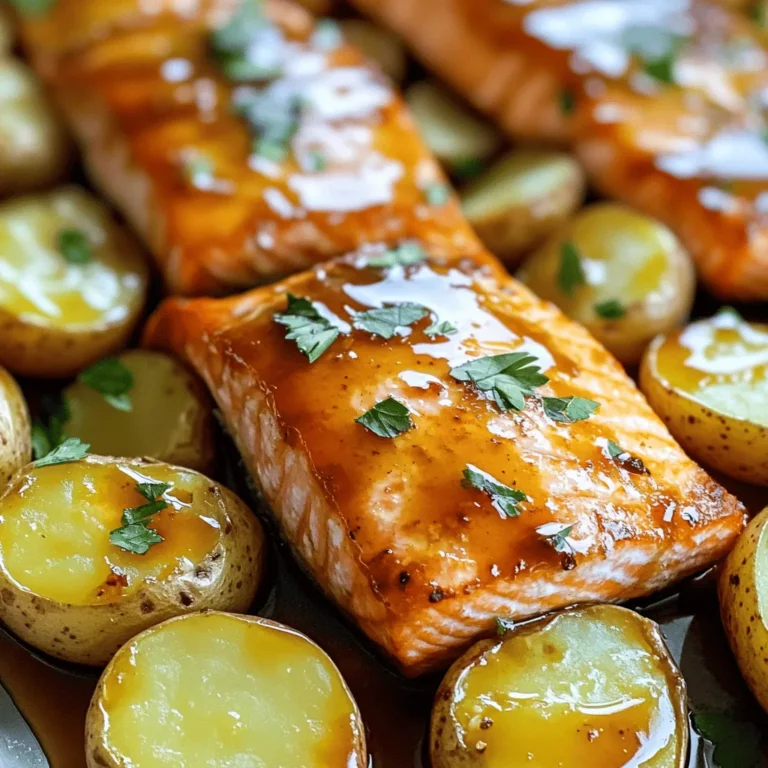
Maple Glazed Salmon and Potatoes Tasty Dinner Idea
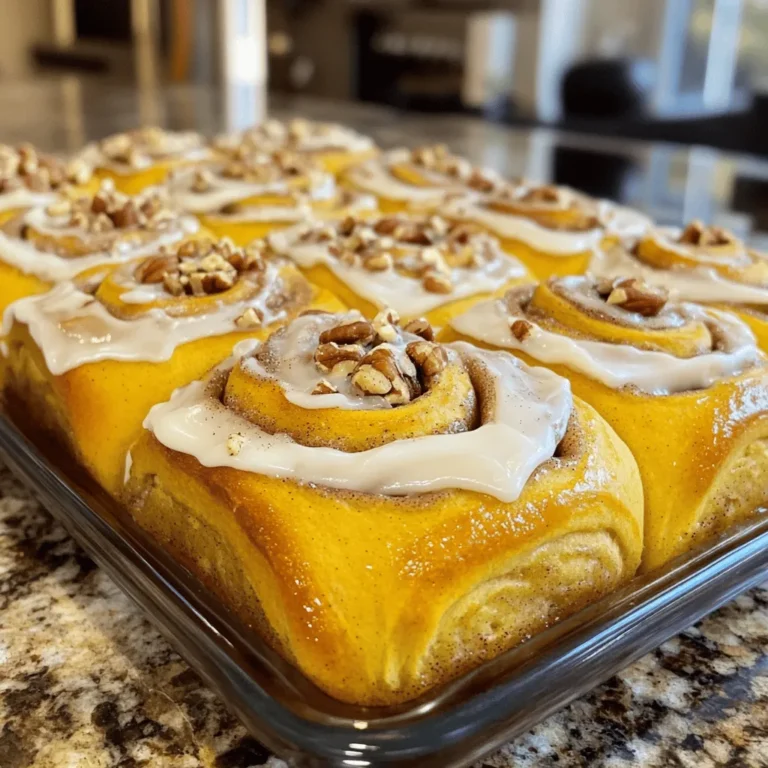
Pumpkin Spice Cinnamon Rolls Perfect for Fall Treats
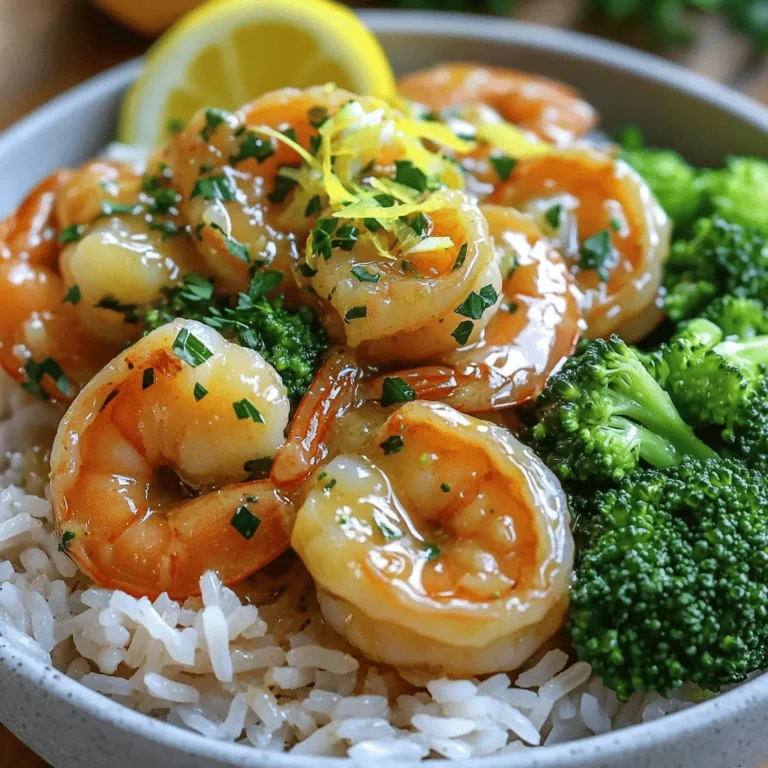
Garlic Butter Shrimp Rice Bowls Tasty and Simple Meal
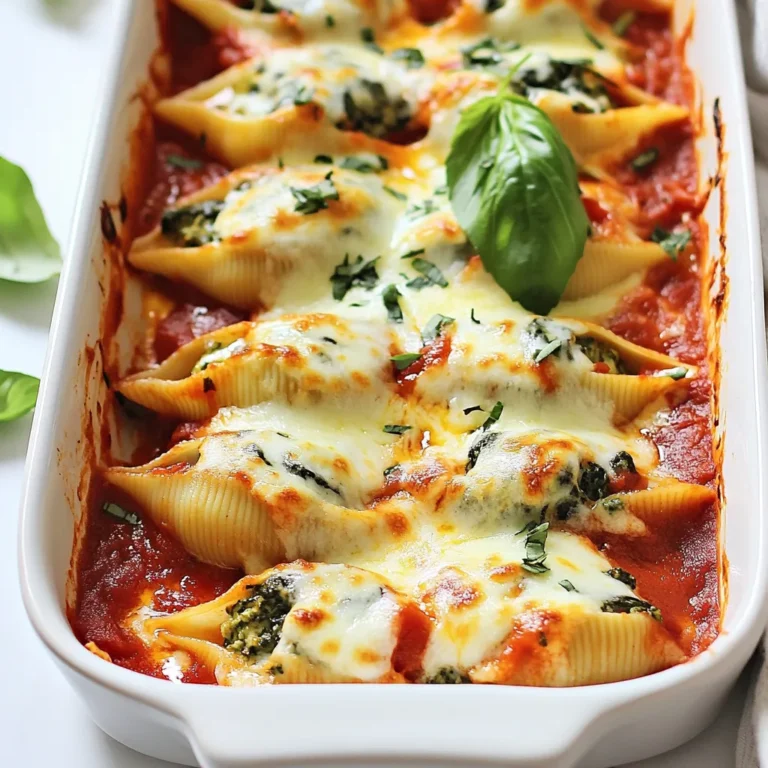
Savory Spinach Ricotta Stuffed Shells Recipe
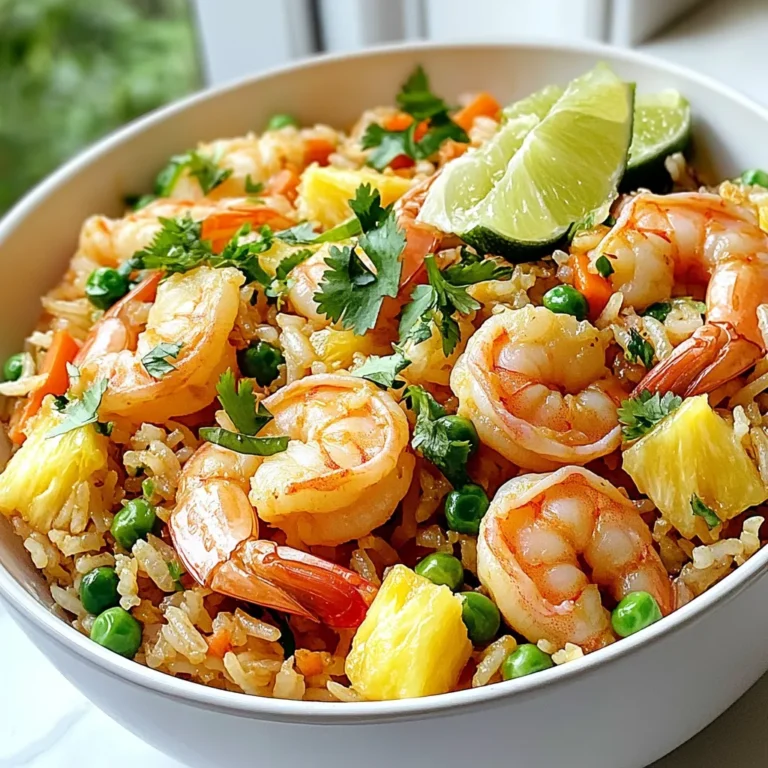
Savory Shrimp Fried Rice Simple and Quick Recipe
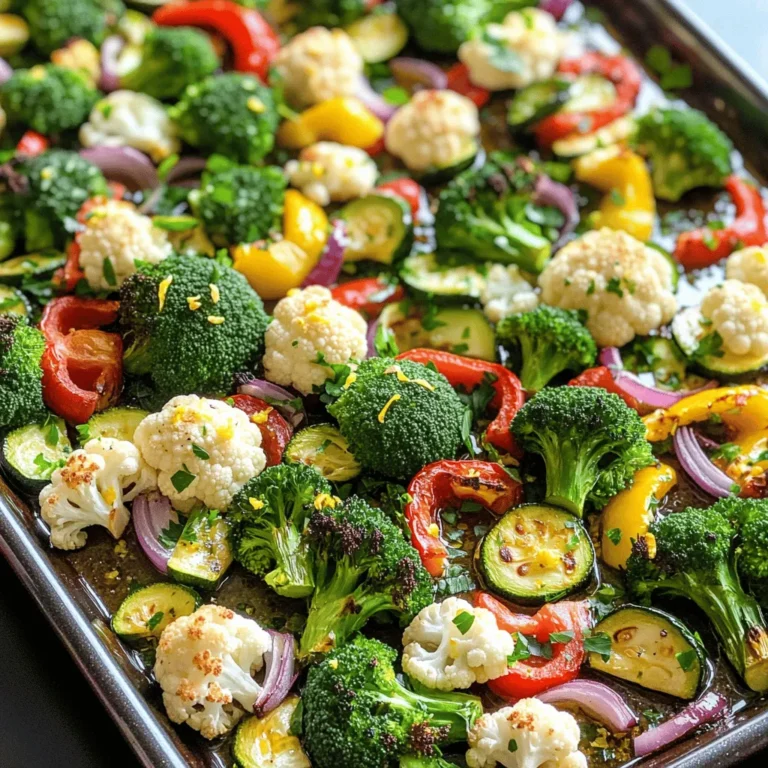
Sheet Pan Garlic Lemon Veggies Fresh and Tasty Meal
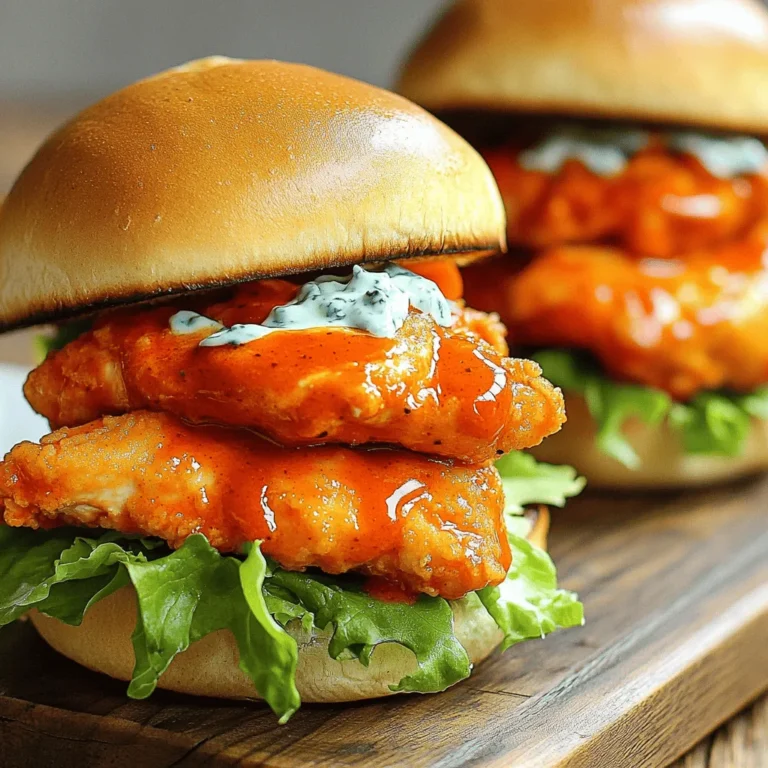
Air Fryer Buffalo Chicken Sandwiches Crunchy Delight
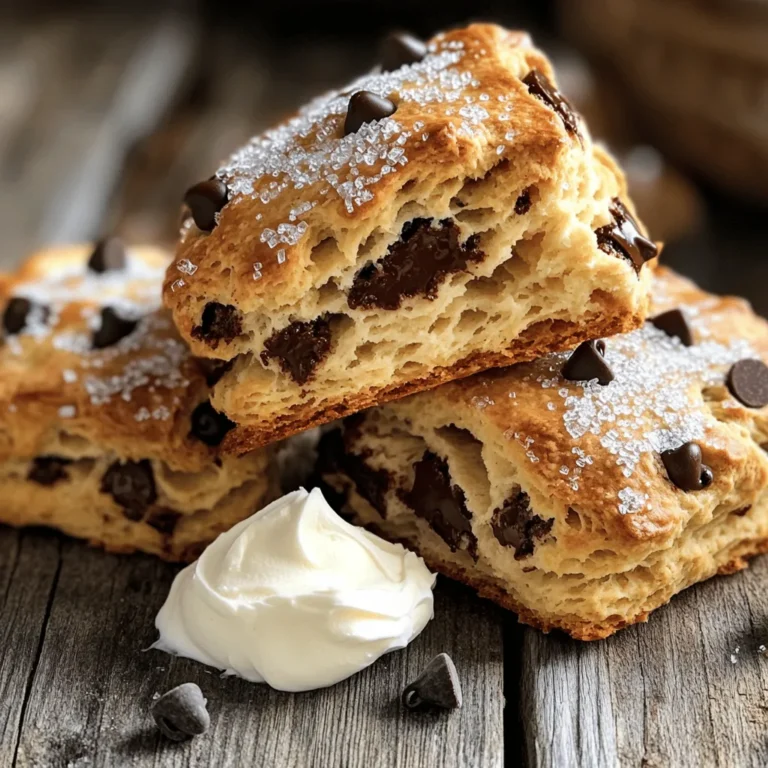
Chocolate Chip Scones Bakery Treat for Everyone
PREV
1
…
16
17
18
…
57
NEXT