FREE DINNER EBOOK!
Get your copy!
Cookie Policy
GDPR Policy
Disclaimer
Terms Of Use
Visit my other site:
Fun Cookie Recipes
Home
Dinner
Desserts
Drinks
Appetizers
Contact
About
Privacy Policy
Home
Dinner
Desserts
Drinks
Appetizers
Contact
About
Privacy Policy
Cookie Policy
GDPR Policy
Disclaimer
Terms Of Use
Visit my other site:
Fun Cookie Recipes
HOME / CATEGORIES /
Latest
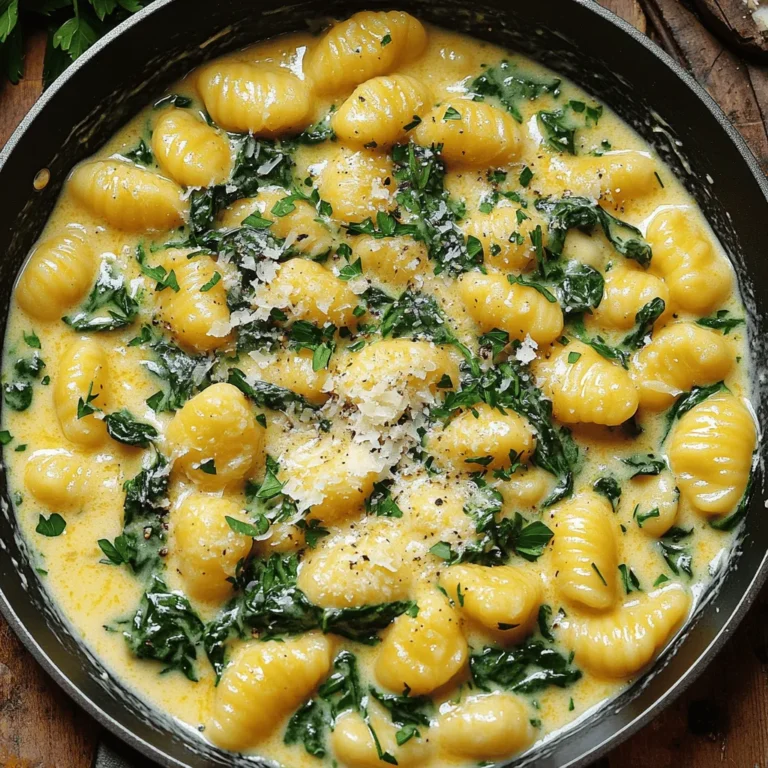
Creamy Garlic Butter Gnocchi Skillet Easy Dinner Recipe
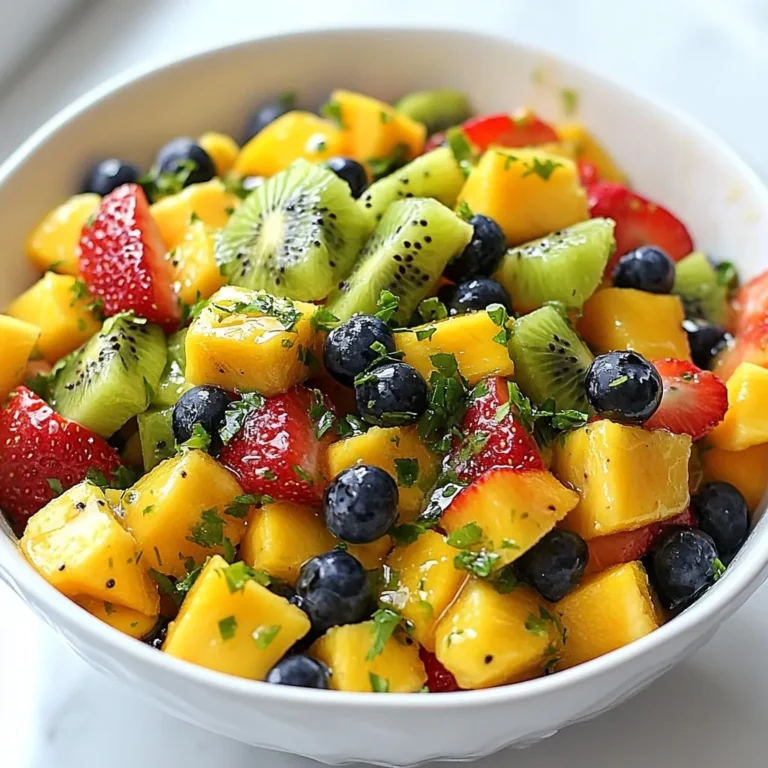
Honey Lime Fruit Salad Easy and Fresh Delight
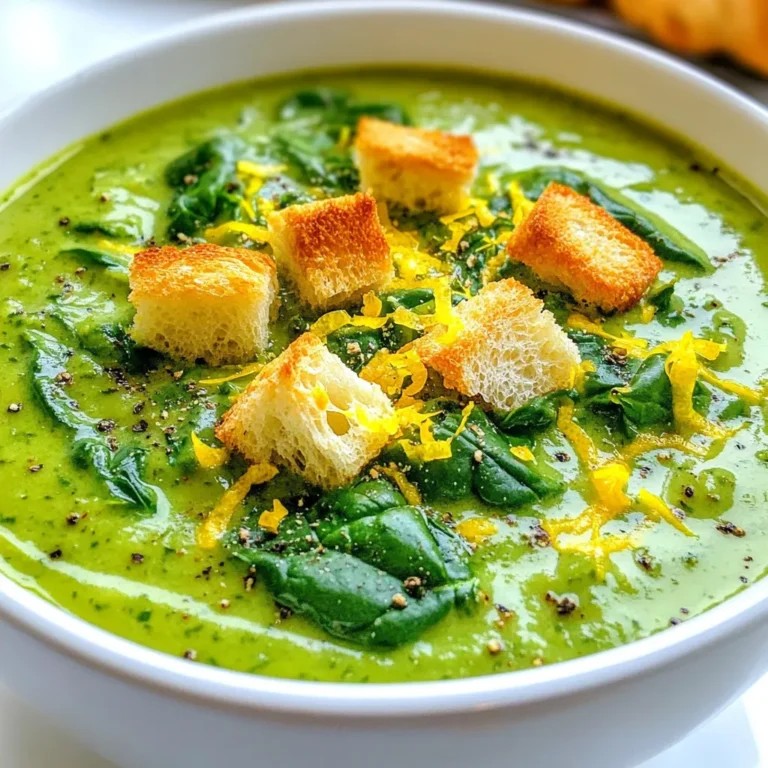
Creamy Lemon Spinach Soup Luscious and Simple Recipe
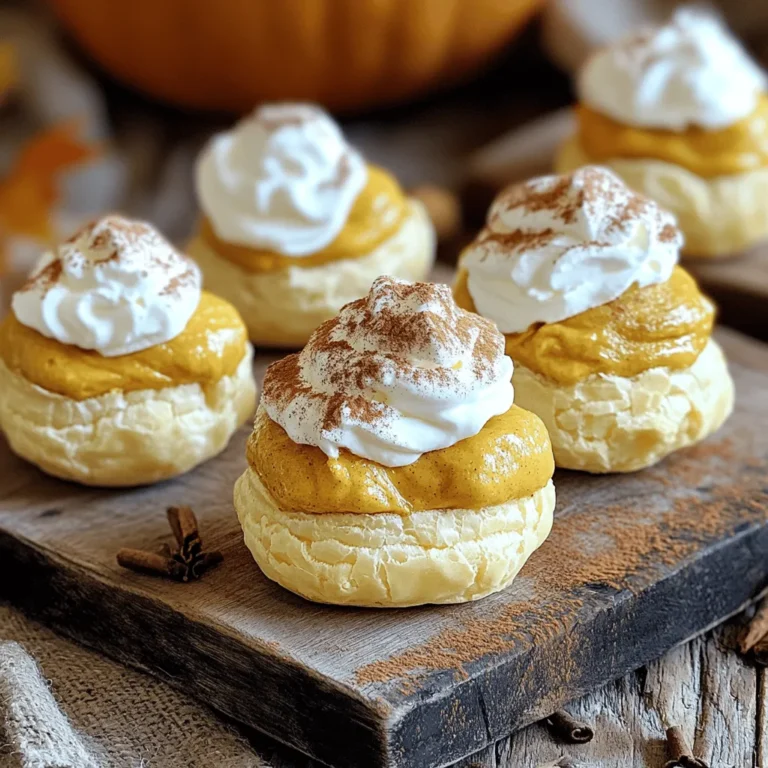
Pumpkin Spice Cream Puffs with Vanilla Delight
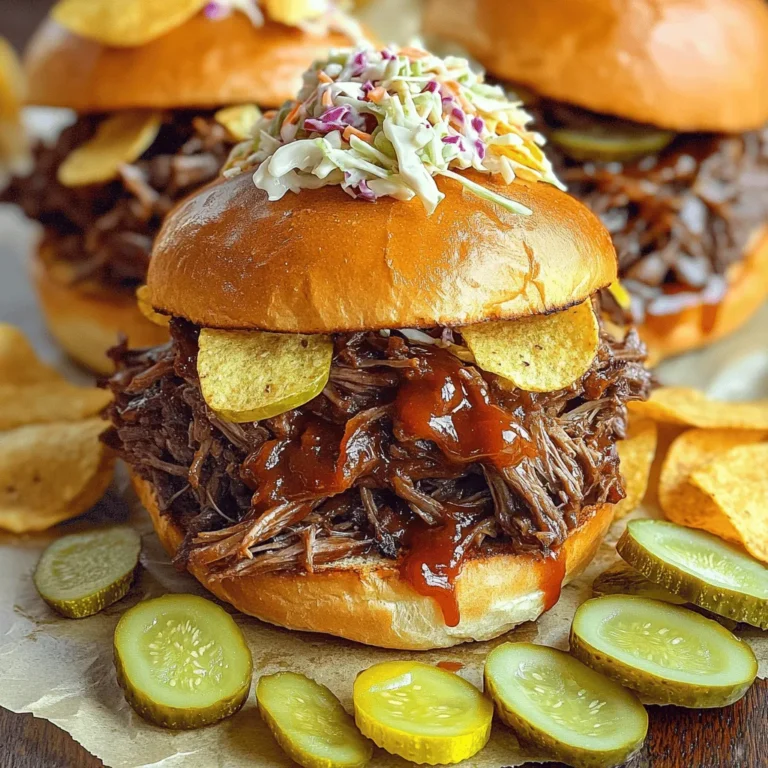
Slow Cooker Pulled Beef Sandwiches Comfort Food Treat
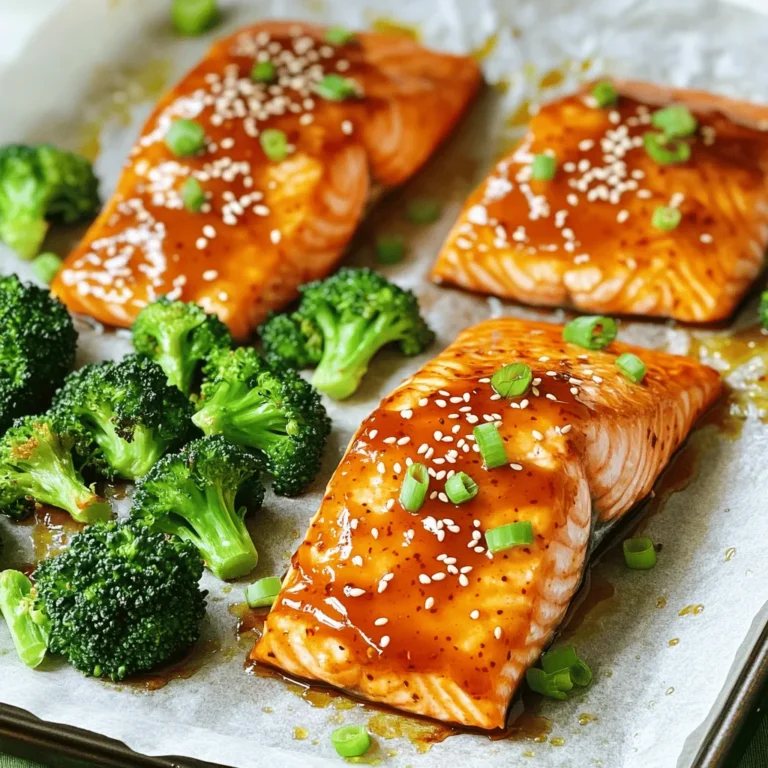
Sweet Chili Salmon Broccoli Sheet Pan Delight
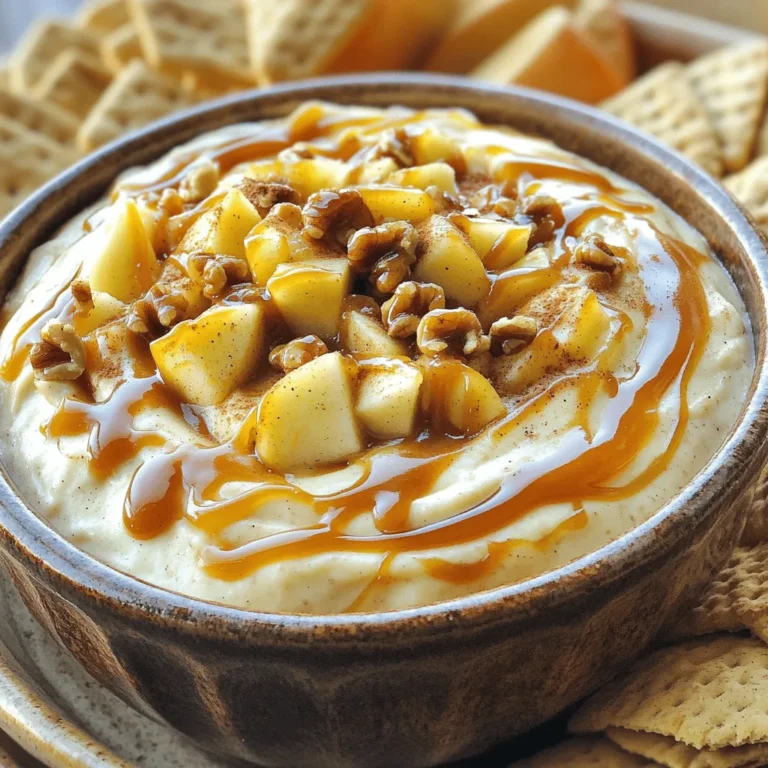
Caramel Apple Cheesecake Dip Delightful and Creamy Treat
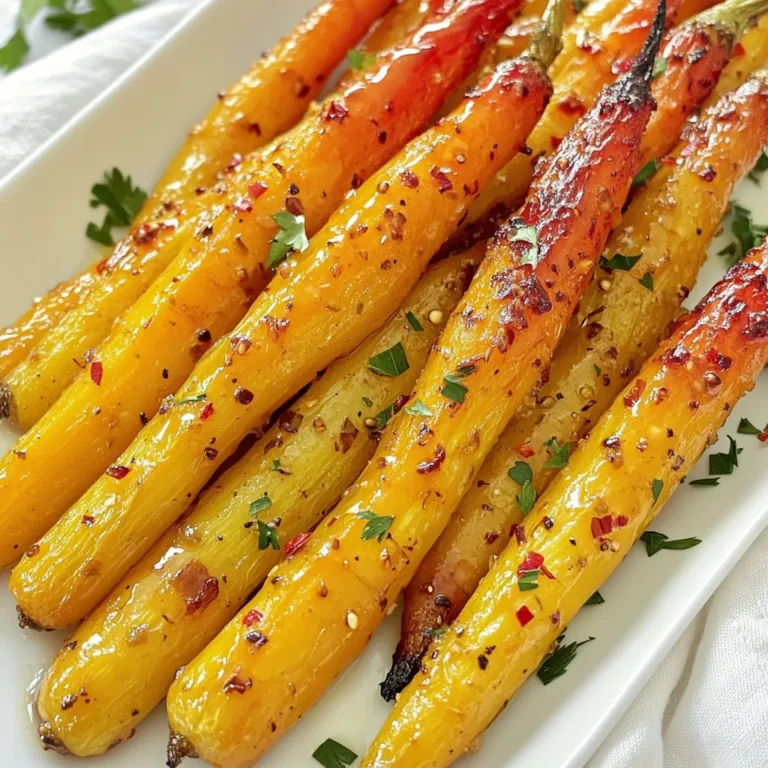
Maple Mustard Roasted Carrots Easy and Flavorful Dish
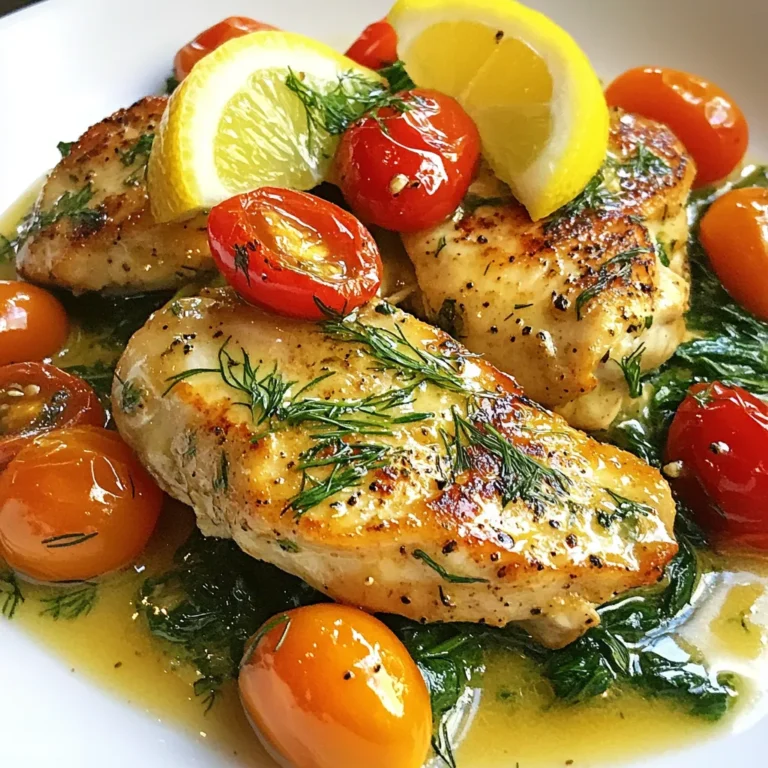
Lemon Dill Chicken Skillet Flavorful and Easy Dish
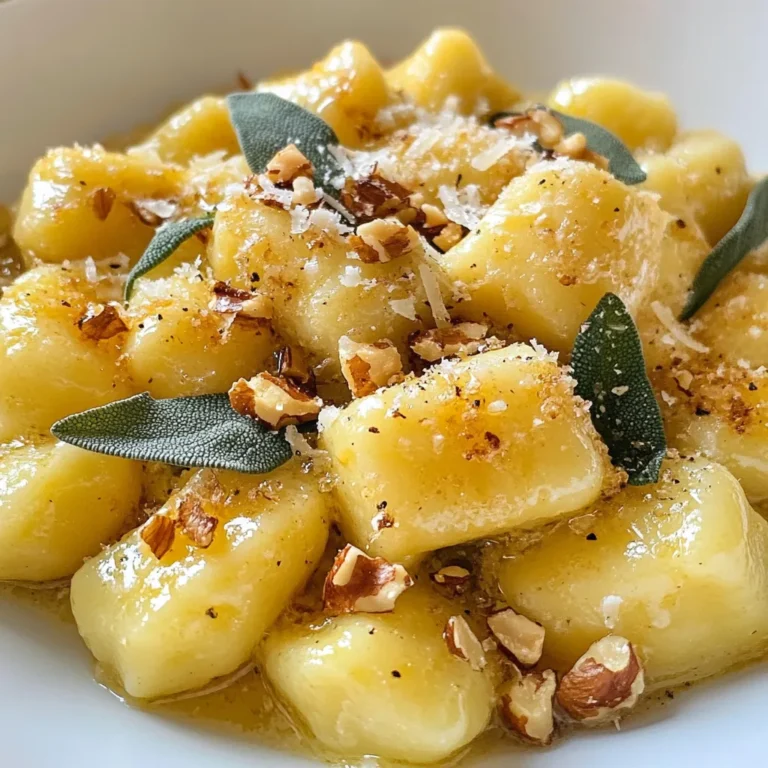
Brown Butter Sage Gnocchi Delicious and Easy Recipe
PREV
1
…
14
15
16
…
57
NEXT