FREE DINNER EBOOK!
Get your copy!
Cookie Policy
GDPR Policy
Disclaimer
Terms Of Use
Visit my other site:
Fun Cookie Recipes
Home
Dinner
Desserts
Drinks
Appetizers
Contact
About
Privacy Policy
Home
Dinner
Desserts
Drinks
Appetizers
Contact
About
Privacy Policy
Cookie Policy
GDPR Policy
Disclaimer
Terms Of Use
Visit my other site:
Fun Cookie Recipes
HOME / CATEGORIES /
Latest
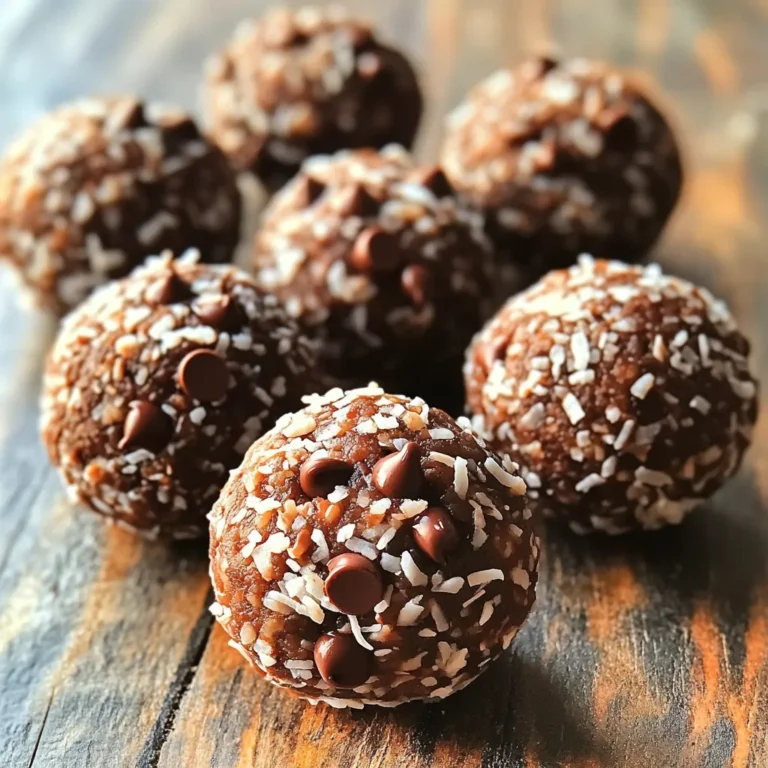
No-Bake Chocolate Coconut Energy Balls Easy Recipe
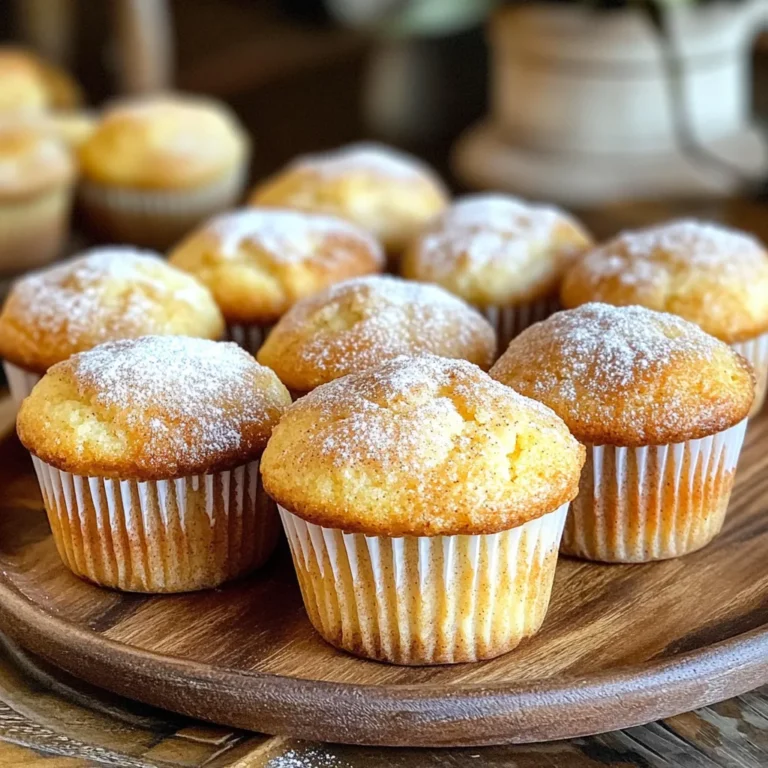
Cinnamon Sugar Muffins Soft and Tasty Delight
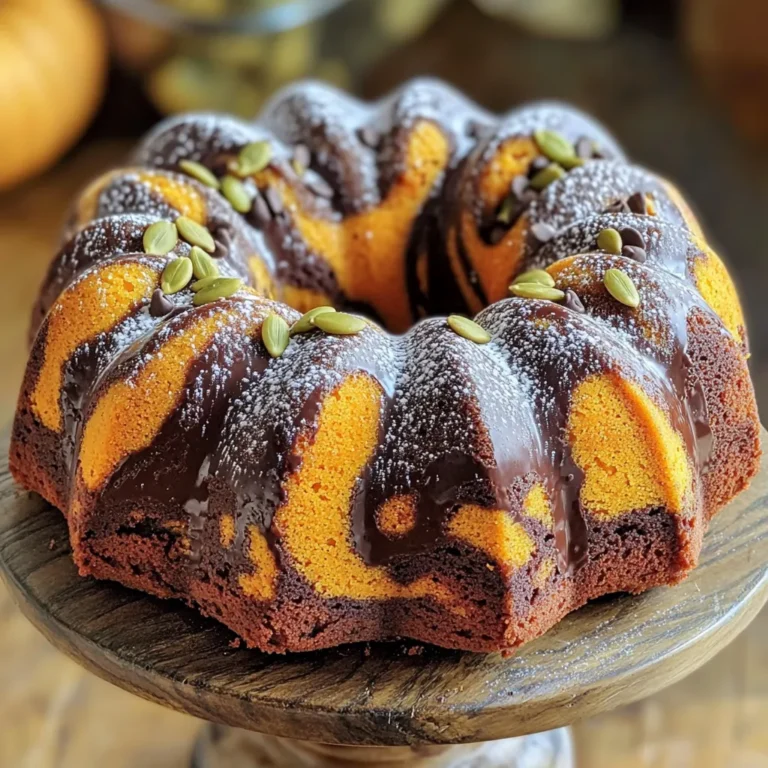
Pumpkin Chocolate Marble Bundt Cake Delightful Recipe
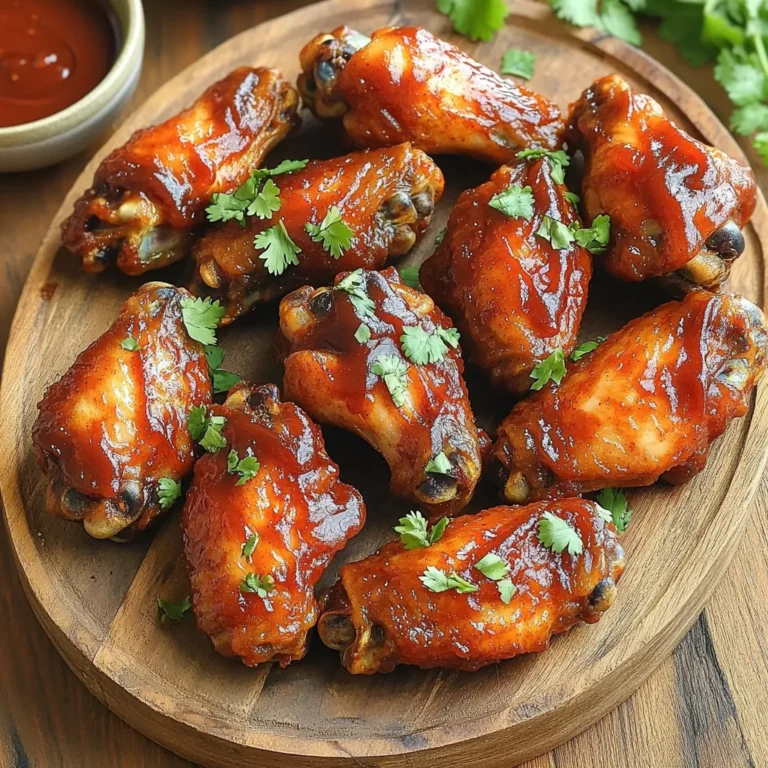
Air Fryer Crispy BBQ Chicken Wings Delightful Treat
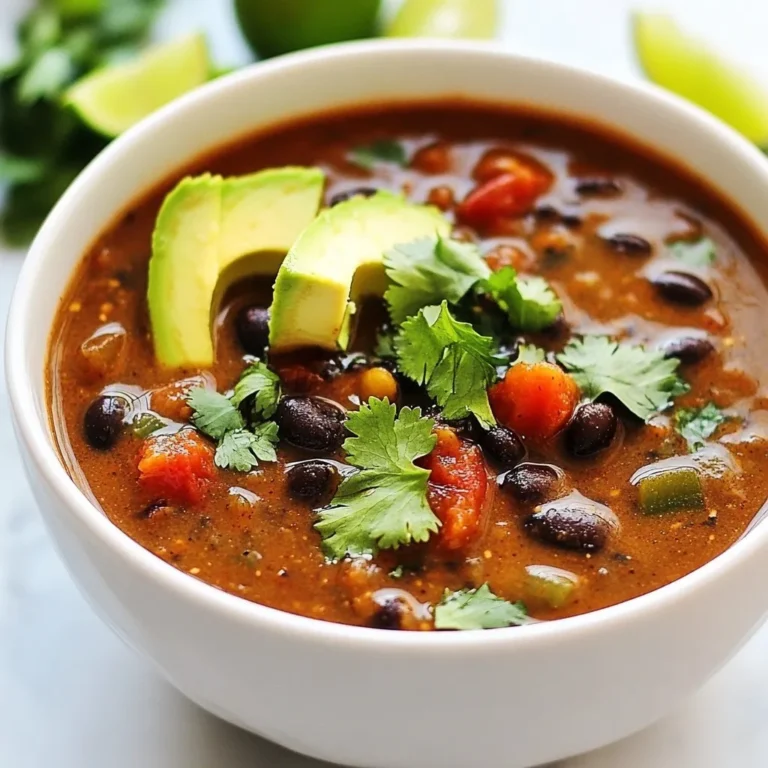
Smoky Chipotle Black Bean Soup Flavorful and Hearty Dish
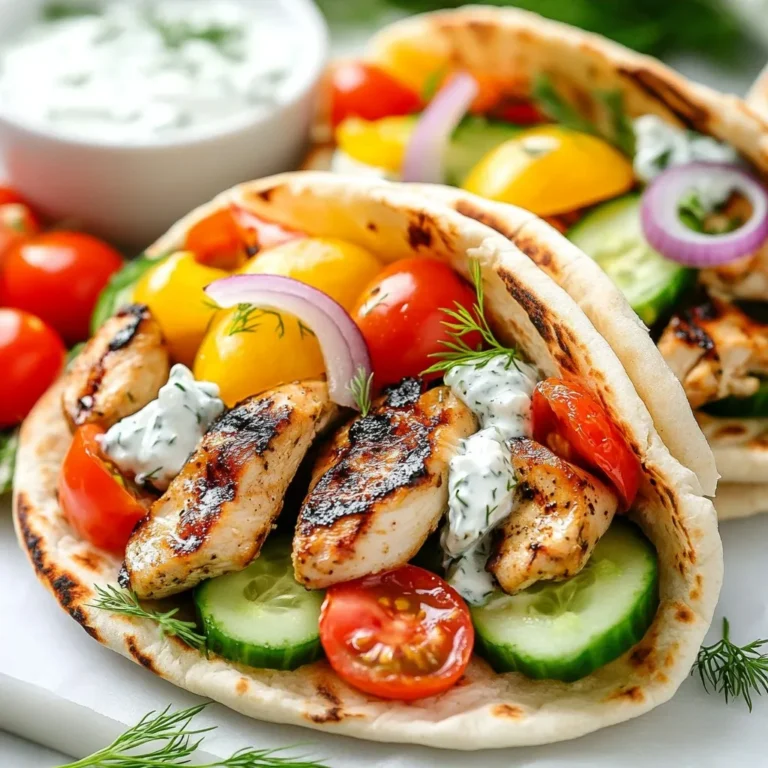
Greek Chicken Pita Pockets Flavorful and Easy Meal
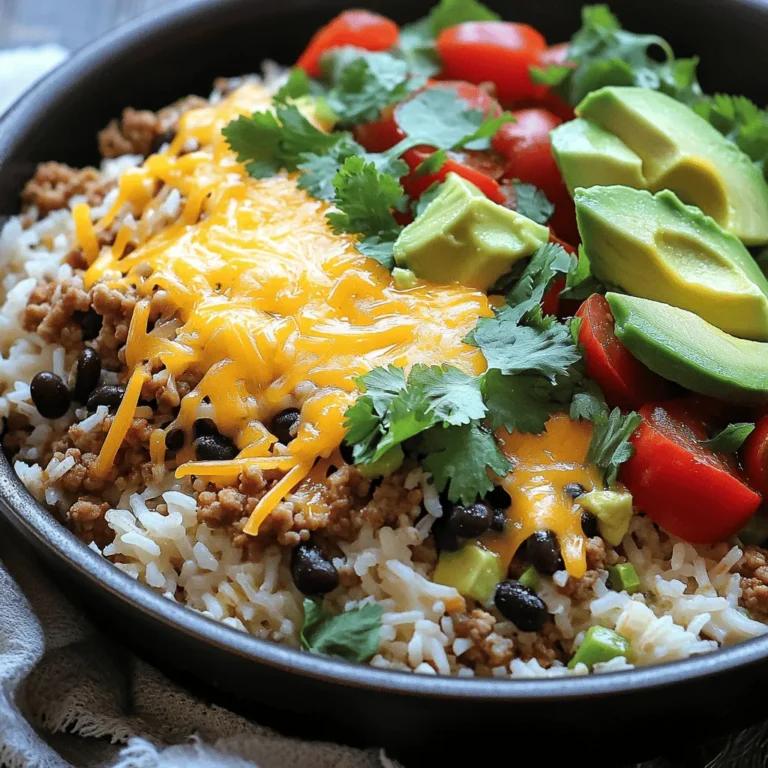
One Pot Taco Rice Skillet Quick and Tasty Meal
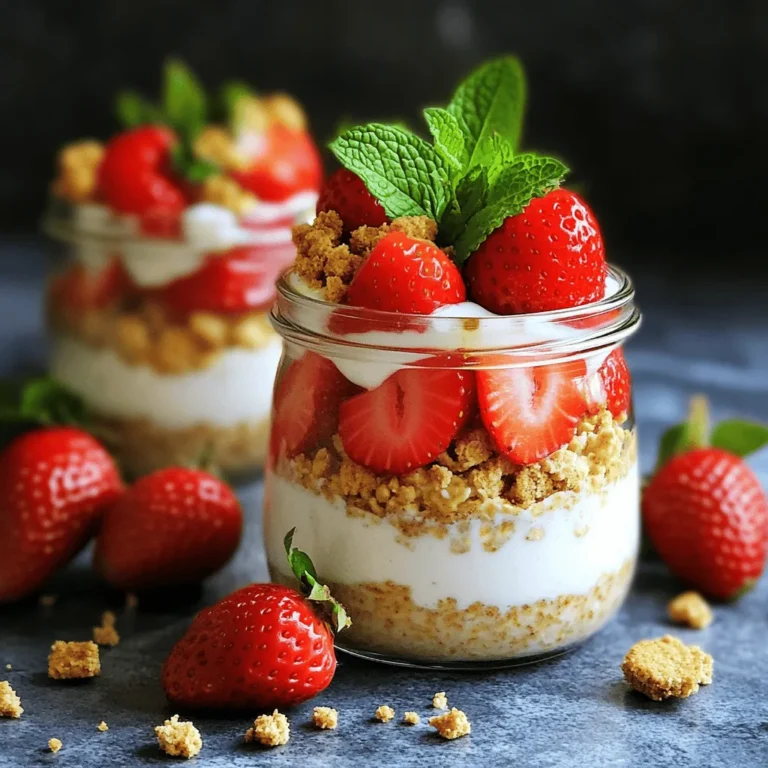
Strawberry Cheesecake Overnight Oats Tasty and Simple
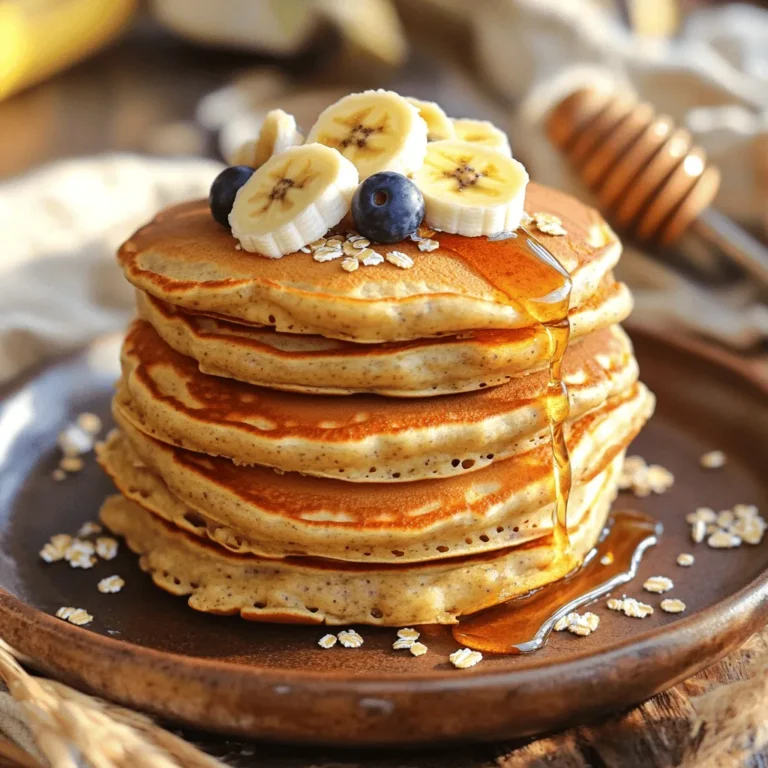
Blender Banana Oat Pancakes Easy Healthy Recipe
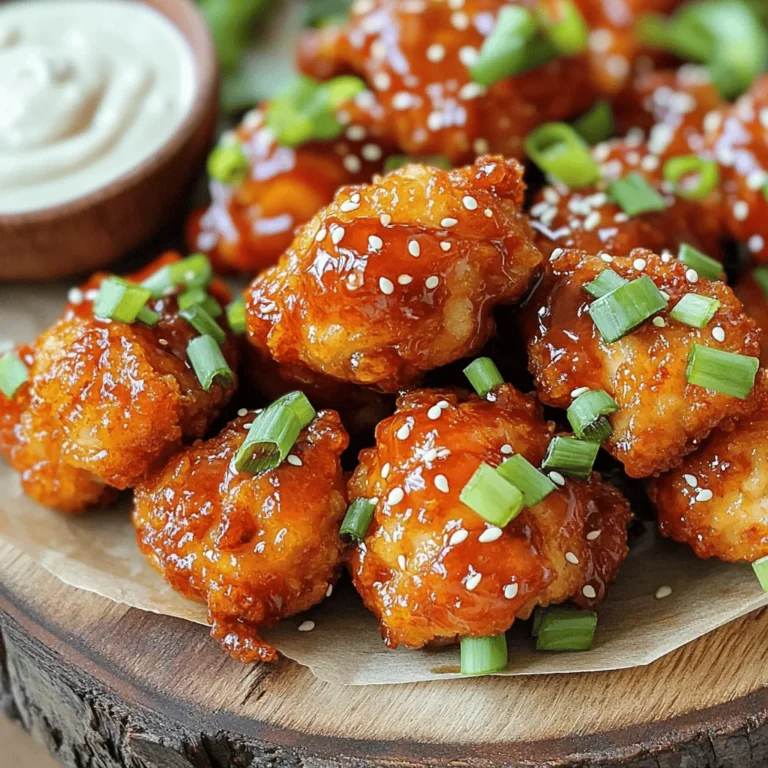
Honey Sriracha Chicken Bites Spicy and Tasty Snack
PREV
1
…
13
14
15
…
57
NEXT