FREE DINNER EBOOK!
Get your copy!
Cookie Policy
GDPR Policy
Disclaimer
Terms Of Use
Visit my other site:
Fun Cookie Recipes
Home
Dinner
Desserts
Drinks
Appetizers
Contact
About
Privacy Policy
Home
Dinner
Desserts
Drinks
Appetizers
Contact
About
Privacy Policy
Cookie Policy
GDPR Policy
Disclaimer
Terms Of Use
Visit my other site:
Fun Cookie Recipes
HOME / CATEGORIES /
Latest
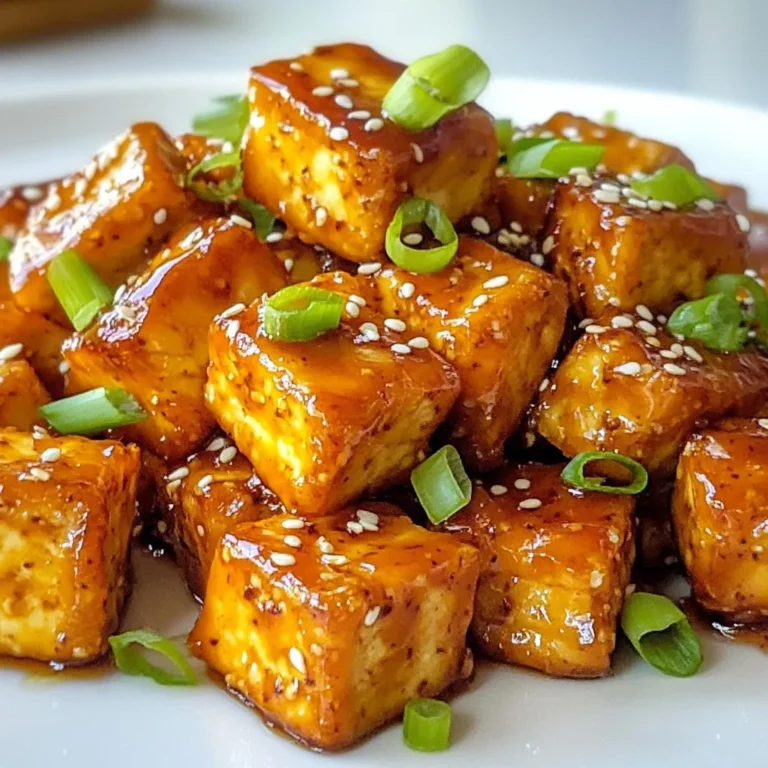
Air Fryer Honey Garlic Tofu Flavorful Vegan Dish
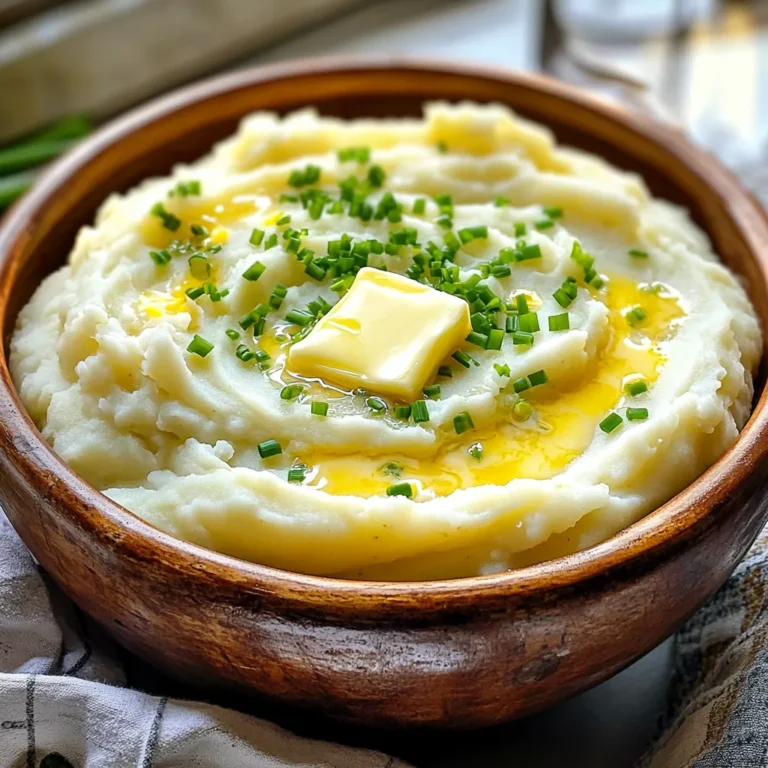
Savory White Cheddar Mashed Potatoes with Chives
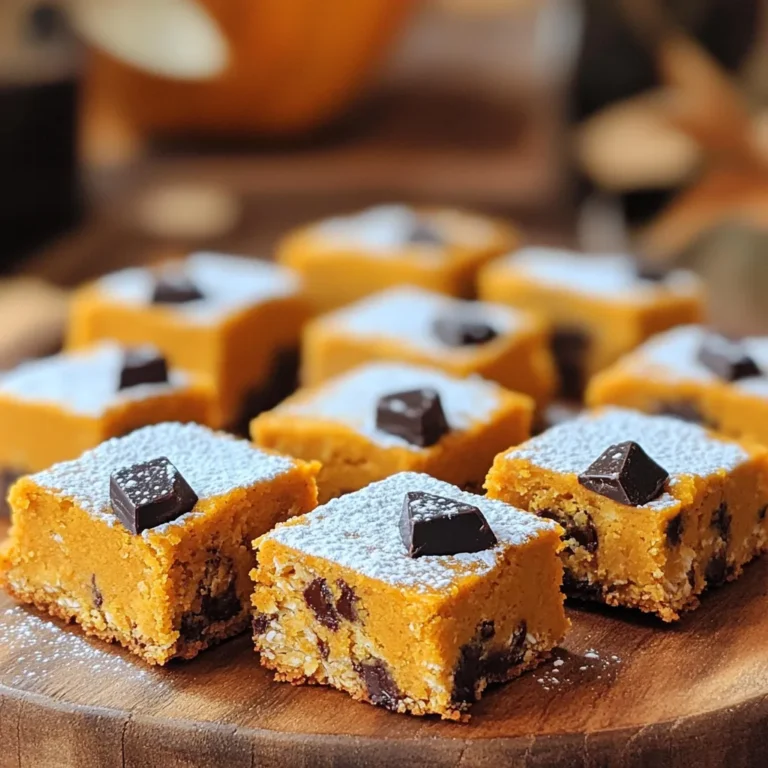
Pumpkin Chocolate Chip Oat Squares Perfect for Fall
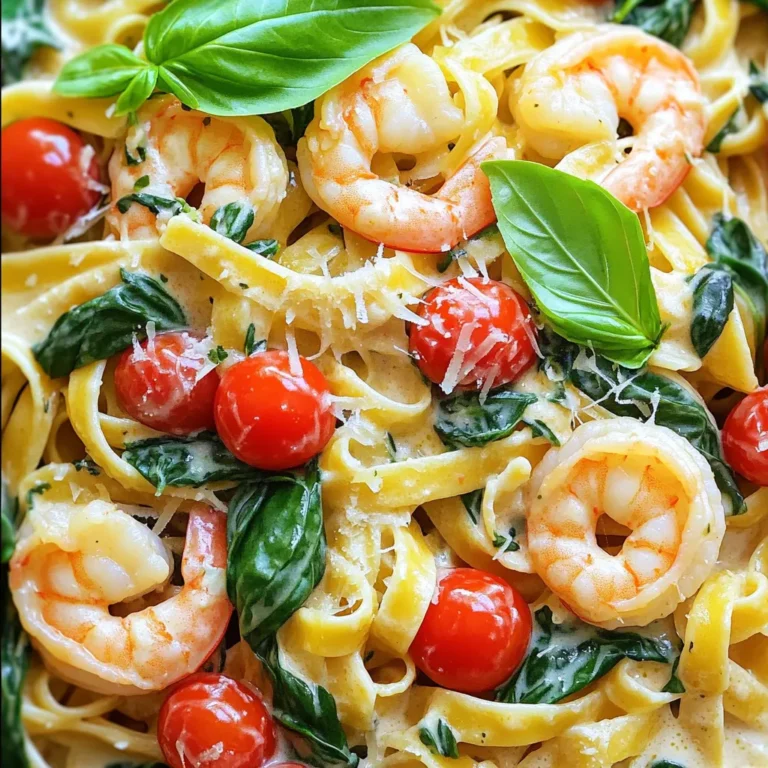
Creamy Tuscan Shrimp Pasta One Pot Delight
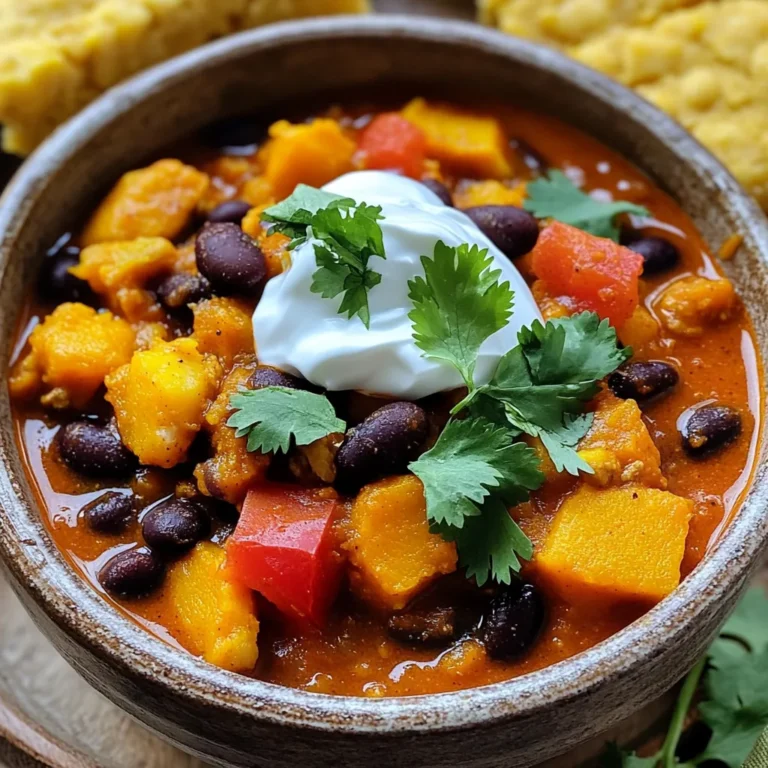
Savory Pumpkin Turkey Chili Slow Cooker Delight
Lemon Garlic Couscous Salad Fresh and Flavorful Mix
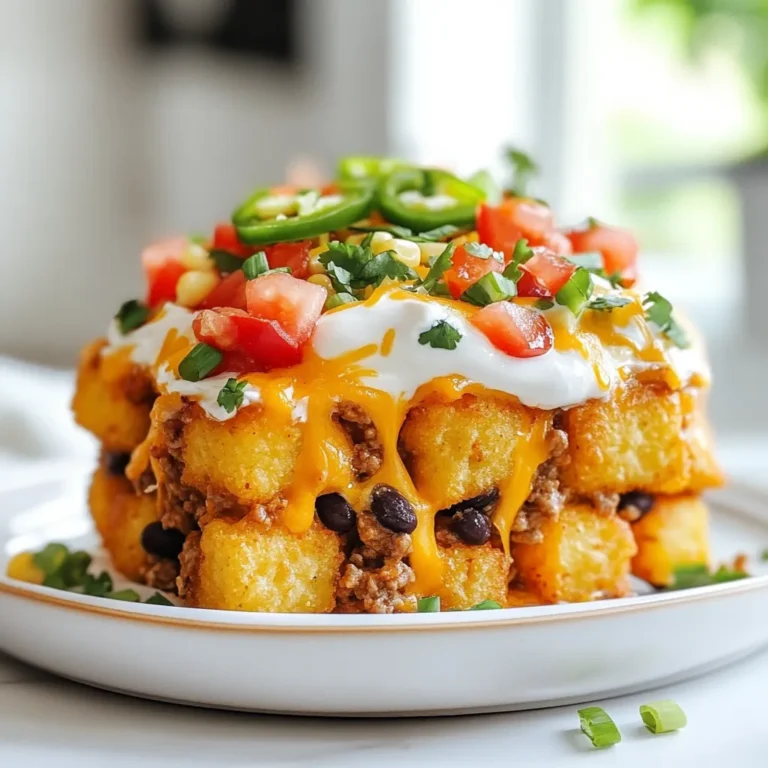
Loaded Taco Tater Tot Casserole Flavorful Family Meal
Mediterranean Orzo Stuffed Peppers Flavorful Dish
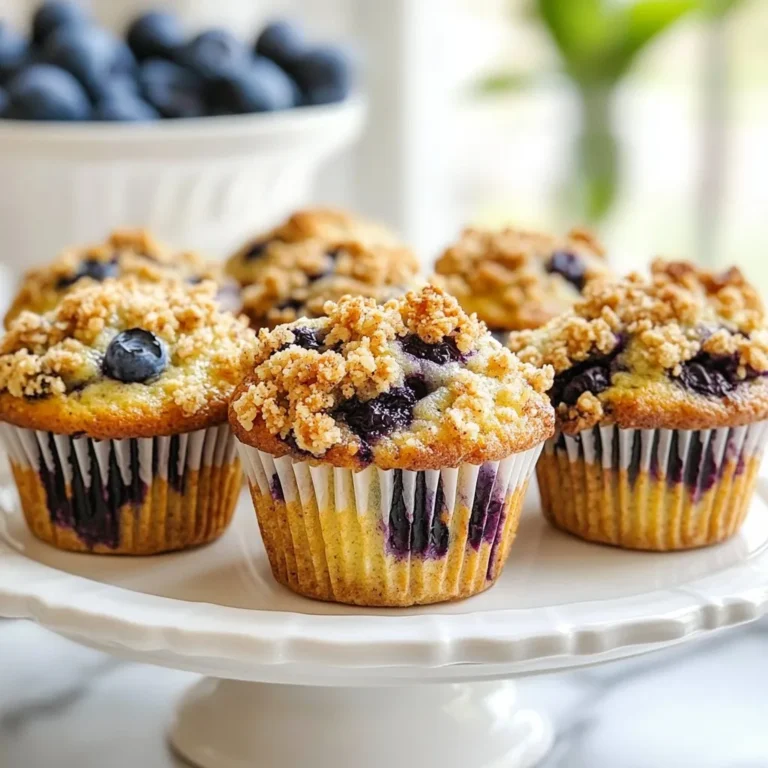
Blueberry Crumble Muffins Simple and Tasty Treat
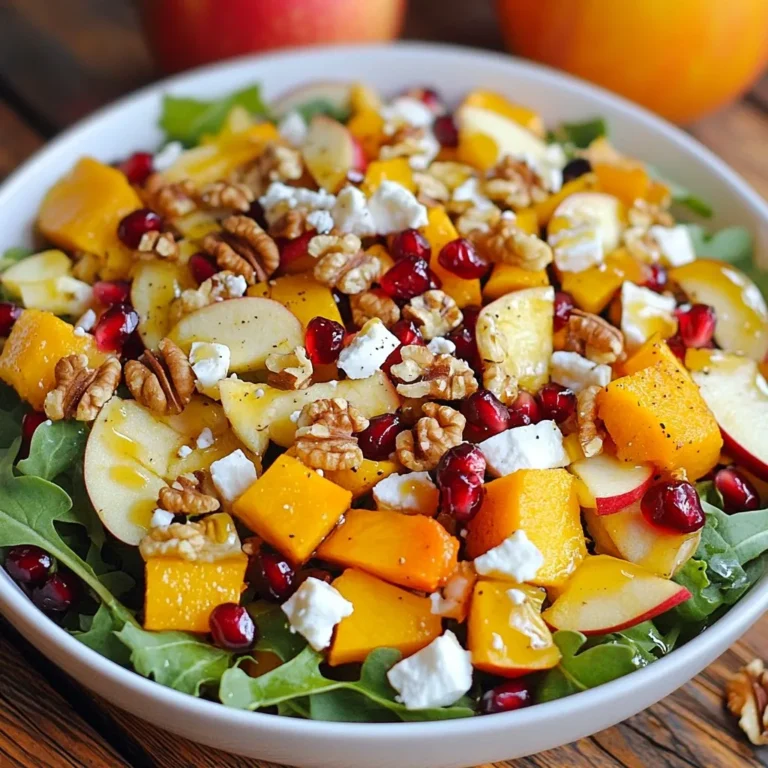
Fall Harvest Salad Fresh and Flavorful Delight
PREV
1
…
12
13
14
…
57
NEXT