FREE DINNER EBOOK!
Get your copy!
Cookie Policy
GDPR Policy
Disclaimer
Terms Of Use
Visit my other site:
Fun Cookie Recipes
Home
Dinner
Desserts
Drinks
Appetizers
Contact
About
Privacy Policy
Home
Dinner
Desserts
Drinks
Appetizers
Contact
About
Privacy Policy
Cookie Policy
GDPR Policy
Disclaimer
Terms Of Use
Visit my other site:
Fun Cookie Recipes
HOME / CATEGORIES /
Latest
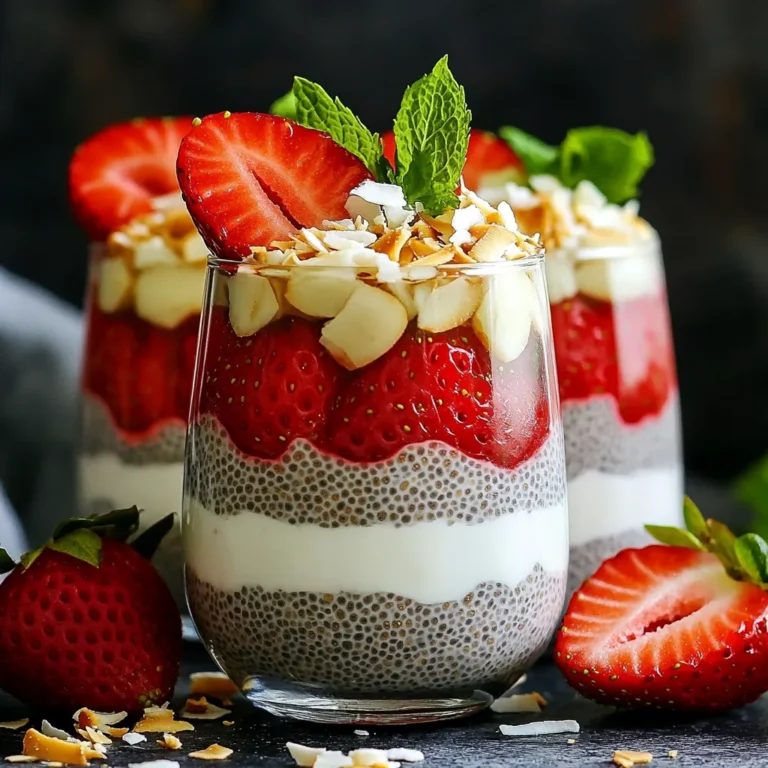
Strawberry Coconut Chia Pudding Delightful and Easy Recipe
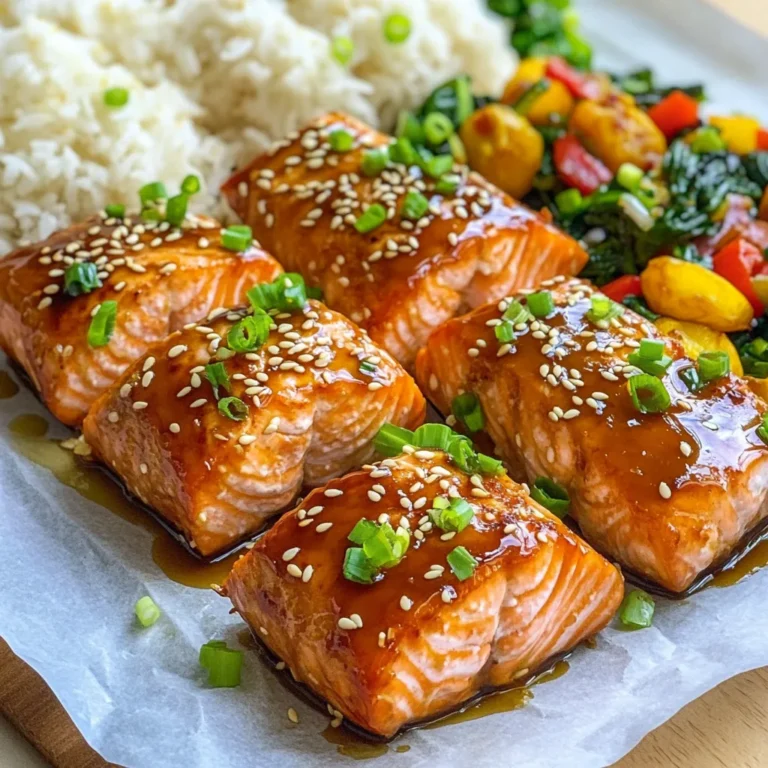
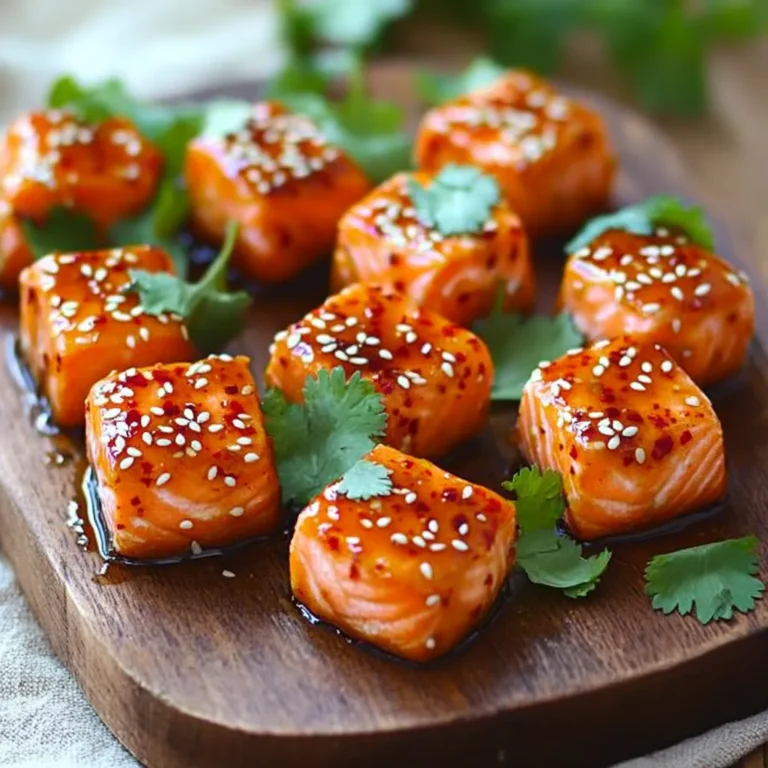
Air Fryer Teriyaki Salmon Bites Tasty and Simple Recipe
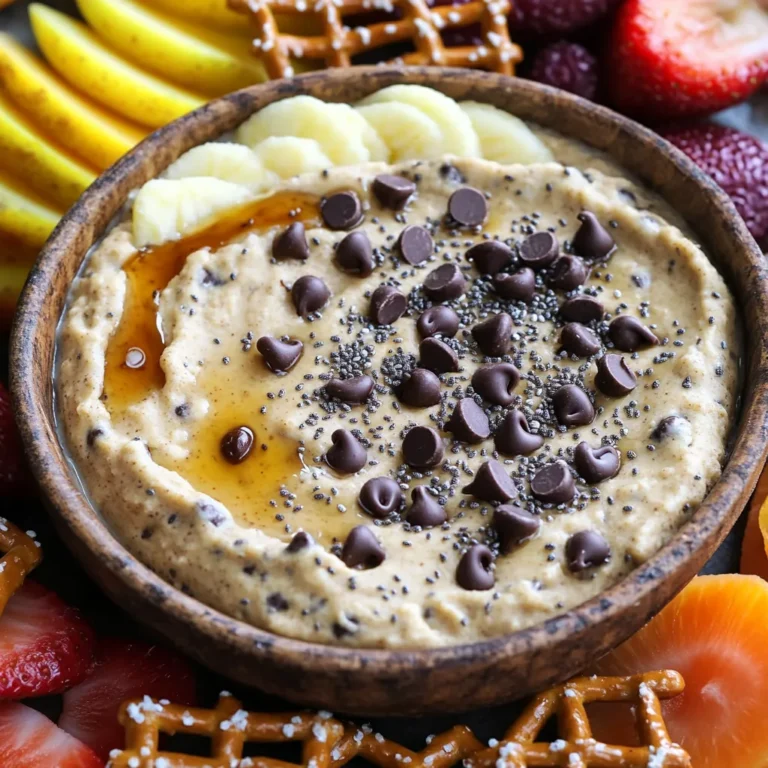
High-Protein Chocolate Chip Cookie Dough Dip Delight
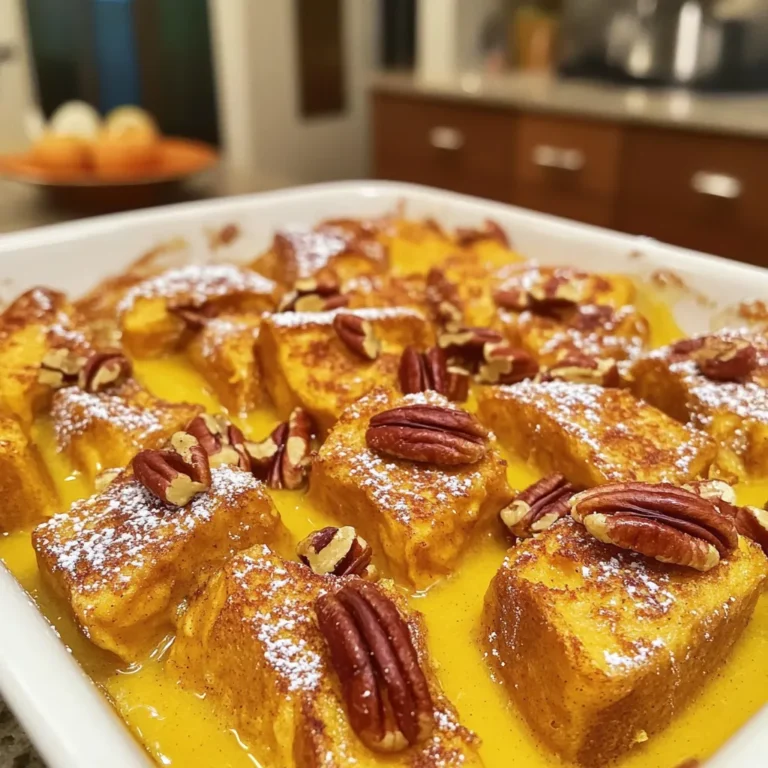
Pumpkin Spice French Toast Casserole Cozy Delight
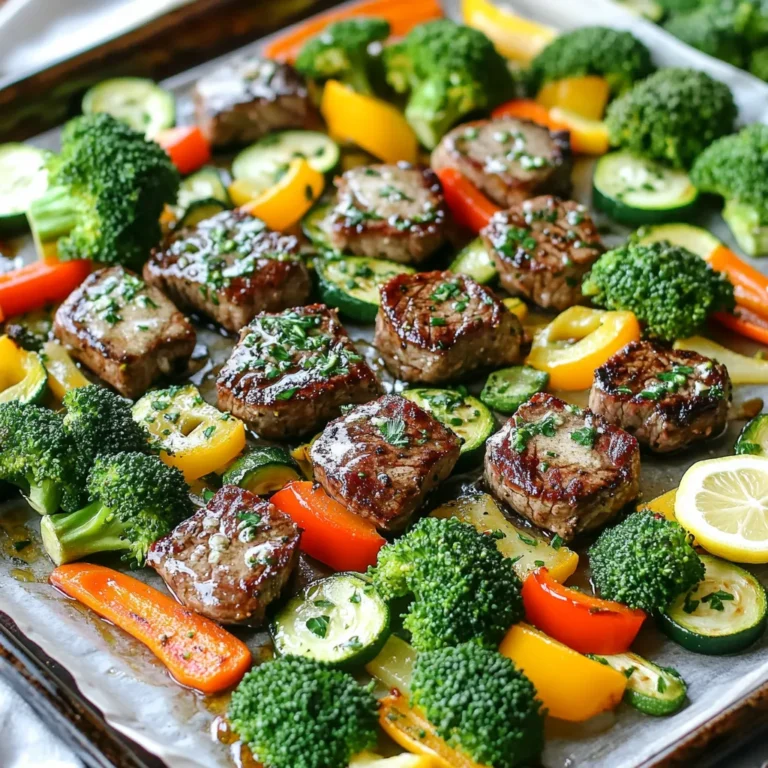
Sheet-Pan Garlic Butter Steak & Veggies Savory Meal
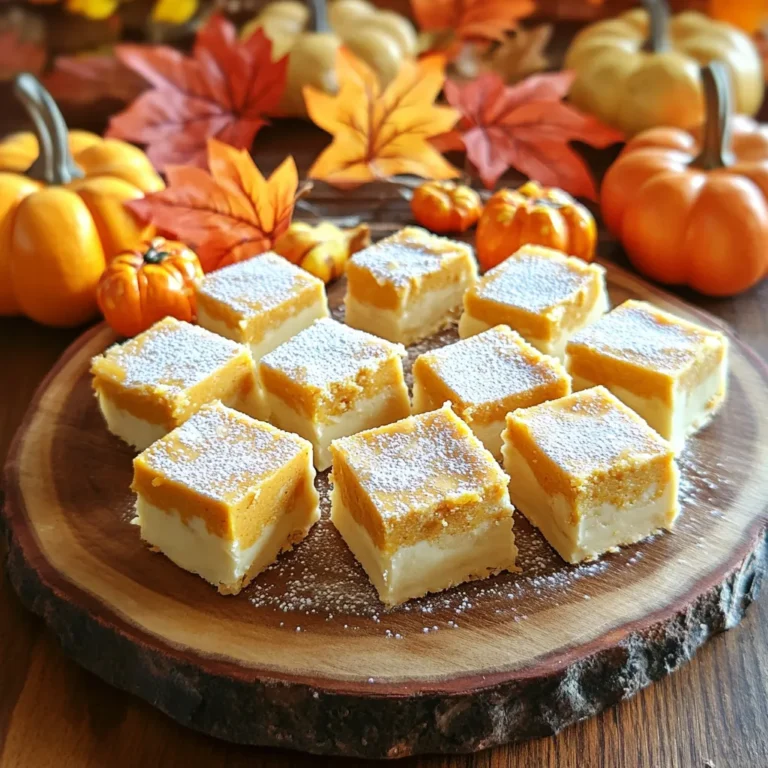
No-Bake White Chocolate Pumpkin Fudge Delight
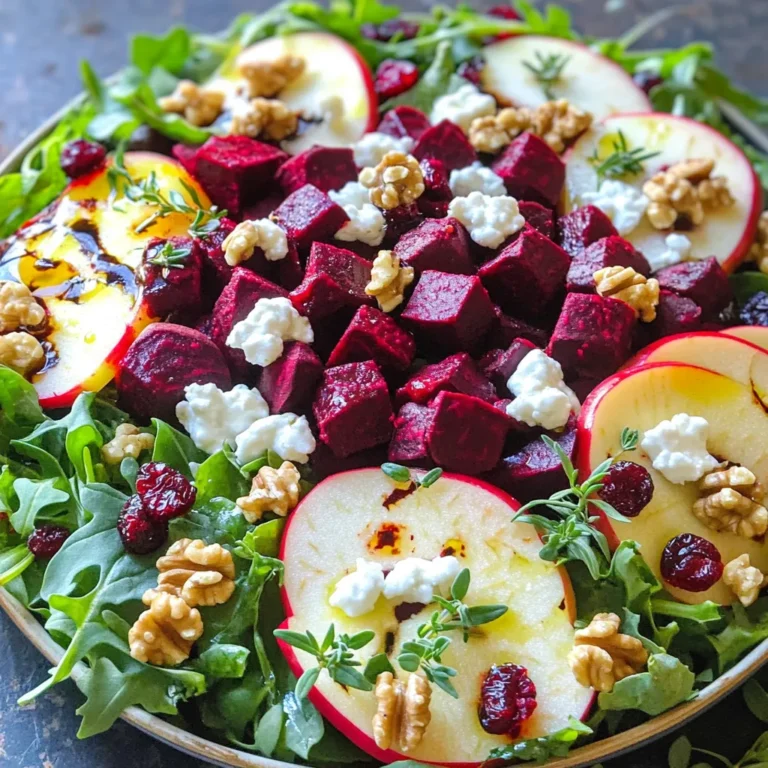
Beet & Goat Cheese Harvest Salad Fresh and Flavorful Mix
Air Fryer Sweet Chili Salmon Bites Flavorful Treat
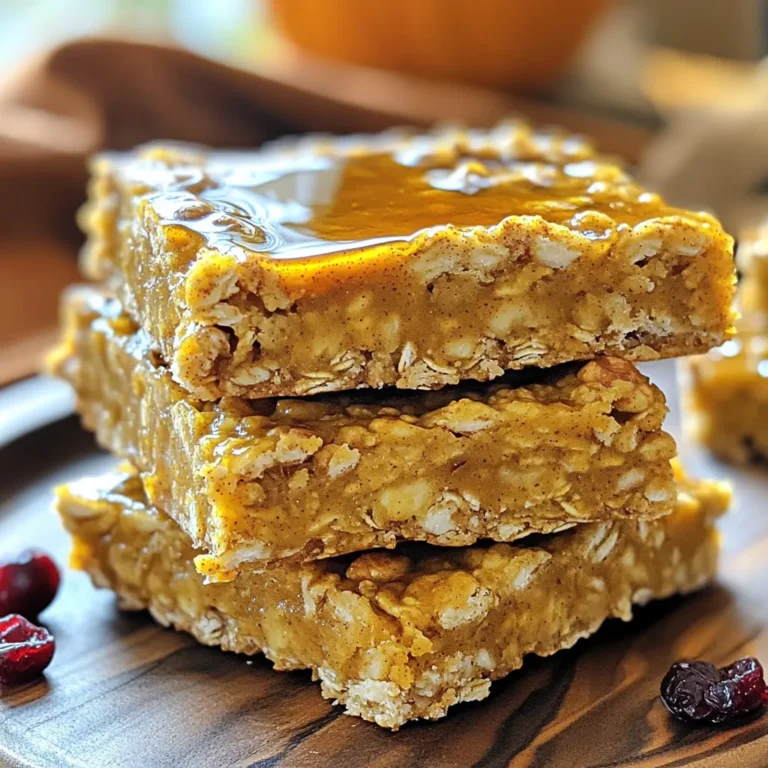
Pumpkin Oatmeal Breakfast Bars Healthy and Simple Recipe
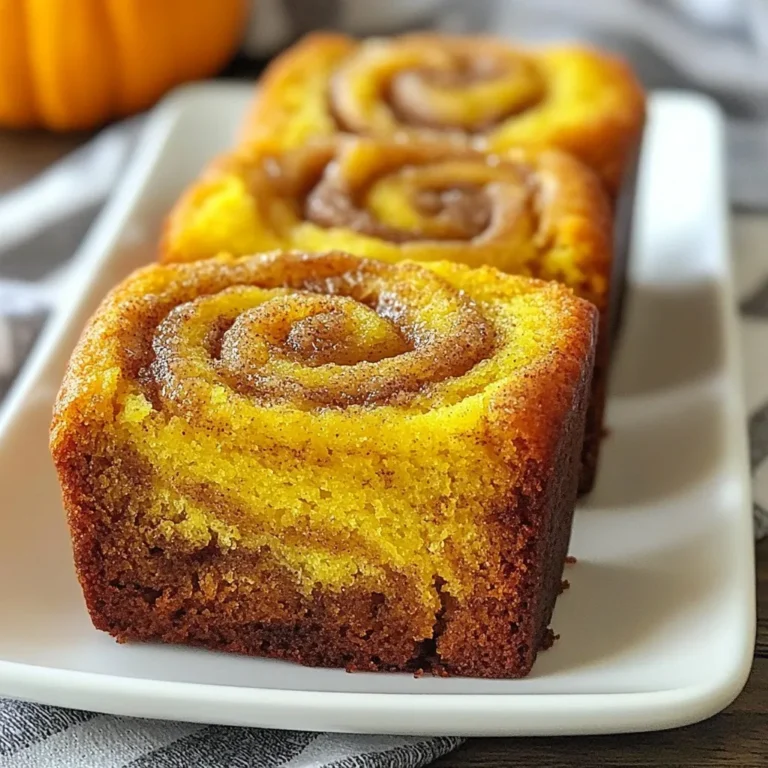
Mini Pumpkin Bread with Cinnamon Swirl Delight
PREV
1
…
10
11
12
…
57
NEXT