FREE DINNER EBOOK!
Get your copy!
Cookie Policy
GDPR Policy
Disclaimer
Terms Of Use
Visit my other site:
Fun Cookie Recipes
Home
Dinner
Desserts
Drinks
Appetizers
Contact
About
Privacy Policy
Home
Dinner
Desserts
Drinks
Appetizers
Contact
About
Privacy Policy
Cookie Policy
GDPR Policy
Disclaimer
Terms Of Use
Visit my other site:
Fun Cookie Recipes
HOME / CATEGORIES /
Latest
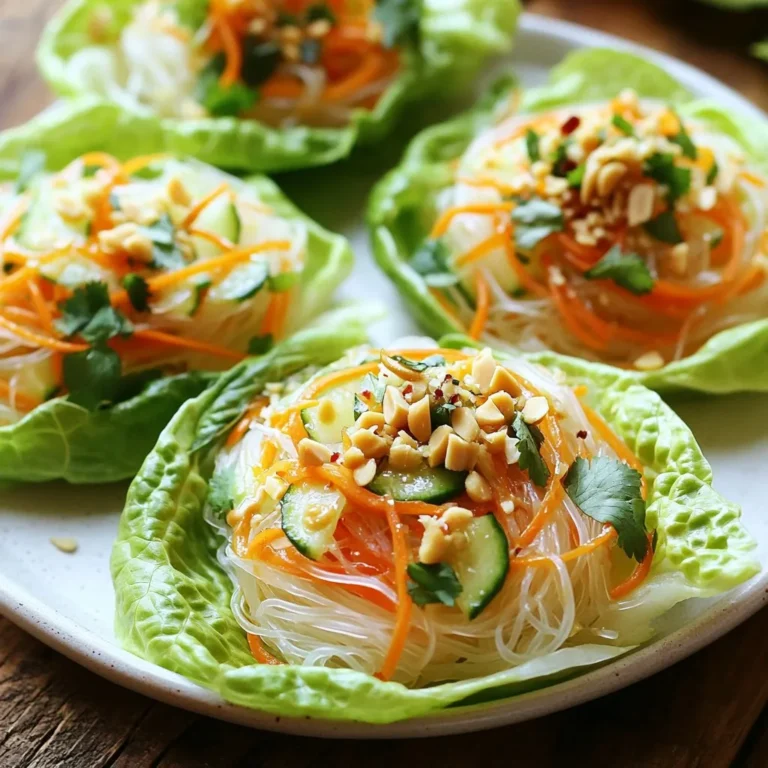
Peanut Noodle Lettuce Wraps Fresh and Flavorful Meal
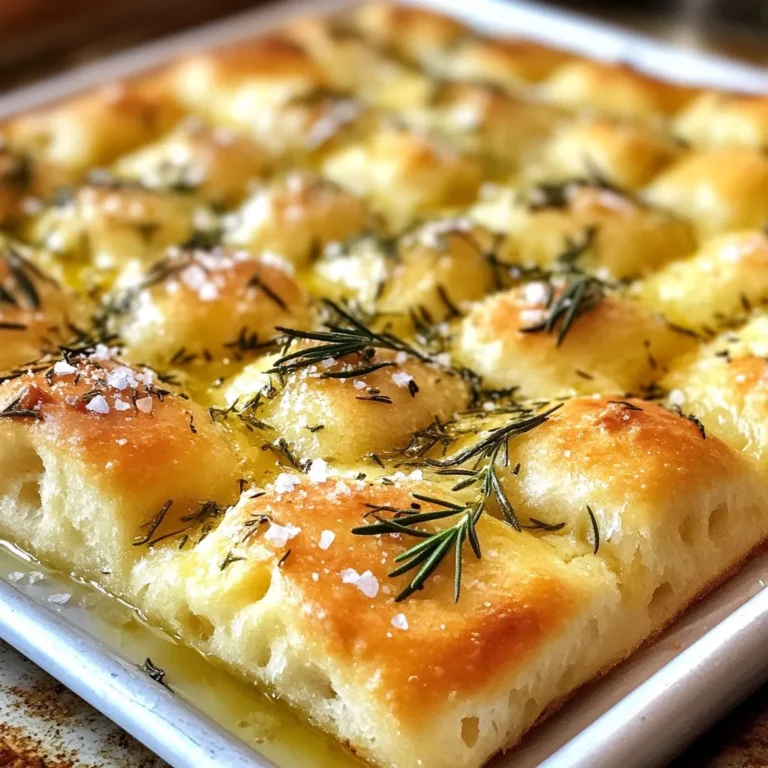
Rosemary Sea Salt Focaccia Easy and Flavorful Recipe
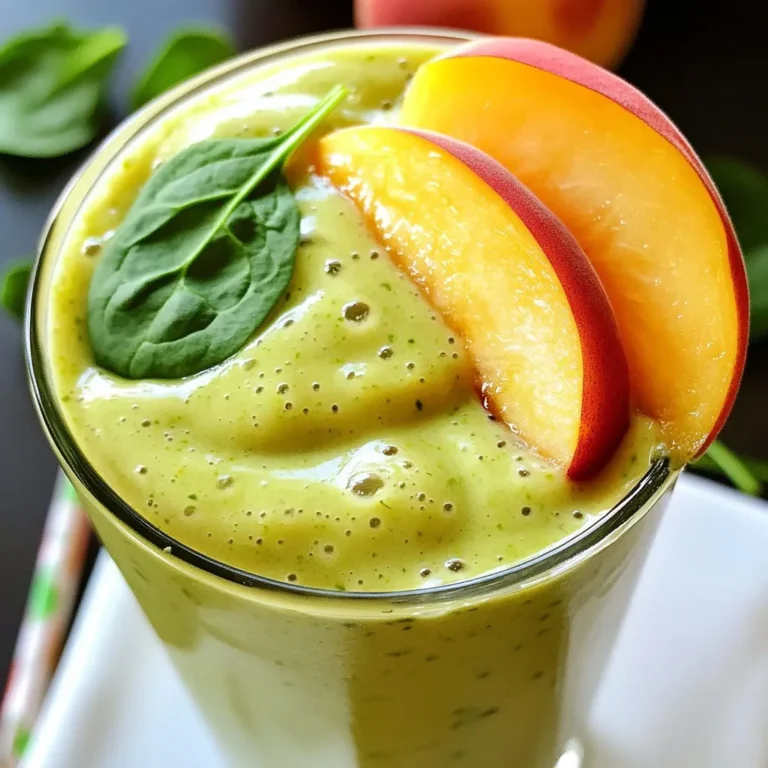
Ginger Peach Green Smoothie Refreshing and Nutritious
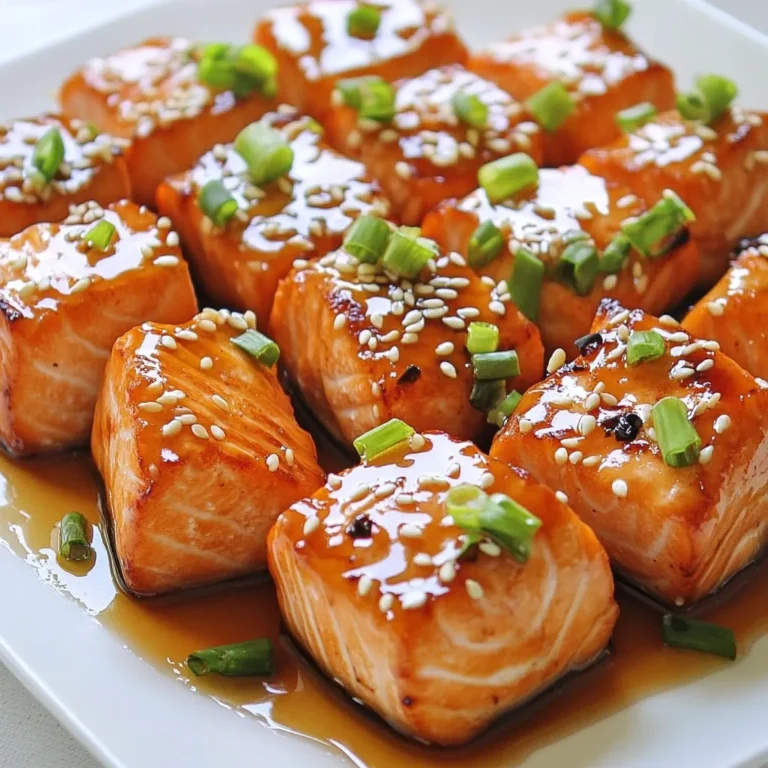
Maple Glazed Salmon Bites Flavorful and Simple Recipe
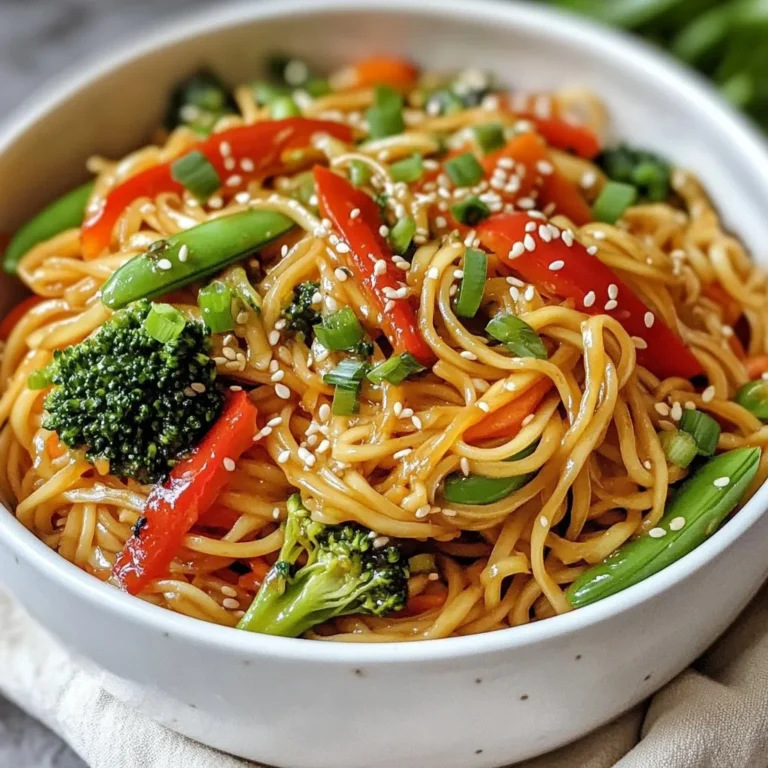
Savory Sesame Garlic Noodle Stir Fry Recipe
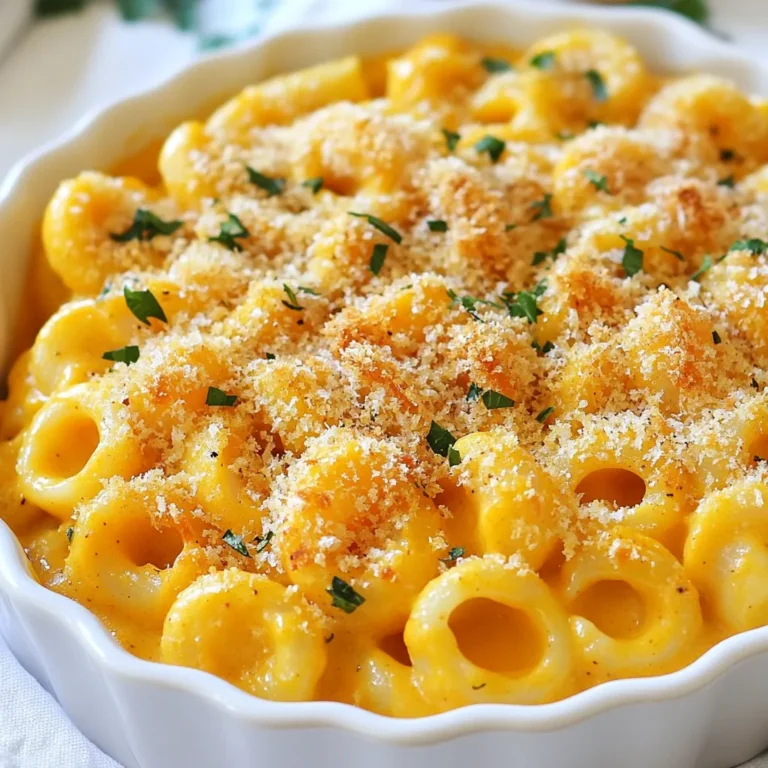
Butternut Squash Mac and Cheese Creamy Comfort Meal
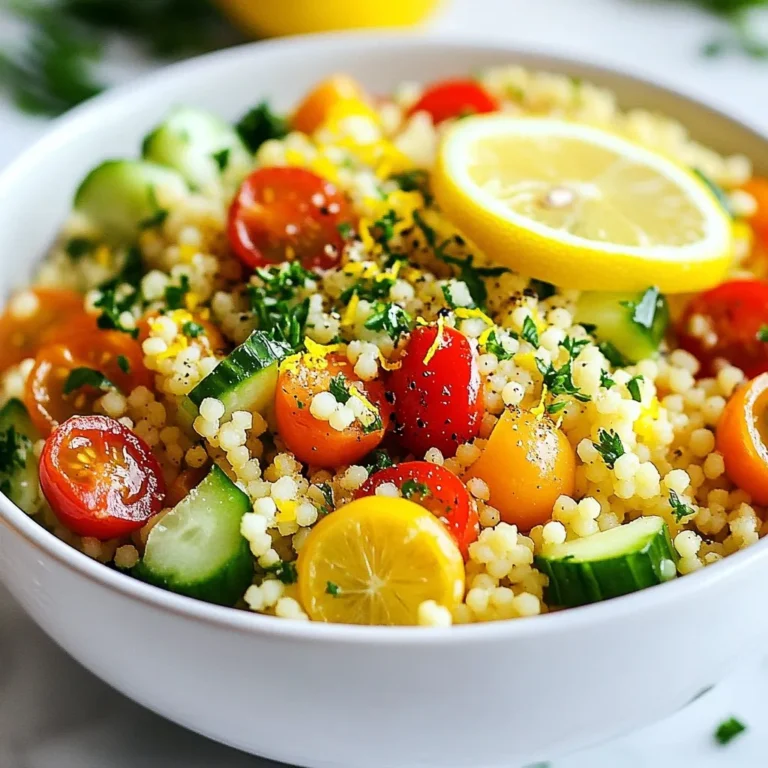
Lemon Pepper Couscous Flavorful and Easy Recipe
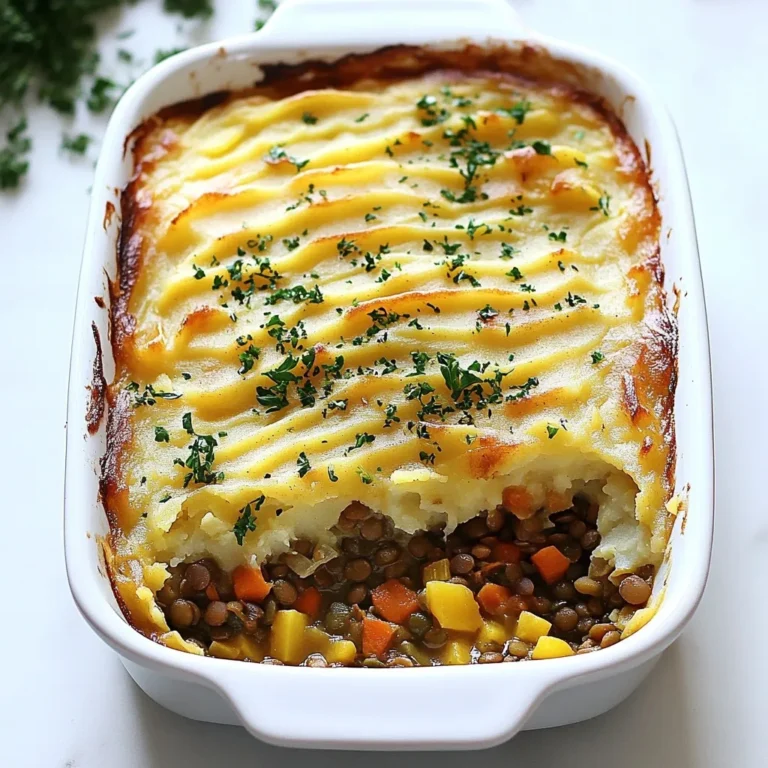
Vegan Lentil Shepherd’s Pie Flavorful and Simple Dish
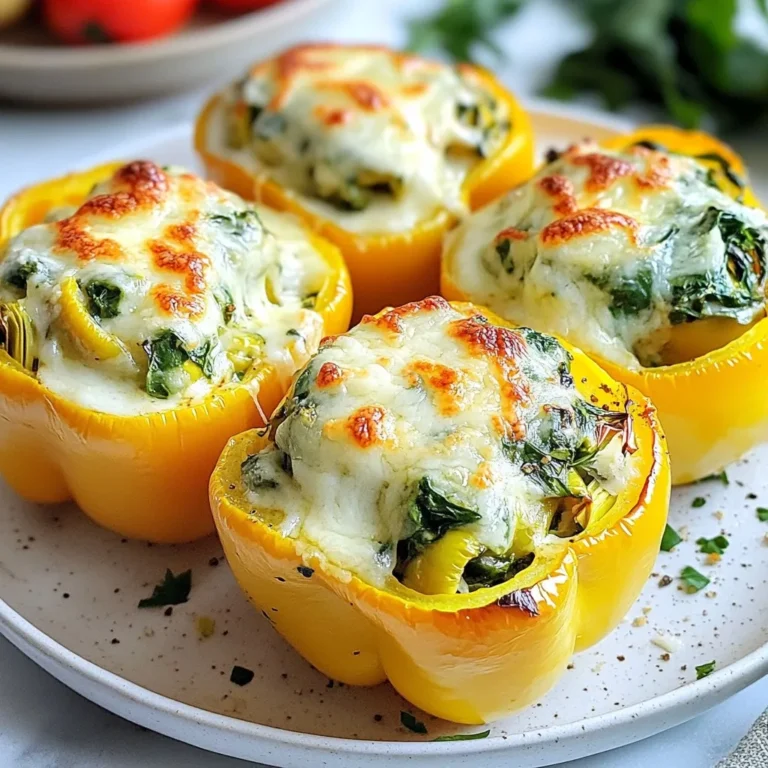
Spinach Artichoke Stuffed Peppers Tasty and Healthy Dish
Cinnamon Sugar Apple Chips Crispy and Simple Snack
1
2
…
57
NEXT