-min.png)
-min.png)
-min.png)
-min.png)

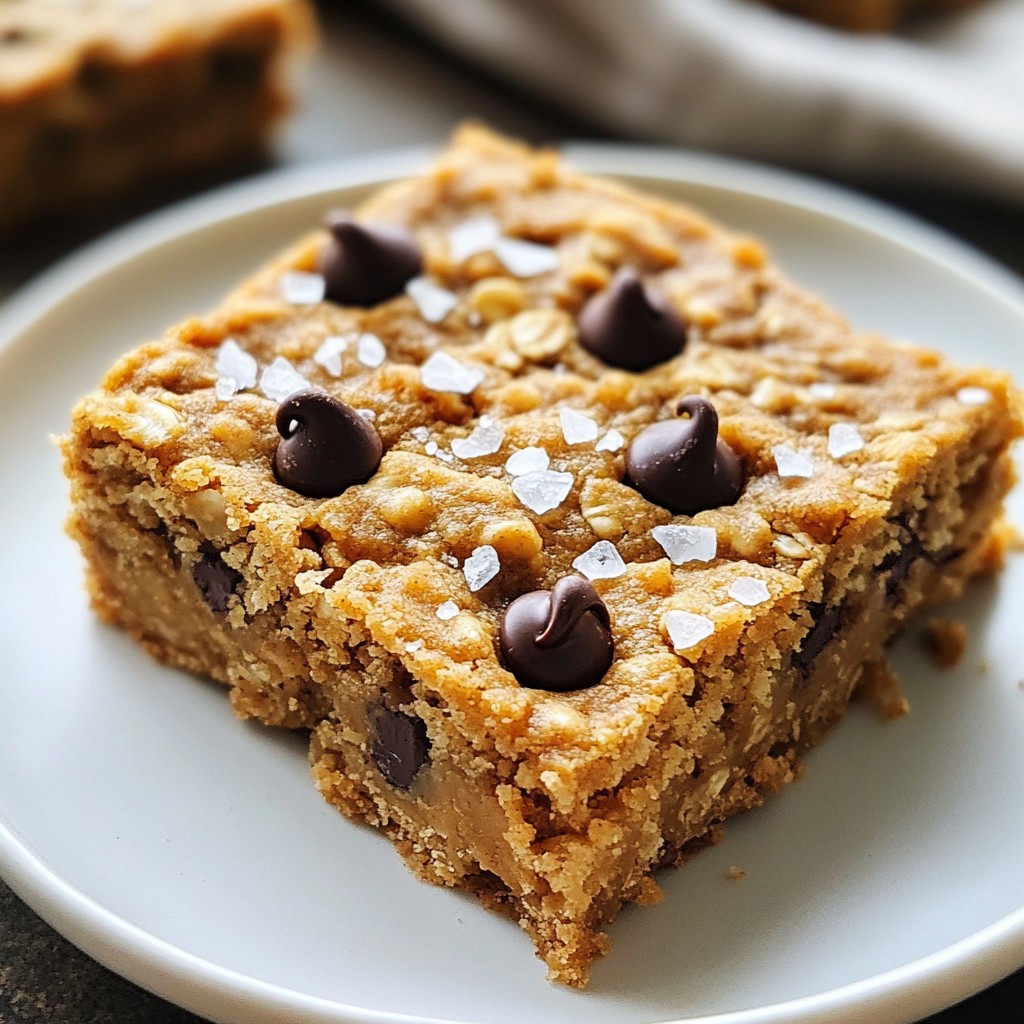
Mint Chocolate Energy Bites Tasty and Easy Recipe
Looking for a quick, healthy snack that’s packed with flavor? Try my Mint Chocolate Energy Bites! Th...
Today's Special
Discover this amazing recipe that will become your new favorite!
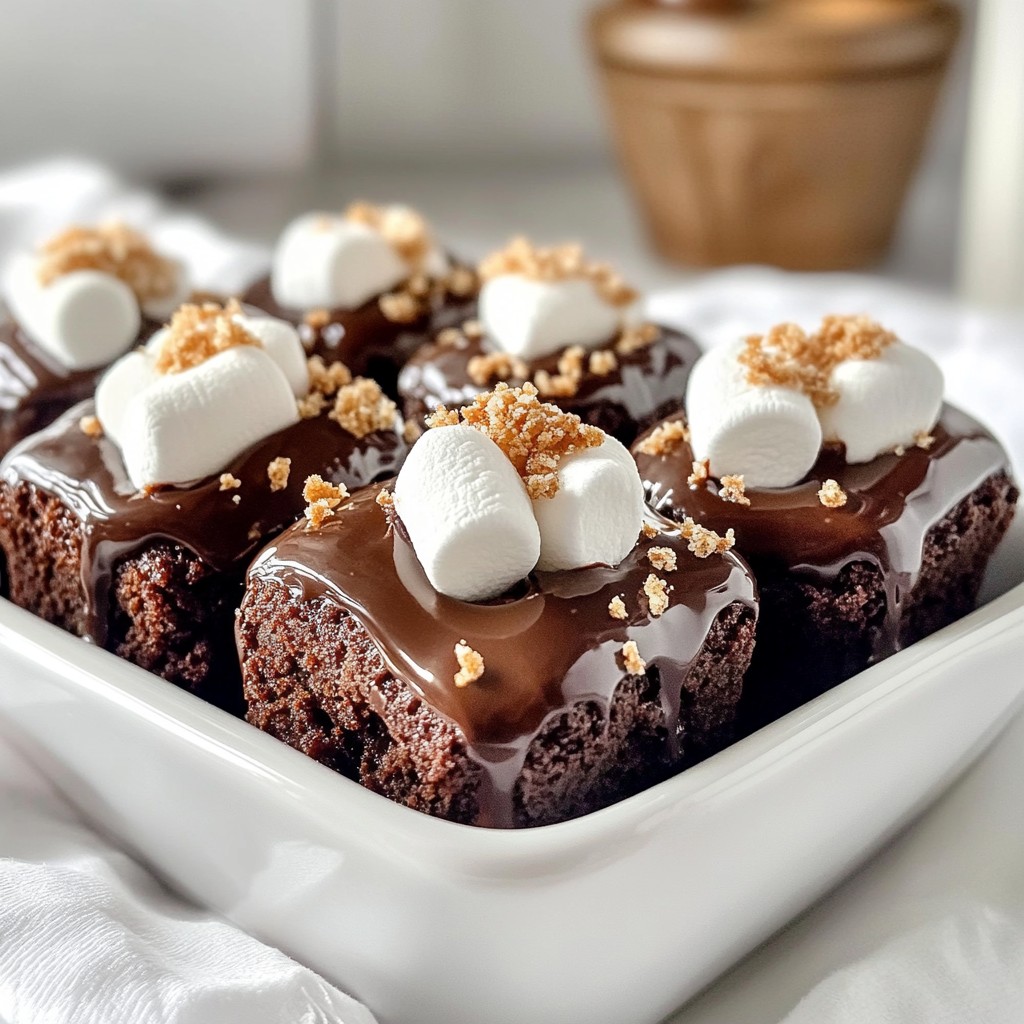
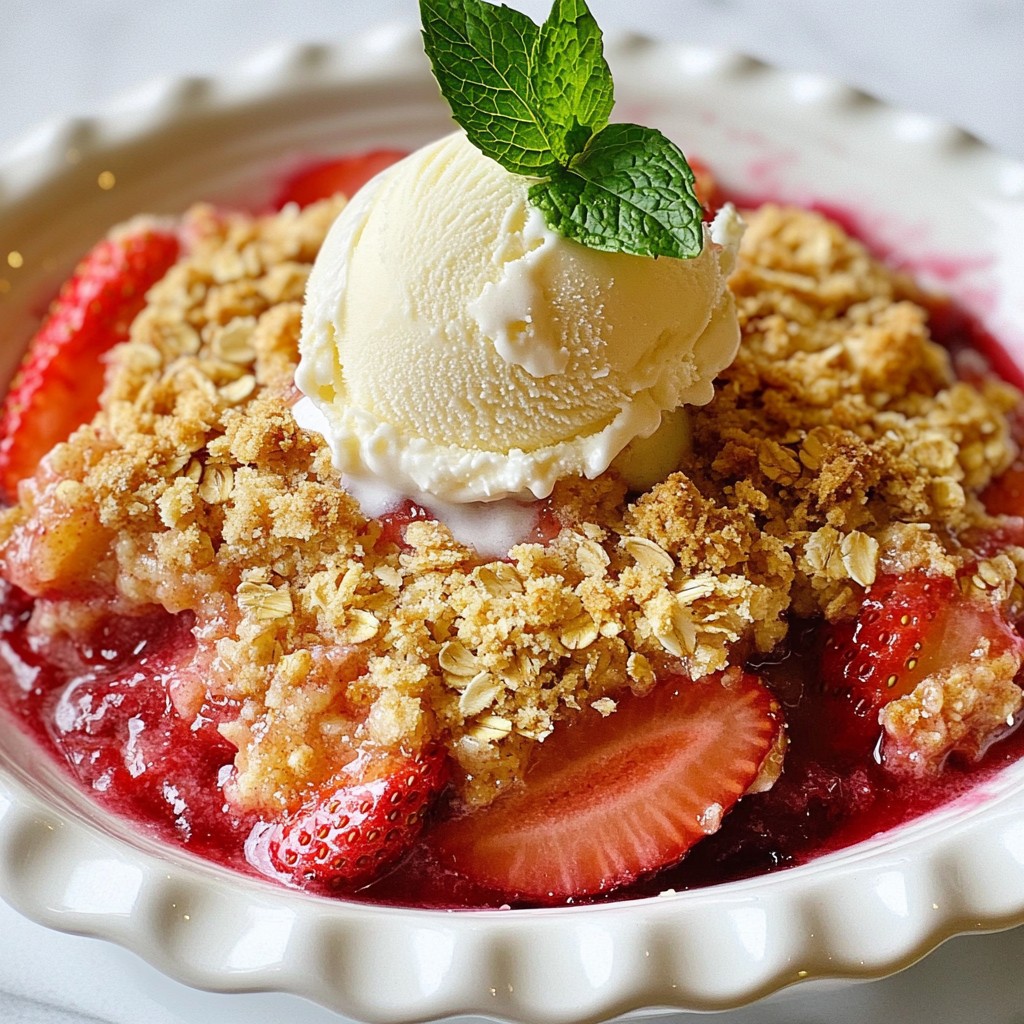
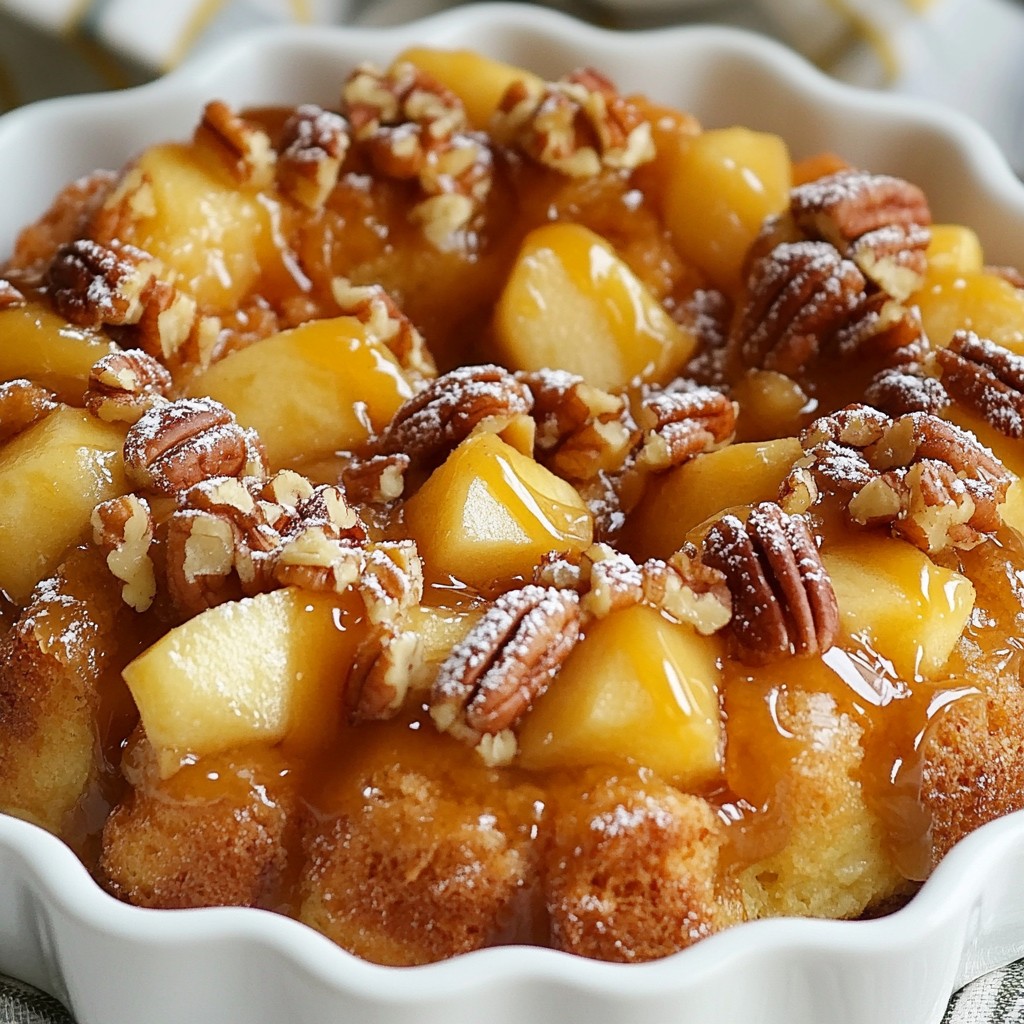
Indulge in our collection of irresistible dessert recipes! From decadent chocolate treats to light and fruity delights, discover sweet creations that will satisfy every craving and make every occasion special!
More Desserts 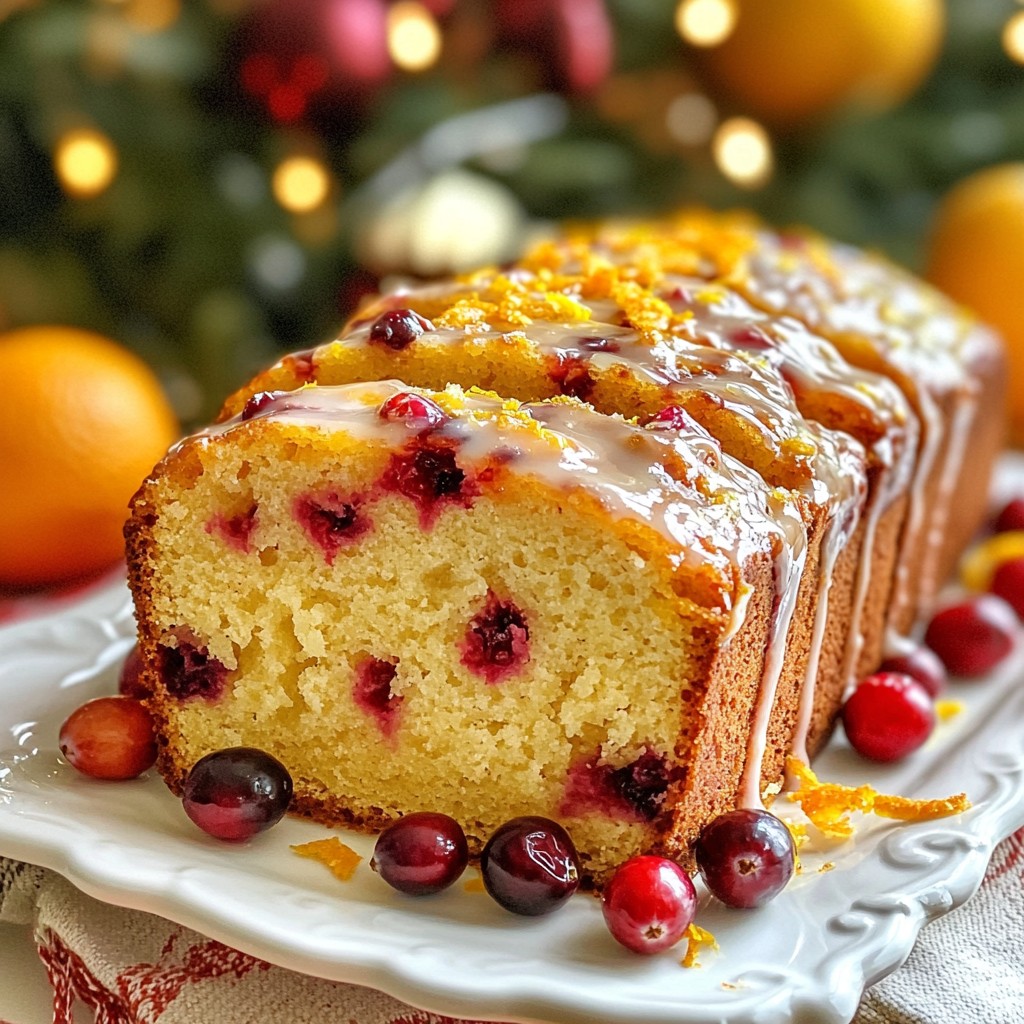

What are you craving?
Explore our delicious collection of recipes organized by category

Discover delicious dinner recipes that bring joy to your table! From quick weeknight meals to impressive family feasts, explore our collection of savory dishes that make every dinner time memorable!
More Dinners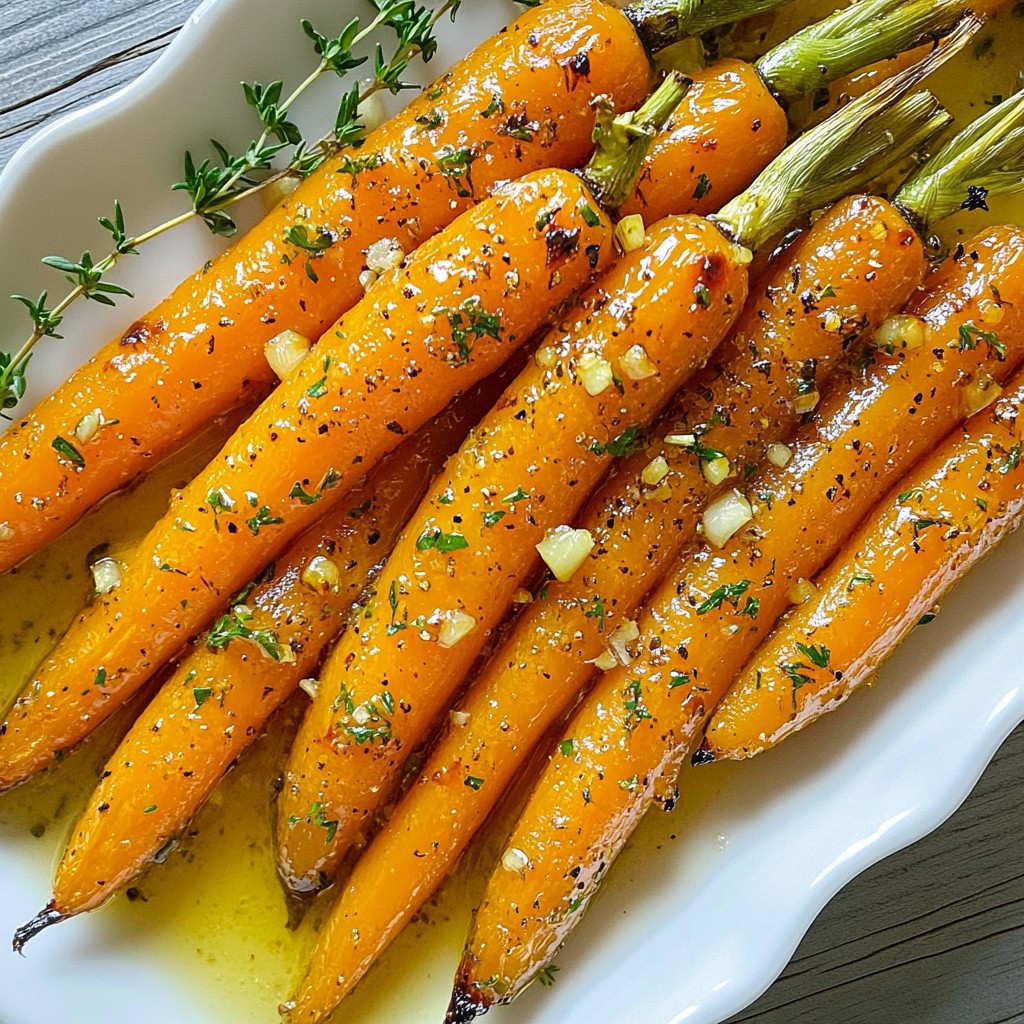


Nice to meet you!
Elizabeth Parker, the visionary founder of quickdishkitchen, expertly develops delightful recipes for every occasion.
Learn More About MeLooking for something?
Fresh from the kitchen
Check out our newest additions - tried, tested, and absolutely delicious!
Looking for a quick, healthy snack that’s packed with flavor? Try my Mint Chocolate Energy Bites! Th...
Ready to spice up your side dishes? My Honey Garlic Roasted Carrots recipe offers a sweet, savory tw...

Looking for a fresh and easy meal? You’re in the right place! My Avocado Chicken Salad Lettuce Boats...
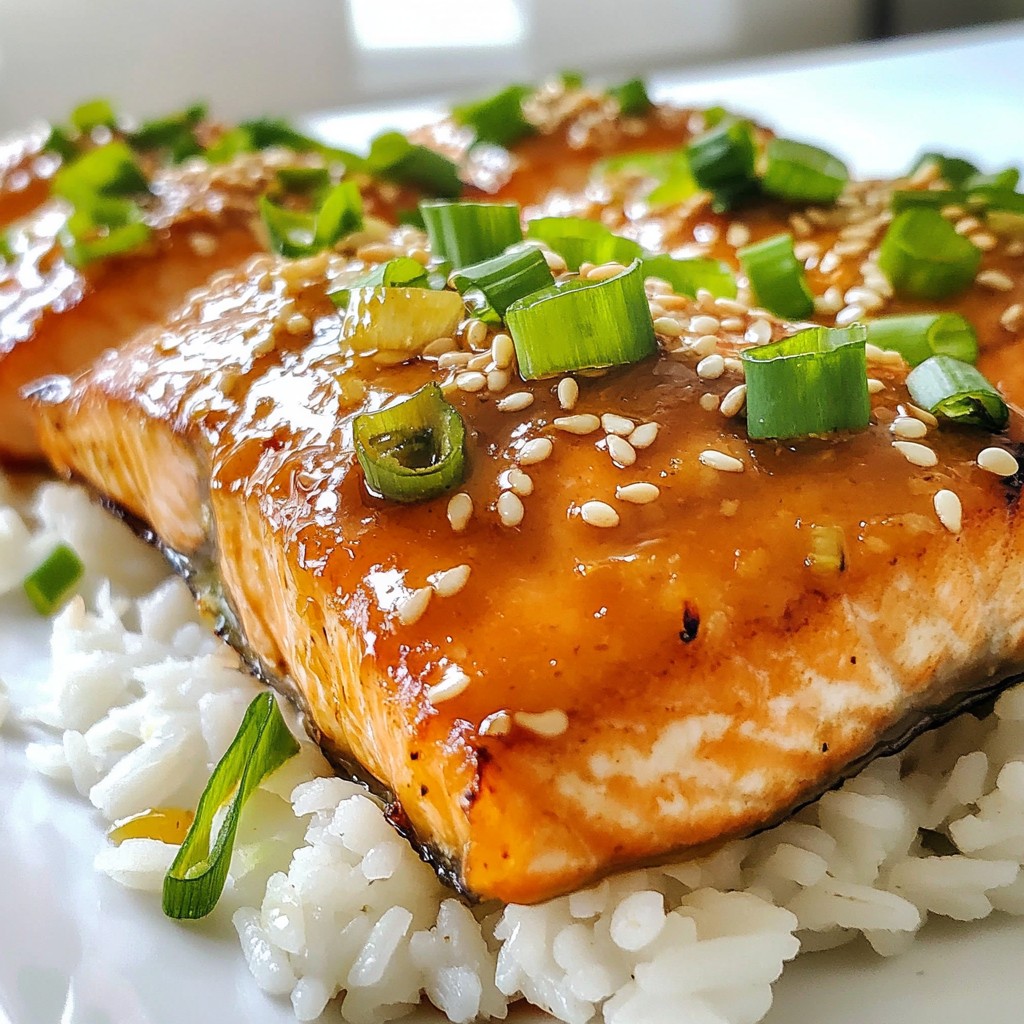
Are you ready to whip up a dish that bursts with flavor and is quick to make? Sesame Ginger Salmon i...
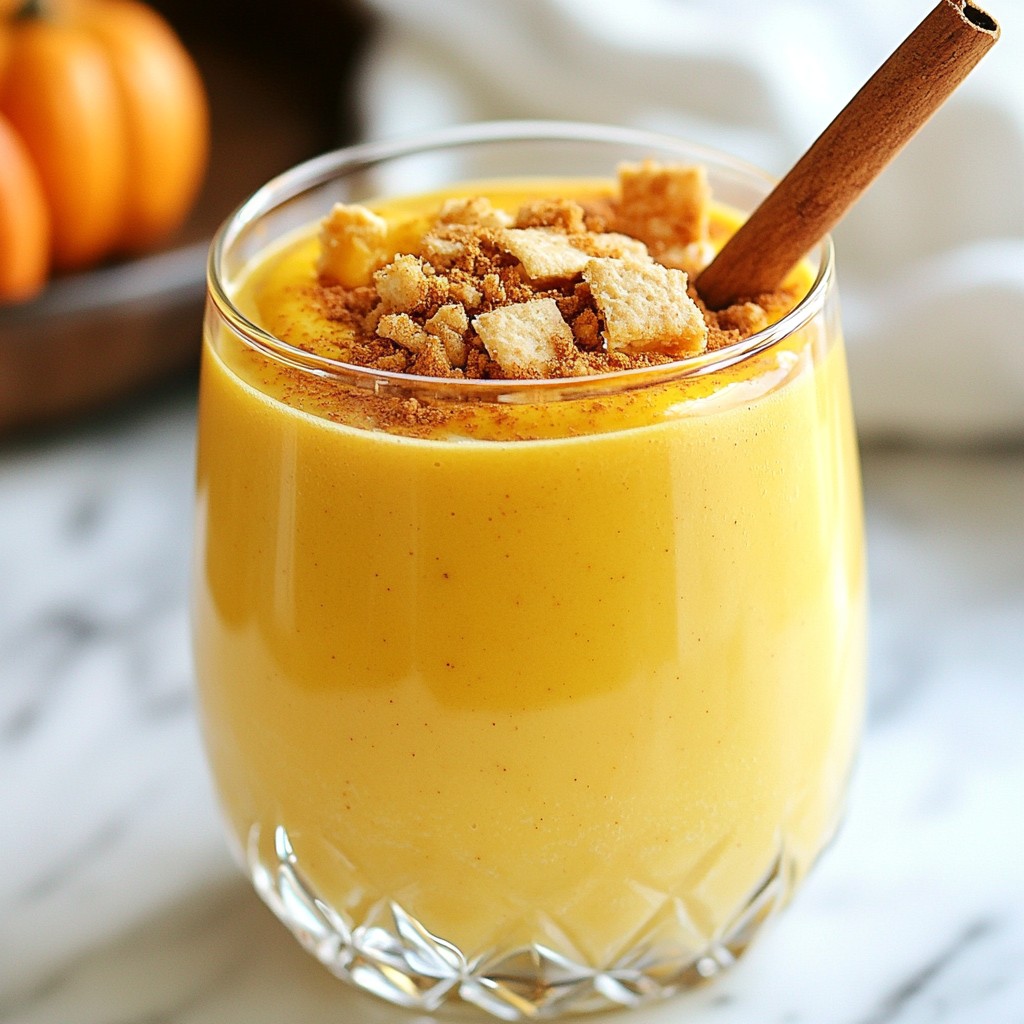
Craving the flavors of fall? My Pumpkin Pie Smoothie is a delicious, easy way to enjoy that seasonal...
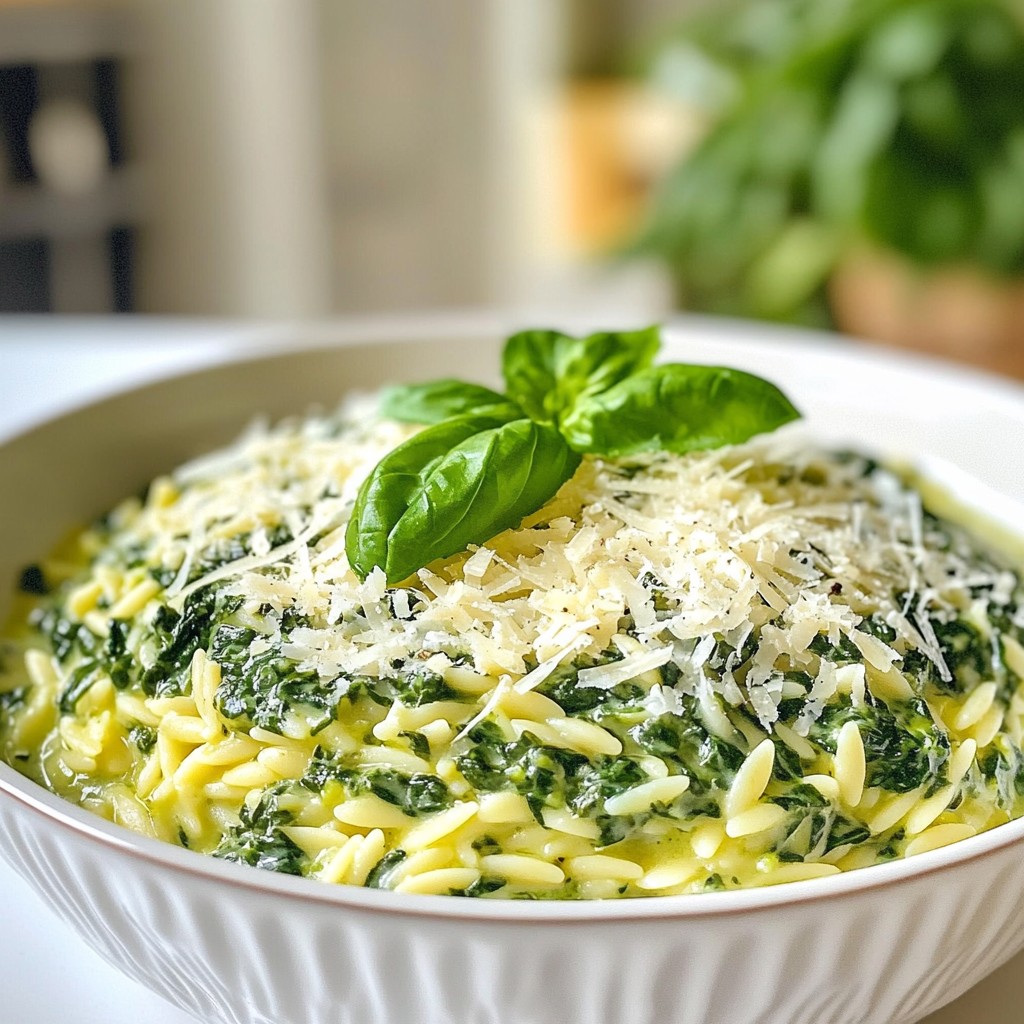
Looking for a quick and tasty dish that impresses? You’ll love this Creamy Spinach Parmesan Orzo! It...